
The Kitchenaid mixer is one of the most popular kitchen appliances. It comes in a variety of colors and has interchangeable attachments that can be used for various tasks. However, sometimes attachment can become attached to the Kitchenaid mixer, which can be challenging to remove. In this article, we will give you tips on how to remove attachment from Kitchenaid mixer. Stay tuned!
Removing attachments from your KitchenAid mixer is a relatively straightforward process requiring only a few simple steps. But before you can remove the attachment, you must first identify which attachment you are trying to remove. Many KitchenAid attachments have specific names and are easily identifiable.
Attachments of Kitchenaid Mixer
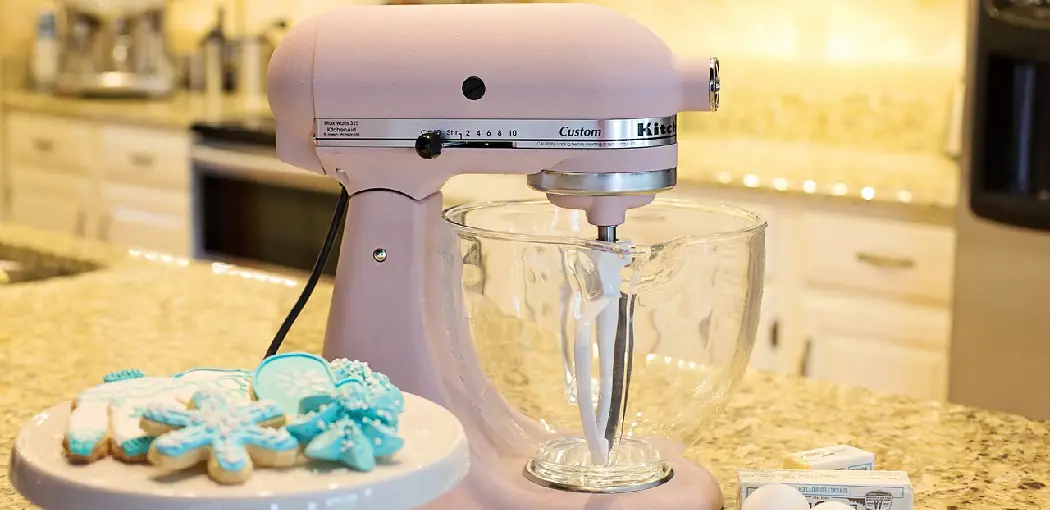
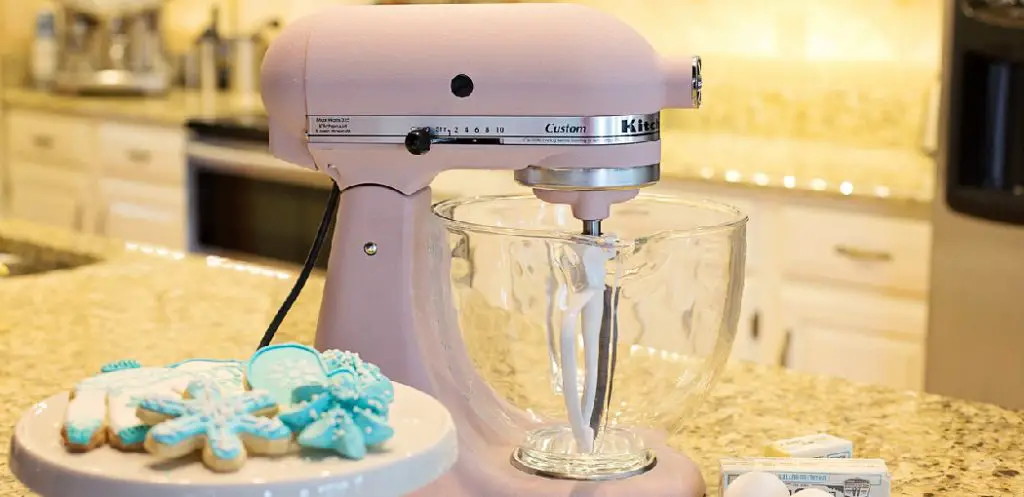
The Kitchenaid mixer is a household appliance used to mix ingredients for baking or cooking. It has many different parts, including the bowl, the beaters, the dough hook, and the wire whip.
The bowl is the most significant part of the mixer and is where you put the ingredients. The beaters are attached to the top of the bowl and are used to mix the ingredients.
The dough hook is a metal hook attached to the bottom of the bowl and is used to mix the dough.
The wire whip is a metal whisk attached to the top of the bowl and is used to mix eggs or cream.
Each part of the Kitchenaid mixer has a specific purpose and should be used according to its instructions. The bowl is the largest and most important part of the mixer. The beaters are used to mix the ingredients, the dough hook is used to mix the dough, and the wire whip is used to mix eggs or cream. If you are not using a particular attachment, it is essential to remove it from the mixer so that it does not get damaged.
A Detailed Guide on How to Remove Attachment From Kitchenaid Mixer
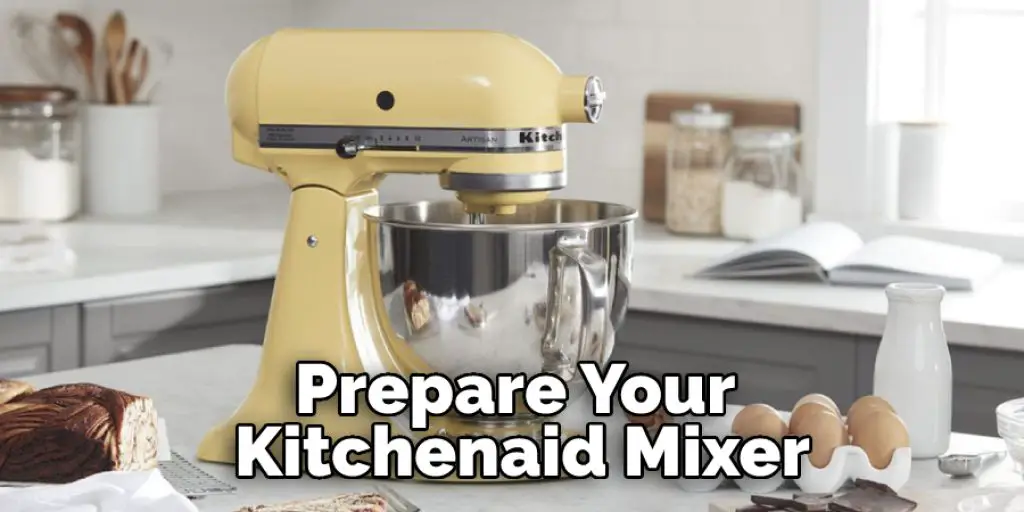
Step 1: Prepare the Mixer
The first step is to prepare your Kitchenaid mixer for the attachment removal process. This may vary depending on your model, so consult your owner’s manual if you are unsure. Generally, you will need to remove the bowl and the beaters.
Once you have removed the necessary attachments, turn off the power to the mixer by rotating the power switch to the “off” position. Then, unplug the mixer from the electrical outlet.
Step 2: Cleaning the Attachment
The next step is to clean the attachment you will be removing. Make sure to remove all of the food particles and grease build-up. You can do this by using a mild detergent and warm water. A soft brush may also help in removing any stubborn particles.
Once the attachment is clean, allow it to dry completely before moving on to the next step.
Step 3: Remove the Attachment
Now it’s time to remove the attachment from the mixer. There are typically two methods: to loosen the screws on the attachment and then pull it off; the second is to use a hex wrench to remove the attachment.
If you are using the first method, loosen the screws on the attachment with a Phillips head screwdriver. Be sure not to obliterate the screws, as you will need them to put the attachment back on later.
Next, grasp onto either end of the attachment and pull it straight off the mixer. If it is stubbornly stuck, wiggle it back and forth until it comes loose.
If you are using the second method, insert a hex wrench into the hole at the base of the attachment. Turn the hex wrench counterclockwise to loosen it.
Once the attachment is loose, pull it off of the mixer. If it is stubbornly stuck, wiggle it back and forth until it comes loose.
Step 4: Putting the Attachment Back On
Now that the attachment is off the mixer, it’s time to put it back on. If using the first method, replace the screws on the attachment and tighten them with a Phillips head screwdriver. Do not over-tighten the screws, as this can damage the attachment.
Next, place the attachment onto the mixer and press down until you hear a clicking noise. This means that the attachment is securely in place.
If you are using the second method, insert the hex wrench into the hole at the base of the attachment. Then, turn the hex wrench clockwise to tighten it.
Once the attachment is tight, place it back onto the mixer and press down until you hear a clicking noise. This means that the attachment is securely in place.
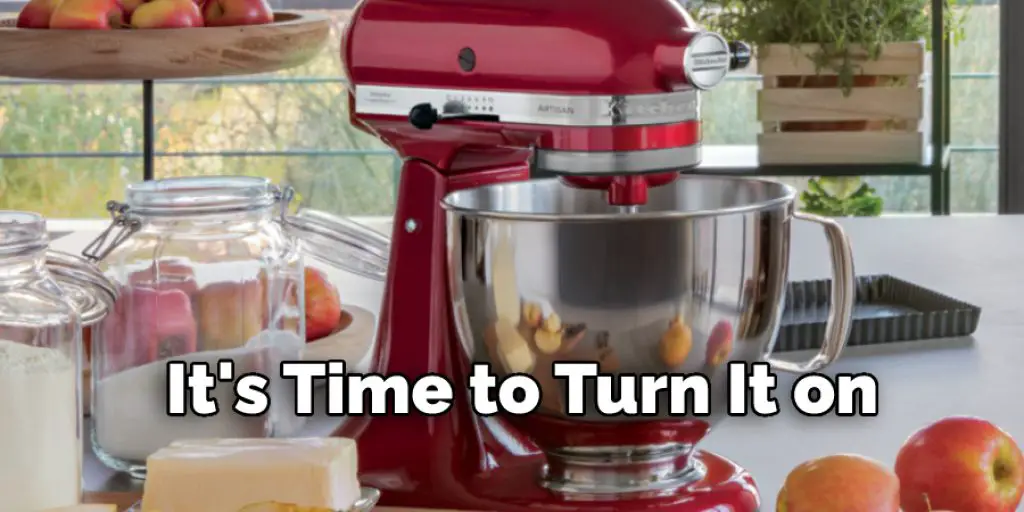
Step 5: Turning on the Mixer
Now that the attachment is back on the mixer, it’s time to turn it on. Rotate the power switch to the “on” position and wait for the mixer to come up to speed. Once it has, you can begin using it as usual.
If you are having trouble removing or attaching an attachment to your Kitchenaid mixer, consult your owner’s manual or contact the manufacturer for assistance. They may be able to provide you with more detailed instructions on how to remove or attach the attachment correctly.
Thank you for reading our article on removing an attachment from a Kitchenaid mixer. We hope you found how to remove attachment from kitchenaid mixer helpful!
Tips and Warnings
Tips:
Removing attachments from a KitchenAid mixer can be a bit tricky. Here are some tips to help you do it safely and without damaging your mixer or the attachment:
- Make sure your mixer is turned off and unplugged before removing attachments.
- Locate the release lever on the back of the mixer and pull it towards you to release the attachment.
- Carefully lift the attachment off of the mixer. Be careful not to damage the connection between the attachment and the mixer.
- If needed, clean any residue or food particles from the attachment before putting it away.
Warnings:
- Never try to remove an attachment while the mixer is turned on.
- Do not force the attachment off of the mixer. If it doesn’t release quickly, try locating the release lever and pulling it towards you.
- Do not drop or hit the attachment against a hard surface. This could damage the attachment or the mixer.
With these tips in mind, removing attachments from a KitchenAid mixer is a breeze! First, be sure to clean the attachment thoroughly before putting it away. Then, enjoy your perfectly mixed creation!
You may read also Knead Pizza Dough
Why are KitchenAid Attachments Stuck?
KitchenAid attachments can be stuck for a variety of reasons. One of the most common reasons is that the attachment is not correctly aligned with the mixer. If it is not aligned correctly, it can cause the attachment to become stuck. Another reason the attachment may become stuck is if there is too much pressure on the mixer. When this happens, the attachment can become jammed in the housing slot.
Removing an Attachment That Is Stuck
If the KitchenAid attachment becomes stuck, there are a few things you can do to try to remove it. One thing you can do is to use a butter knife to try to pry the attachment loose. Another thing you can do is to use a screwdriver to try to loosen the attachment. If these methods don’t work, you may need to take the mixer apart to remove the attachment.
Taking the Mixer Apart
To take the mixer apart, you will need a Phillips head screwdriver. Once you have the Phillips head screwdriver, you will need to remove the screws from the back of the mixer. Once the screws have been removed, you can lift off the cover of the mixer. Once the cover has been removed, you can locate the attachment housing. The attachment housing is the part of the mixer that the attachment screws into. If the attachment is stuck, you can try to loosen it by using a Phillips head screwdriver. Once the attachment has been loosened, you can remove it from the mixer.
If you cannot remove the attachment from the mixer, you may need to take the mixer apart to get to it. To do this, you will need a Torx T-15 driver. The Torx T-15 driver can be used to remove the screws that hold the mixer together. Once the screws have been removed, you can separate the two halves of the mixer. You can then locate the attachment housing and remove the attachment from the mixer.

If you can still remove the attachment, you may need to take the mixer apart even further. To do this, you will need a Torx T-25 driver. The Torx T-25 driver can be used to remove the screws that hold the mixer together. Once the screws have been removed, you can separate the three parts of the mixer. You can then locate the attachment housing and remove the attachment from the mixer.
If none of these methods work, you may need to take the mixer to a repair shop to have it repaired.
Conclusion:
KitchenAid mixers are one of the most popular appliances in kitchens worldwide. They come in various colors and sizes, and they can be used to make everything from cake batter to pizza dough. However, if you’re looking for a new mixer or if you’ve just inherited one, there are a few things you need to know before taking it out of the box. In this article, we outlined how to remove attachment from KitchenAid mixer so that you can get started using it right away.
You may read also How to Open Fridge Lock Without Key