
Kitchenaid mixers are some of the most popular kitchen appliances on the market. However, they can be challenging to clean, especially if the beater becomes stuck. In this article, we will show you how to remove beater from Kitchenaid mixer. We will also provide a few tips for keeping it clean. So, whether you’re a first-time Kitchenaid user or just looking for a bit of refresher course, keep reading!

The mixer is one of the handiest appliances in any kitchen. It can be used for various tasks, such as making dough, cake batters, and whipped cream. And Kitchenaid mixers are some of the most popular on the market. But they can be challenging to clean, especially if the beater becomes stuck. So whether you’re a first-time Kitchenaid user or just looking for a bit of refresher course, keep reading!
A Step by Step Guide on How to Remove Beater From Kitchenaid Mixer
Step 1: Determine if the Beater Is Removable.
The first thing you need to do is determine if the beater is removable. On most Kitchenaid mixers, the beater is attached to a shaft that runs through the center of the mixer. If this is the case, then the beater cannot be removed, and you will need to take the mixer in for repair.
However, on some Kitchenaid mixers, the beater is removable. Instead, the beater will have a metal clip that snaps into the shaft. If this is the case, you can remove the beater by following the steps below.
Step 2: Disconnect the Mixer From the Power Source
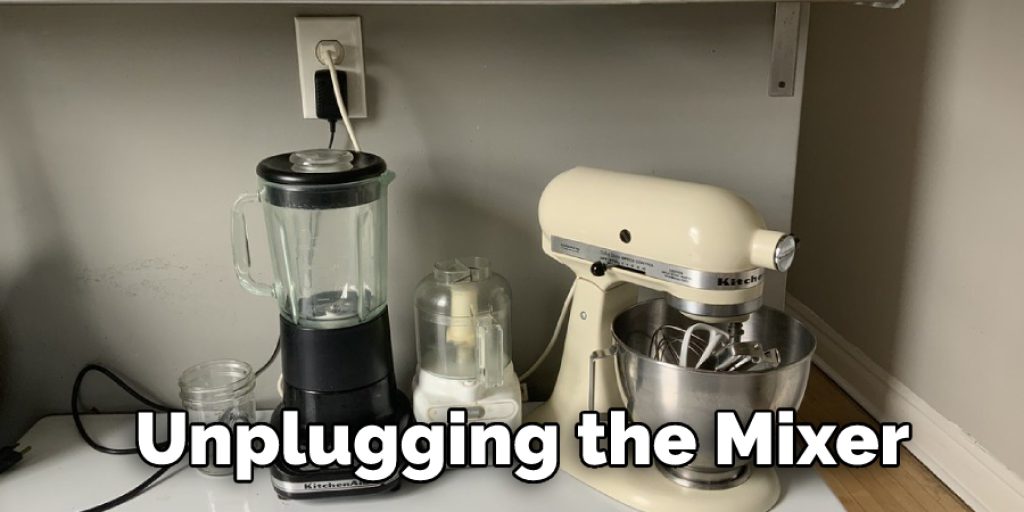
Before removing the beater, you need to disconnect the mixer from the power source. This can be done by unplugging the mixer from the wall or by shutting off the circuit breaker that powers the mixer.
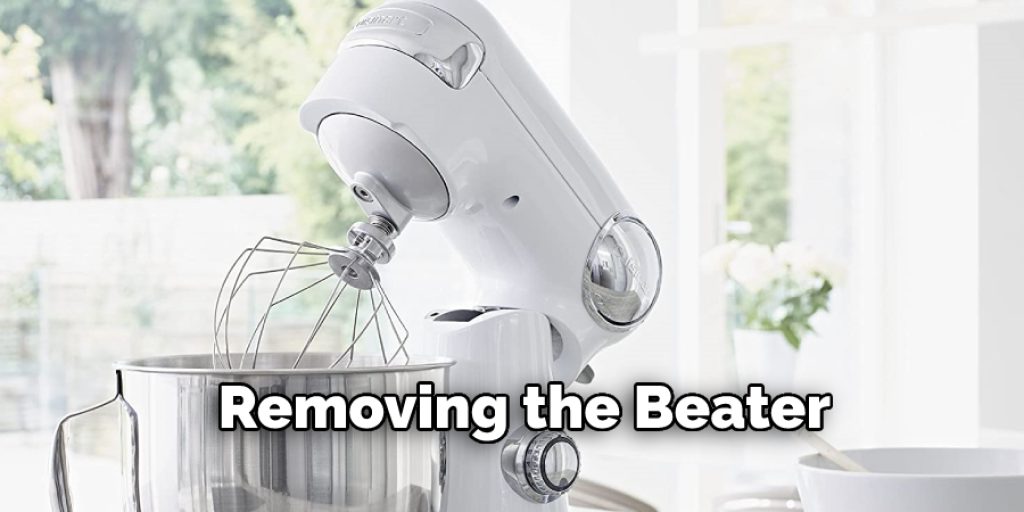
Step 3: Remove the Beaters From the Mixer
Once the mixer is disconnected from the power source, you can remove the beaters from the mixer. This can be done by holding onto the beaters and pulling them straight out of the mixer.
Step 4: Remove the Metal Clip From the Beater Shaft
If the beater has a metal clip, you must remove it from the beater shaft. This can be done by using a pair of pliers to hold onto the clip and then pull it off the shaft. Be careful not to damage the clip or shaft as you remove it.
Step 5: Replace the Metal Clip on the Beater Shaft (if Applicable)
If you removed the metal clip from the beater shaft, you would need to replace it before reattaching the beater to the mixer. Just hold onto the clip with a pair of pliers and then snapping it into place on the shaft.
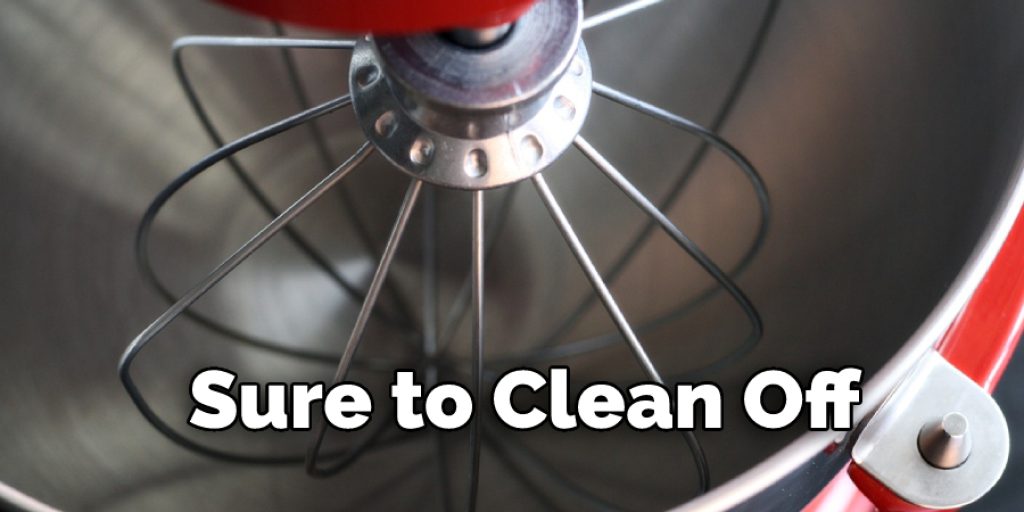
Step 6: Cleaning the Beater

Once the beater is removed from the mixer, you must clean it. This can be done by using a toothbrush to scrub away any food or batter stuck to the beater. Be sure to clean all of the surfaces of the beater, including the edges and the metal clip.
Step 7: Reattach the Beaters to the Mixer
Once the metal clip is in place, you can reattach the beaters to the mixer. This can be done by placing the beaters over the shaft and pushing them down until they snap into place.
Step 8: Reconnect the Mixer to the Power Source
Once the beaters are attached to the mixer, you can reconnect the mixer to the power source. This can be done by plugging in the mixer or turning on the circuit breaker that powers the mixer.
Step 9: Test the Mixer
Once the mixer is reconnected to the power source, you can test it to ensure it is working correctly. To do this, put a bowl on the mixer and turn it on. The beater should spin and mix the ingredients in the bowl. There may be a problem with the beater or the attachment mechanism between the beater and the mixer if it does not. In this case, you will need to take the mixer in for repair.
Removing the beater from a Kitchenaid mixer can be tricky, but following these steps should make it easier. If you have any problems removing the beater or not seeming to be working correctly, you will need to take the mixer in for repair. These steps will help in how to remove beater from kitchenaid mixer.
Tips and Warnings:
-If the beater is stuck and will not come out, do not force it. You may damage the mixer or the beater.
-Some Kitchenaid mixers have a removable beater shaft that can be easily removed with a screwdriver. If your mixer has this feature, unscrew the beater shaft from the mixer head.
-If you cannot remove the beater shaft, you will need to remove the mixer head from the stand. This can be done by loosening the screws on the back of the mixer. Once the screws are loosened, lift the mixer head off the stand.
-Once the head is off, you should be able to see the shaft that holds the beaters in place. Use a screwdriver to remove the shaft.
-If you are still having difficulty removing the beater, consult your mixer’s instruction manual.
Why Beater Stuck?
KitchenAid mixers are a popular choice for many home cooks. They are durable and have many features that make them versatile in the kitchen. However, one common issue with these mixers is that the beater can become stuck. There are several reasons why this may happen, but several ways to fix the problem are also.
The beater may become stuck because of build-up on the beaters. This can be caused by using ingredients like honey or molasses, which can stick to the blades. Another reason may be that the mixer isn’t cleaning correctly and bits of food are getting caught in between the blades and housing. There are several ways to remove the beater and get your mixer back up and running in either case.
One way is to use a screwdriver to remove the screws that hold the beater in place. You can then gently pull the beater out of the mixer. If there is any build-up on the blades, you can clean it off with a toothbrush or a scrub brush. Another way to remove the beater is to use a pair of pliers. Gently grip the beater and twist it until it comes loose. Be careful not to damage the beater in any way.
If your KitchenAid mixer is still under warranty, you can take it to a service center, and they will be able to remove the beater for you. Whichever method you choose, be sure to clean off any build-up on the blades and housing so that the mixer can run smoothly.
Removing the beater from your KitchenAid mixer may seem daunting, but it is a very simple process. By following these steps, you can get your mixer back up and running.
Avoiding Beater Stuck
You can do a few things to avoid having the beater get stuck in your KitchenAid mixer.
First, always ensure the beater is appropriately inserted into the mixer before turning it on. If the beater is not attached correctly, it could fall off and get stuck in the mixer.
Second, never use your KitchenAid mixer to grind or chop anything. The beater can quickly get stuck if there are any large chunks of food caught in it.
Finally, always keep the KitchenAid mixer clean. Ensure there is no food buildup in the mixer blades or on the beater itself. Food particles can easily get caught in the blades and cause the beater to become stuck.
If you do happen to get the beater stuck in your KitchenAid mixer, there are a few things you can do to try to get it out.
First, try turning the mixer off and then back on again. This may loosen the beater enough so that it can be removed. If that doesn’t work, you may need to use a tool to help remove it. A screwdriver or a pair of pliers can be used to grip the beater and pull it out. Just make sure you’re careful not to damage the mixer or the beater while removing it.
Fortunately, getting the beater stuck is not a common occurrence, but these tips should help you get it out if it does happen. Keep your KitchenAid mixer clean and free of food particles, and you shouldn’t have any problems with the beater getting stuck.
Conclusion:
So there you have it, how to remove beater from kitchenaid mixer! Now that your mixer is free of the beater, all that’s left to do is give it a good clean. Make sure to get into every nook and cranny – if any batter or dough residue remains, it can cause problems down the road. We hope this tutorial was helpful for you. If not, please reach out in the comments below, and we would be happy to help. Happy baking!
You may read also How to Take Lock Off Gas Meter