
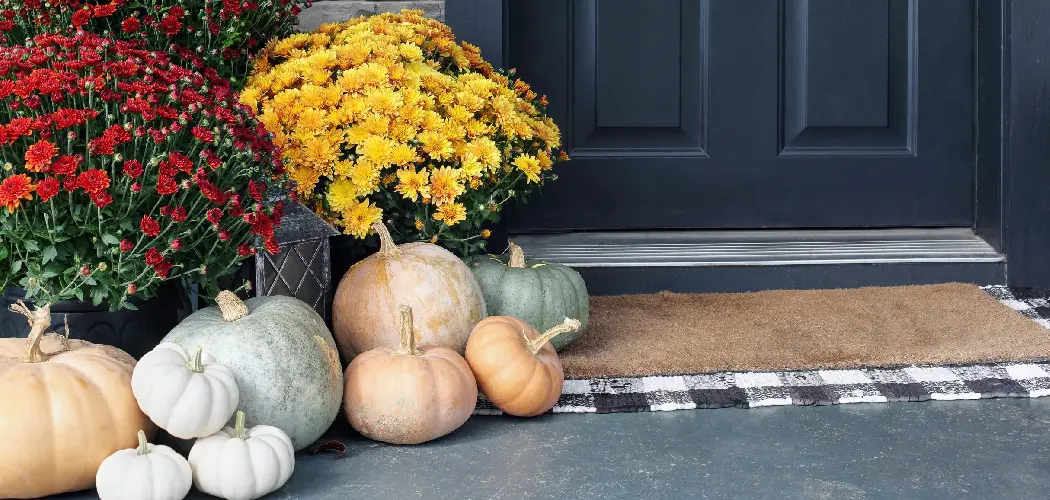
A pumpkin wreath is one of the friendliest fall projects you can try, and the best part is that you do not need any special skills to make one look amazing. Learning how to decorate a pumpkin wreath gives you a warm, seasonal welcome for your front door while letting your personality shine through the colors and textures you choose. Whether you love rustic farmhouse style or bright, playful autumn shades, a wreath adapts to whatever look feels right to you.
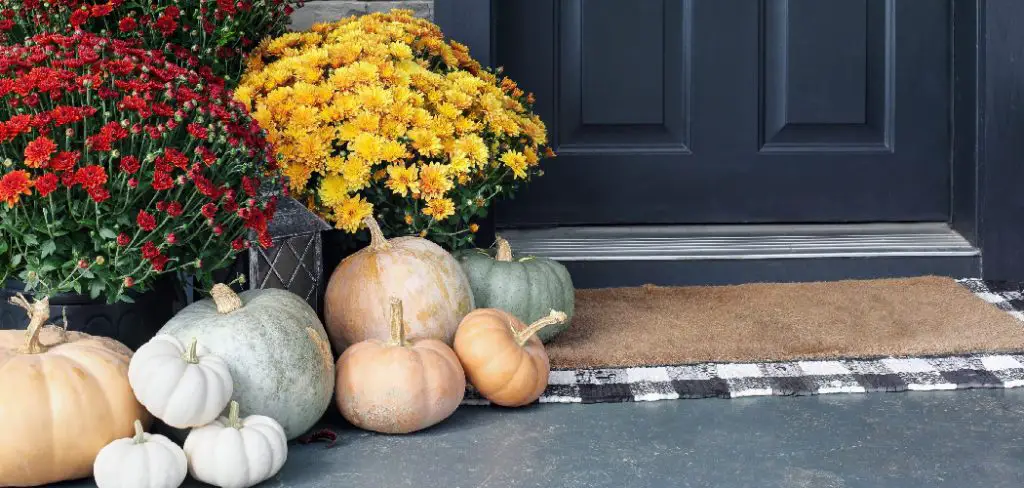
Think of this project as a blank canvas that invites you to play. You start with a simple base, then layer on small pumpkins, leaves, ribbon, and other touches until it feels complete. Along the way, you get to slow down, use your hands, and create something people will actually notice and enjoy. This guide walks you through every step in plain language, so even a first-timer can finish with a wreath that looks like it came from a boutique shop.
Why Decorating a Pumpkin Wreath Matters
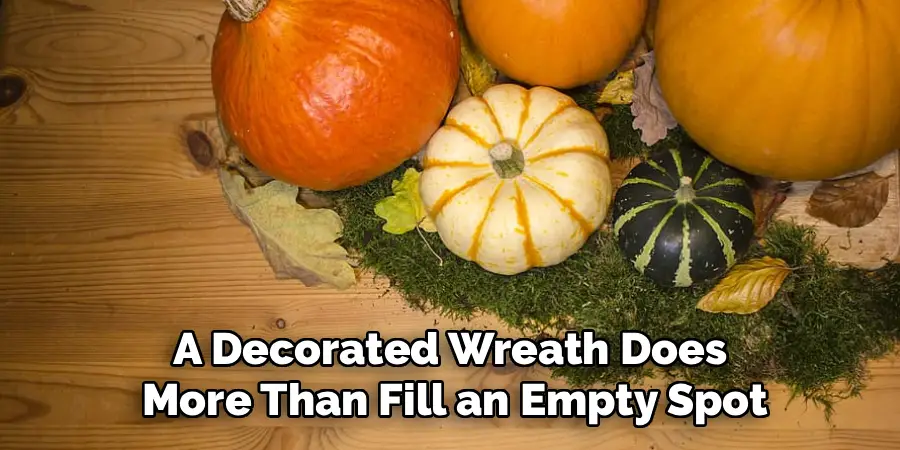
A decorated wreath does more than fill an empty spot on your door. It sets the mood for the entire season and greets everyone who visits with a cozy, handmade charm that store-bought decor rarely matches. When you build it yourself, you control every detail, from the size of the pumpkins to the exact shade of ribbon, so the finished piece truly reflects your home.

There is also real value in the process itself. Crafting a wreath is calming, budget-friendly, and endlessly customizable, which means you can update it year after year without starting over. You save money, reduce waste by reusing supplies, and gain a satisfying sense of accomplishment. Best of all, a handmade wreath becomes a small tradition you can share with family or friends each fall.
Step-by-Step Guide to How to Decorate a Pumpkin Wreath
Step 1: Gather Your Supplies
Before anything else, collect everything you will need in one spot so you are not searching mid-project. Grab a wreath base, a handful of faux mini pumpkins, artificial leaves, floral wire, hot glue, and a spool of ribbon in your favorite autumn tone. You can also add pinecones, berries, or twigs for extra texture. Having your materials ready keeps the whole process smooth and stress-free. If you are unsure how much to buy, start small and add more later. This simple habit of preparing first saves time and prevents those frustrating pauses when you realize a key item is missing.
Step 2: Choose the Right Base
The base shapes the entire look, so pick one that matches your vision. Grapevine bases give a natural, rustic feel, while foam or wire frames offer a cleaner, more uniform background. Consider the size of your door and the space where the wreath will hang, since an oversized piece can overwhelm a small entry. Feel the weight too, because a heavy base needs a sturdier hook. There is no single right answer here, so trust your instinct and think about the mood you want. A thoughtful base choice makes every step that follows feel easier and more balanced.
Step 3: Wreath With Greenery First
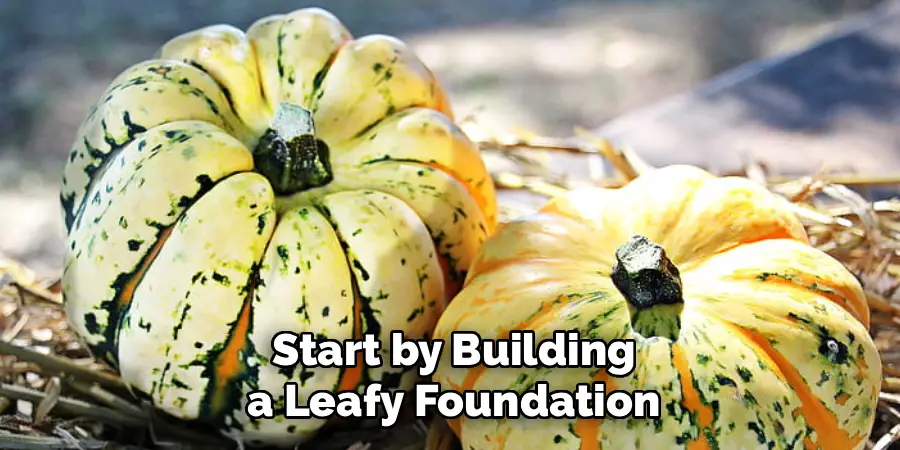
Start by building a leafy foundation before adding any pumpkins. Tuck artificial leaves and sprigs of greenery into the base, spacing them evenly around the ring so no bare patches show through. Secure loose pieces with a dab of hot glue or a twist of floral wire. Work in the same direction, layering the greenery so it flows naturally rather than sticking out randomly. This green layer softens the base and creates depth, giving your later decorations something lush to rest against. Take your time here, because a full, even foundation makes the entire wreath look richer and more professional.
Step 4: Add and Arrange the Pumpkins
Now for the star of the show. Place your mini pumpkins around the wreath before gluing anything, so you can test different arrangements. Many crafters love grouping them in odd numbers, such as three or five, because clusters feel more natural to the eye than a single scattered pumpkin. Mix sizes and colors to add interest, and vary their angles so some face outward and others tilt slightly. Once you are happy with the layout, snap a quick photo for reference, then glue each pumpkin firmly in place. This little planning step helps you avoid regret and keeps the design feeling intentional.
Step 5: Pumpkin With Accents and Fillers
With your pumpkins set, fill the gaps with smaller accents that tie everything together. Slip in pinecones, faux berries, dried wheat, or a few extra leaves wherever the design feels thin. These fillers hide any exposed base and add the finishing texture that makes a wreath look full and polished. Work in small amounts and step back often to check the balance, since it is easy to overcrowd one side. Aim for a look that feels abundant but not cluttered. When the accents flow smoothly around the ring, your wreath gains that cozy, layered charm everyone loves in autumn decor.
Step 6: Attach Ribbon and Bows
Ribbon adds movement, color, and a handmade touch that pulls the whole piece together. You can weave a long ribbon loosely through the base for a trailing effect or craft a classic bow and anchor it at the top or bottom. To make a simple bow, form a few even loops, pinch the center, and secure it tightly with wire before fluffing the loops. Choose a ribbon that complements your pumpkins rather than competing with them. If your first bow looks uneven, do not worry, since a little adjusting fixes most flaws. This small detail often becomes the feature guests remember most.
Step 7: Hang and Final Touches
You are almost done. Before hanging, hold the wreath at arm’s length and inspect it from a distance, just as visitors will see it. Rotate it to find the most flattering side, then adjust any pumpkins or leaves that shifted while you worked. Attach a sturdy hook or ribbon loop to the back, making sure it can hold the full weight. Once it is on your door, take a final look and tweak anything that feels off-balance. Small corrections at this stage make a big difference. Stand back, enjoy your creation, and feel proud of the cozy welcome you just built.

Frequently Asked Questions
How Long Does It Take to Make a Pumpkin Wreath?
Most beginners finish in one to two hours, depending on how detailed the design becomes. If you keep your supplies organized and plan the layout before gluing, you can move quickly and confidently. More elaborate wreaths with layered accents naturally take longer. Give yourself relaxed time rather than rushing, since the process is meant to be enjoyable and creative from start to finish.
What Kind of Pumpkins Work Best?
Faux mini pumpkins are the most popular choice because they are lightweight, durable, and last for many seasons. Real pumpkins add authentic charm but tend to rot and grow heavy, which can strain your base. Foam or resin pumpkins offer the perfect middle ground, giving you realistic looks without the mess. Choose a mix of sizes and colors to keep the design lively and balanced.
Can I Reuse My Wreath Next Year?
Absolutely, and reusing it is one of the biggest perks of making your own. Store the finished wreath in a large box or bag to protect it from dust and crushing. Keep it in a cool, dry spot away from direct sunlight so the colors stay vibrant. Each fall you can refresh it with a new ribbon or a few extra accents to give it a fresh feel.
Do I Need Special Tools or Skills?
Not at all, since this project welcomes crafters of every level. A hot glue gun, floral wire, and scissors cover nearly everything you need. If you have never used a glue gun, practice on scrap material first to get comfortable. The steps are forgiving, so mistakes are easy to fix. With a little patience and the right supplies, anyone can create a beautiful result.
How Do I Keep My Wreath From Looking Cluttered?
Balance is the secret to a clean, appealing wreath. Add elements gradually and step back often to check how the design reads from a distance. Group items in odd numbers, leave a little breathing room between accents, and resist the urge to fill every gap. If one area feels heavy, spread pieces to the opposite side. A calm, even layout always looks more polished than an overcrowded one.
Conclusion
Building a beautiful autumn wreath is far simpler than it might seem, and now you have a clear, friendly roadmap to follow from start to finish. You gathered your supplies, chose a solid base, layered greenery, arranged pumpkins, added accents, tied on ribbon, and hung your creation with pride. Each step built naturally on the last, proving that a stunning result comes from patience and a few thoughtful choices rather than expensive tools or years of practice.
Now that you know how to decorate a pumpkin wreath, the only thing left is to grab your materials and start creating. Trust your instincts, play with colors and textures, and remember that every small adjustment brings your vision closer to life. Your front door is waiting for a warm, handmade welcome, so set aside an afternoon, enjoy the process, and let your finished wreath greet the season with charm.

Rick is a handyman who grew up helping his dad with his business. He learned a lot from him about how to fix things, and also about how to work hard and take care of business. These days, Rick is still into fixing things- only now, he’s doing it for a living.
Rick is always looking for new ways to help people grow and develop. That’s why he started contributing to this blog: to share all his experience and knowledge so that he can help people who are interested in DIY repair.