

A boring or outdated lampshade can bring down the style of an entire room. Instead of buying a brand-new one, you can give any lamp a fresh, custom look with a piece of fabric. This simple DIY project is a fantastic way to add a pop of color, a unique pattern, or a coordinating texture to your home decor. It’s an affordable and creative solution that requires no special skills, just a bit of patience and attention to detail. This guide is designed for beginners and will provide clear, easy-to-follow instructions on how to cover a lampshade with fabric, transforming a plain shade into a personalized statement piece.
Creating a customized lampshade is a fun and rewarding project that allows you to breathe new life into an old or plain fixture. With just a few materials and some basic tools, you can turn an everyday lampshade into a stunning feature that reflects your personal taste and style. Whether you prefer bold designs, subtle textures, or anything in between, this project is a great way to express your creativity and enhance your space.
Customizing a Lampshade
Customizing a lampshade not only adds a unique touch to your home decor but also allows you to create something truly one-of-a-kind. It’s an opportunity to repurpose or refresh old items, reducing waste and promoting sustainability. Additionally, a personalized lampshade can serve as a conversation starter, adding character and charm to any room. By designing it yourself, you ensure that the final product perfectly aligns with your aesthetic and complements your existing decor, making your space feel more harmonious and reflective of your personality.
9 Step-by-Step Guide on How to Cover a Lampshade with Fabric
Step 1: Gather Your Materials
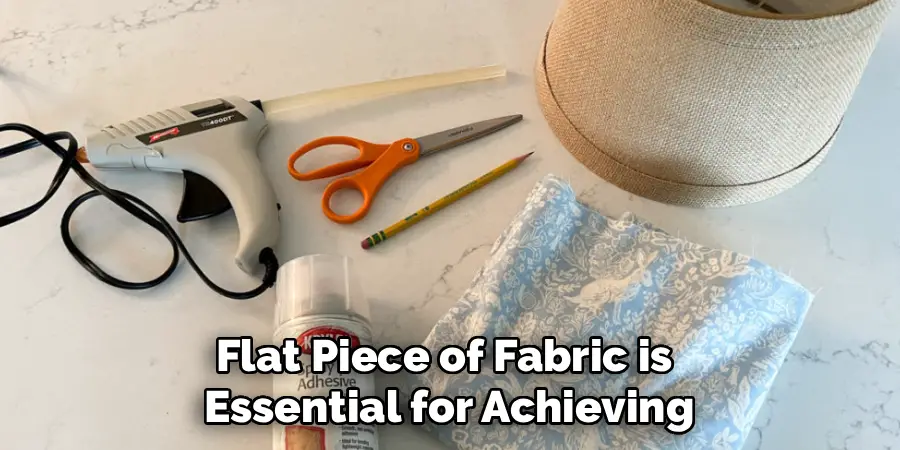
Before you start, gather all the necessary supplies. You will need a lampshade, your chosen fabric, a pair of sharp fabric scissors, a pencil, and a strong adhesive. For adhesive, a specialized lampshade glue or a fabric-safe spray adhesive works best, as they are designed to withstand the heat from the lightbulb and dry clear. You will also want a self-healing cutting mat and a rotary cutter for precise cuts, although scissors will work fine. Finally, have some clothespins or binder clips on hand to hold the fabric in place while the glue dries.
Step 2: Choose and Prepare Your Fabric
The right fabric is key to a beautiful result. Lightweight to medium-weight cotton, linen, or quilting fabrics are ideal choices because they are easy to work with and allow light to pass through nicely. Avoid very thick fabrics like upholstery material or canvas, as they will block too much light and can be difficult to wrap smoothly. Before you begin, iron your fabric thoroughly to remove every wrinkle and crease. A smooth, flat piece of fabric is essential for achieving a professional, bubble-free finish on your lampshade.
Step 3: Create a Template
For a tapered drum shade, you cannot simply wrap a rectangular piece of fabric around it. You need to create a custom template that matches the shade’s unique curve. To do this, lay your fabric on a flat surface and place the lampshade on its side near one edge. Place a small piece of tape on the seam of the lampshade to mark your starting point. Slowly roll the lampshade across the fabric, tracing the top and bottom edges with a pencil as you go. Continue rolling and tracing until you have rolled one full rotation and are back at your starting seam.
Step 4: Cut Out Your Fabric Template
Once you have traced the shape of your lampshade onto the fabric, it is time to cut it out. Before you cut along your traced lines, you need to add a seam allowance. Add about one inch of extra fabric to the top, bottom, and one of the side edges. This excess fabric will be folded over the rims of the lampshade and will create a clean, overlapping seam. Use sharp fabric scissors or a rotary cutter to carefully cut along your new, larger outline. A precise cut will make the application process much smoother.
Step 5: Apply the Adhesive
With your fabric piece cut and ready, it is time to apply the glue. It’s best to work in sections to prevent the adhesive from drying too quickly. If using a spray adhesive, spray an even, light coat onto the first quarter section of the lampshade’s exterior. If using liquid glue, apply a thin, even line of glue along the top and bottom rims and a few vertical lines down the body of the shade in that first section. Avoid applying too much glue, as it can soak through the fabric and create dark spots.

Step 6: Carefully Position and Smooth the Fabric
Take the straight, non-allowance edge of your fabric and carefully align it with the lampshade’s original vertical seam. Gently press the fabric onto the glued section of the shade. Using your hands, smooth the fabric from the center outwards, pushing out any air bubbles or wrinkles. Ensure the fabric is taut and straight. The goal is to create a perfectly smooth surface. Once the first section is secure, apply adhesive to the next section of the shade and continue to smooth and press the fabric as you rotate the lampshade.
Step 7: Secure the Final Seam
Continue applying glue and smoothing the fabric around the shade until you reach the beginning. For the final seam, apply a line of glue along the starting edge of the fabric that is already on the shade. Fold the one-inch allowance on your final fabric edge under to create a clean, hemmed edge. Carefully lay this folded edge over the starting edge, creating a neat and professional-looking vertical seam. Press it down firmly to ensure a strong bond. This overlapping seam hides the raw edge of the fabric completely.
Step 8: Trim and Fold Over the Edges
Once the body of the shade is covered, you will have about one inch of excess fabric along the top and bottom rims. To create a clean edge, make small vertical snips in this excess fabric every inch or so. These relief cuts will help the fabric fold smoothly around the curve of the rim without bunching up. Apply a thin line of glue to the inside of the lampshade’s rim. One by one, fold the small fabric tabs over the rim and press them firmly into the glue on the inside of the shade.
Step 9: Clip and Allow to Dry
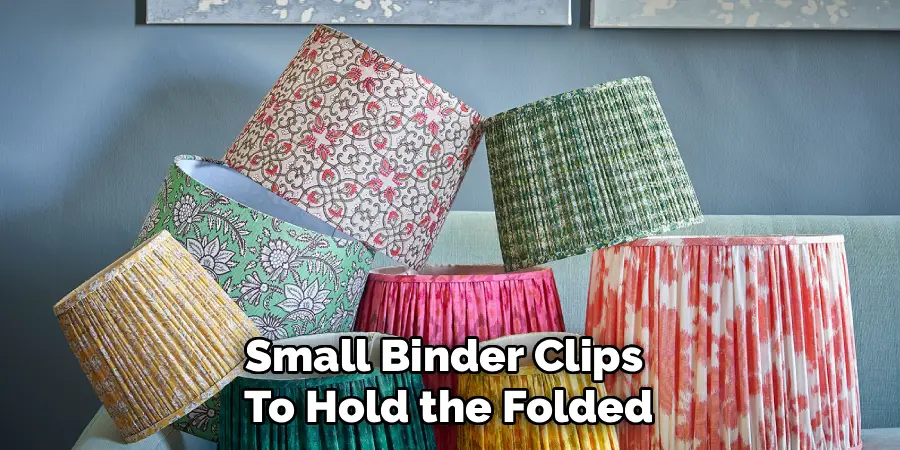
Use clothespins or small binder clips to hold the folded-over fabric tabs in place against the inside of the lampshade rims while the glue dries. This will ensure a secure and lasting bond. Place the clips all around the top and bottom rims. Let the lampshade sit undisturbed for the amount of time recommended by your adhesive’s manufacturer, which is typically several hours, or even overnight, to ensure it is completely dry and fully bonded before you handle it further or place it back on the lamp base.
Material Selection
When selecting materials for your lampshade project, it’s important to consider both functionality and aesthetic appeal. Opt for fabrics that are lightweight and semi-transparent, as these allow light to diffuse softly through the shade, creating a warm and inviting glow. Natural fibers like cotton or linen are excellent choices due to their durability and ease of handling. If you’re looking for added visual interest, patterned or textured fabrics can bring a unique charm to the design.
Additionally, ensure that the adhesive you choose is compatible with the materials being used and can withstand the heat produced by the lamp. Fire-resistant or flame-retardant treatments should also be considered for enhanced safety, especially for lamps that may remain on for prolonged periods. By carefully selecting the right materials, you can create a lampshade that is both beautiful and functional.
Frequently Asked Questions
What Is the Best Type of Fabric for Covering a Lampshade?
The best fabrics are light to medium-weight materials like cotton, linen, or chintz. These fabrics are easy to manipulate and allow a good amount of light to filter through, creating a warm glow. It is best to avoid very thick, dark, or stretchy fabrics, as they can be difficult to work with and may block too much light.
What Is the Best Glue to Use for This Project?
A dedicated craft or fabric spray adhesive is often the easiest to use for an even application. Alternatively, you can use a liquid fabric glue or a specialized lampshade adhesive. The most important thing is to choose a glue that dries clear, is heat-resistant, and won’t yellow over time from the heat of the lightbulb.
Can I Cover a Tapered or Slanted Lampshade?
Yes, you can. The key is to create a template by rolling the shade across your fabric and tracing the top and bottom edges, as described in the steps above. This rolling method accurately transfers the shade’s unique arc onto the fabric, ensuring a perfect fit for any shape other than a straight cylinder.
Do I Need to Remove the Old Fabric First?
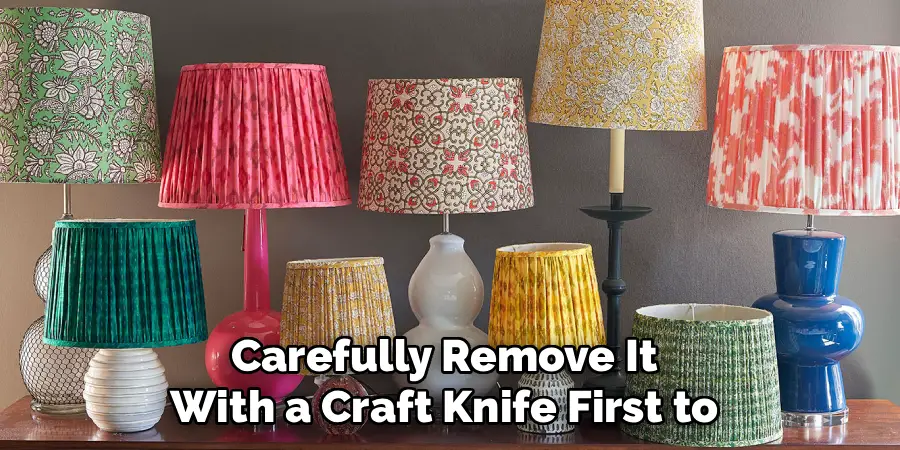
If the existing lampshade is a simple, hardback plastic or paper shade, you can apply the new fabric directly over the top. If the old shade has fabric that is textured, damaged, or dark-colored, it is best to carefully remove it with a craft knife first to ensure a smooth foundation and prevent the old pattern from showing through.
How Do I Avoid Bubbles or Wrinkles in the Fabric?
The secret to a smooth finish is to work slowly and methodically.
- Start with a completely wrinkle-free, ironed piece of fabric.
- Apply the adhesive in small, manageable sections.
- As you apply the fabric, use your hands to smooth it from the middle outwards, pushing any air pockets toward the edges.
- Keep the fabric taut as you wrap it around the shade.
Conclusion
Upcycling a simple lampshade with fabric is a rewarding project that can instantly elevate your home decor. It allows you to introduce custom patterns and colors into your space for a fraction of the cost of a designer shade. By choosing the right materials, creating an accurate template, and applying the fabric with care, anyone can achieve a professional-looking result.
The keys are patience and precision, especially when smoothing the fabric and finishing the edges. Now that you have a detailed guide on how to cover a lampshade with fabric, you are ready to unleash your creativity and give your old lamps a stunning new life.
About
Angela is the chief editor of Indoorense. She began her career as an interior designer before applying her strategic and creative passion to lifestyle and home.
She has close to 15 years of experience in creative writing and online content strategy for housekeeping and cleaning,home decorations as well as other efforts.
She loves her job and has the privilege of working with an extraordinary team. She lives with her husband, two sons, and daughter in Petersburg. When she’s not busy working she spent time with her family.