
Removing a kitchen faucet can be daunting, especially if you’re unfamiliar with the process. However, it’s actually quite simple, and this guide will walk you through the steps necessary to remove your faucet quickly and easily. All you’ll need is a few basic tools and a little bit of elbow grease! So keep reading to learn more about how to remove kitchen faucet with u shaped bracket.

Why Should You Remove Kitchen Faucet with U-Shaped Bracket?
The U-shaped bracket holding your kitchen faucet in place can cause some serious problems if it is not removed properly. For one thing, the bracket can rust and corrode, leading to water damage. Additionally, the bracket can become loose over time, making it difficult to keep the faucet securely in place.
If you are not careful, the bracket can also break, which can cause the faucet to fall and break. Therefore, it is important to remove the U-shaped bracket before attempting any repairs or replacements on your kitchen faucet. With the bracket out of the way, you can access the faucet more easily and make any necessary repairs or replacements.
7 Steps to Follow on How to Remove Kitchen Faucet with U Shaped Bracket
Step 1: Turn Off the Water Supply
The first thing you’ll need to do is turn off the water supply to your faucet. Locate the valves under your sink and turn them clockwise to shut off the water flow. Once the water is shut off, open up your faucet to release residual water pressure and prevent leaks.
Step 2: Familiarize Yourself with The Parts
Next, take a look at your faucet and familiarize yourself with the parts. First, you’ll see a large nut connecting the faucet to the supply lines. This is called the escutcheon nut, and you’ll need to remove it to access the U-shaped bracket holding your faucet in place.
Step 3: Remove the Escutcheon Nut
To remove the escutcheon nut, use an adjustable wrench or pliers. Grip the nut firmly and turn it counterclockwise until it comes loose. Once the nut is removed, you should be able to pull the escutcheon plate away from the wall, exposing the U-shaped bracket.
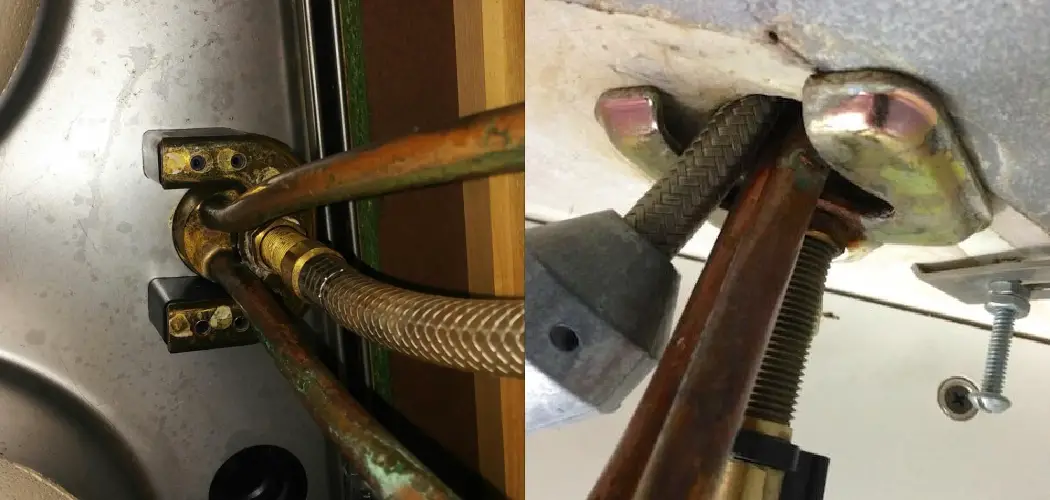
Step 4: Remove the U-Shaped Bracket
Now it’s time to remove the U-shaped bracket. Two bolts hold it in place, one on each side of the bracket. Use a screwdriver or ratchet wrench to remove these bolts (be sure to use the correct size wrench or screwdriver for your bolts). With the bolts removed, you should now be able to lift the U-shaped bracket away from your faucet.
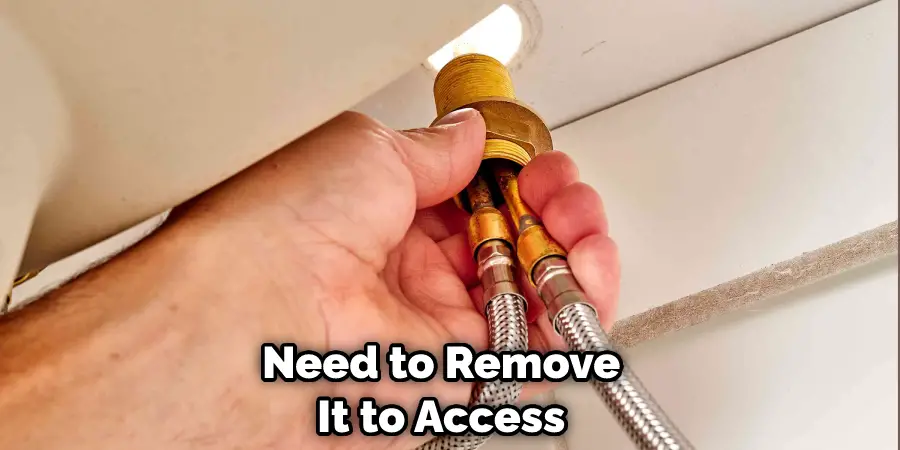
Step 5: Disconnect the Water Supply Lines
With the U-shaped bracket removed, you should now have access to the water supply lines. There will be a nut connecting each line to the faucet. Use an adjustable wrench or pliers to loosen these nuts and disconnect the lines from the faucet.
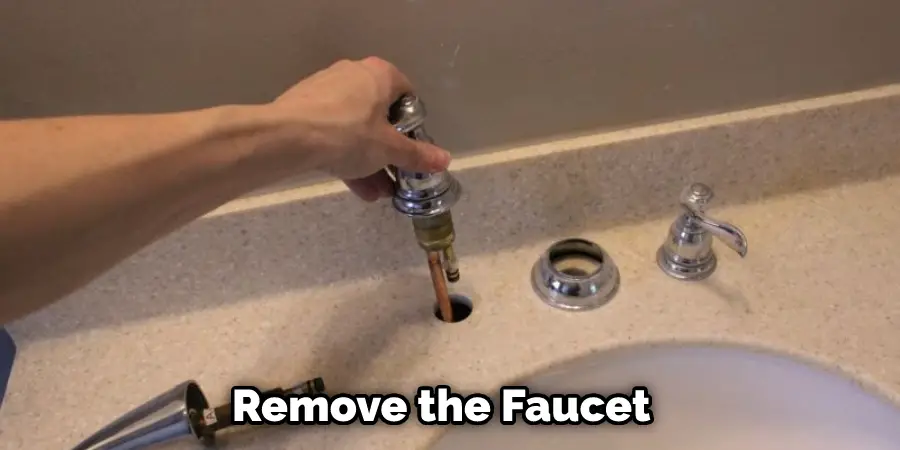
Step 6: Remove the Faucet
With the water supply lines disconnected, you should now be able to remove the faucet itself. There may be a final nut or bolt holding it in place, so be sure to check for this before trying to pull the faucet away from the sink. If everything is loose, the faucet should come away easily.
Step 7: Clean Up and Install the New Faucet
Once you have removed the old faucet, take some time to clean up the area around the sink. This will make it easier to install the new faucet. When you’re ready, follow the reverse of these steps to install your new faucet. Be sure to turn on the water supply slowly to avoid leaks.
That’s it! You’ve now learned how to remove kitchen faucet with u shaped bracket. Removing a kitchen faucet with a U-shaped bracket is not difficult, but following the steps carefully is important to avoid damaging your sink or faucet. With a little patience and the right tools, you should be able to remove your old faucet and install a new one in no time.
What You Need to Know When Remove Kitchen Faucet with U Shaped Bracket
Removing a kitchen faucet with a U-shaped bracket can be a bit tricky. The first thing you need to do is turn off the water supply to the faucet. Then, you need to remove the escutcheon plate. This is the round plate that covers the hole in the sink. Once the escutcheon plate is removed, you can see the U-shaped bracket.
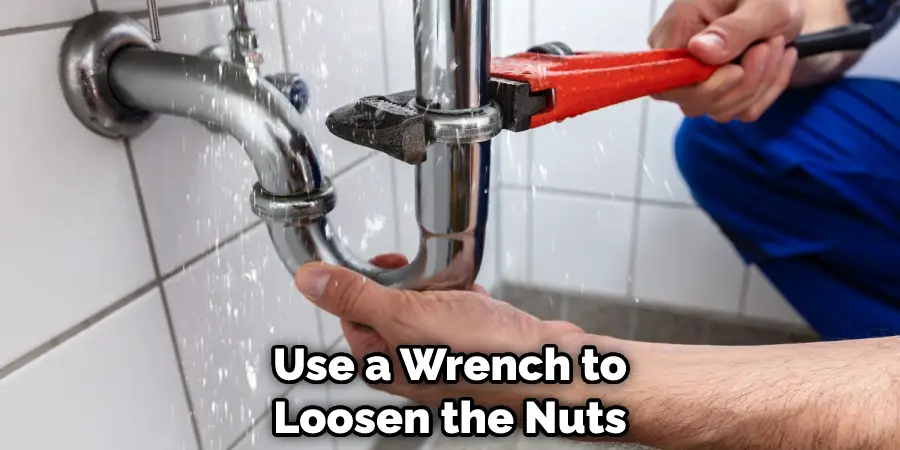
The bracket is held in place by two screws. Use a screwdriver to remove the screws, and then carefully lift the faucet off of the sink. If you are having trouble removing the faucet, you may need to use a wrench to loosen the nuts that hold the faucet in place. Once the faucet is removed, you can then install your new kitchen faucet.
How to Fix a Leaky Kitchen Faucet
A kitchen faucet is one of the hardest-working fixtures in your home, and a leaky faucet can be both frustrating and costly. If you’re handy with basic tools and have some basic plumbing knowledge, though, you can fix most leaks yourself. First, try to identify the source of the leak. Is it coming from the base of the spout, the handle, or somewhere else?
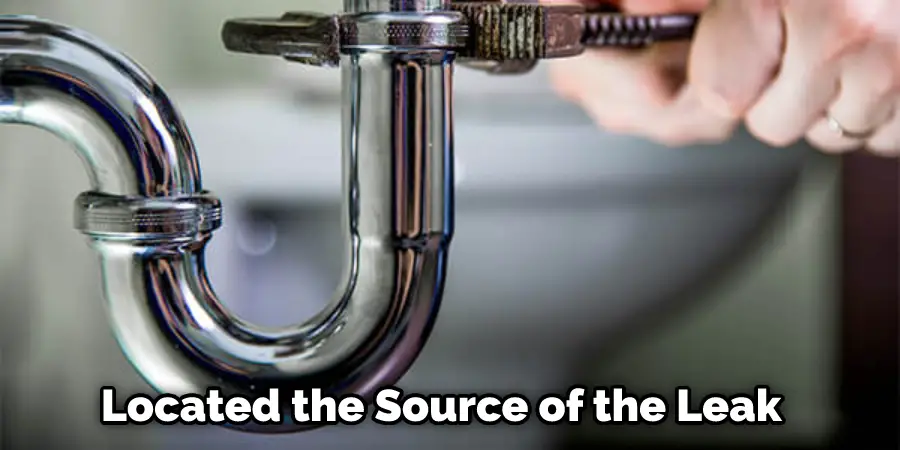
Once you’ve located the source of the leak, you can begin to make repairs. For example, to fix a leaky faucet, you will need to replace the O-ring(s) or washer(s) located at the leakage point. You may also need to replace some other parts, such as the bonnet nut or valve seat.
With a few simple tools and a little elbow grease, you can fix that leaky kitchen faucet and get back to enjoying your time in the kitchen. Keep reading for more information about how to remove kitchen faucet with u shaped bracket.
The Different Types of Kitchen Faucets and How to Remove Them
When it comes to kitchen faucets, there is a wide variety of both styles and functions to choose from. Whether you’re looking for a simple, standard design or something more modern and streamlined, there’s sure to be a faucet that meets your needs. However, with so many options on the market, it can be difficult to know where to start your search.
In addition, if you’re not familiar with the installation process, removal can be tricky. To help you narrow down your choices and make the installation process as smooth as possible, here is a rundown of the different types of kitchen faucets and how to remove them:
Standard Faucets: Standard faucets are the most common type of kitchen faucet. They typically have two handles – one for hot water and one for cold – and a spout in the center. To remove a standard faucet, start by turning off the water supply and then removing the handles. Next, use a wrench to loosen the mounting nuts holding the faucet. Finally, lift the faucet out of the sink and unscrew any remaining hardware.
Pull-Out Faucets: Pull-out faucets are becoming increasingly popular in kitchen designs. They offer greater flexibility and convenience than standard faucets, as they have a detachable sprayer hose that can be used for tasks such as filling pots or washing produce.
To remove a pull-out faucet, start by turning off the water supply and then removing the handles. Next, use a wrench to loosen the mounting nuts that hold the sprayer hose in place. Finally, carefully pull out the hose and unscrew any remaining hardware.
Touchless Faucets: Touchless faucets are a more recent innovation in kitchen design. As their name suggests, they allow you to turn on and off the water without ever having to touch the faucet itself – perfect for busy cooks who don’t want to waste time searching for a handle.
To remove a touchless faucet, start by turning off the water supply and then unscrewing the battery cover. Next, use a Phillips head screwdriver to remove the screws that hold the control box in place. Finally, disconnect the wires from the control box and lift them out of the sink. Finally, unscrew any retaining hardware to complete the removal process.
How to Install a New Kitchen Faucet
Installing a new kitchen faucet is a relatively easy DIY project that anyone with basic plumbing skills can do. The first step is to turn off the water supply to the sink and remove the old faucet. Next, following the manufacturer’s instructions, you’ll need to install the new faucet.
Once the new faucet is in place, you can turn on the water supply and test the faucet to make sure it’s working properly. Of course, if you’re not comfortable doing this yourself, you can always hire a plumber to do it for you. However, installing a kitchen faucet is a relatively simple task that most people can do without professional help.
Conclusion
With the U-shaped bracket removed, all left is to lift your faucet off its base and disconnect it from the supply lines. You may need a pair of pliers or an adjustable wrench to loosen these connections. Be careful not to damage any of the plumbing as you disconnect everything.
Once everything is disconnected, you can take your old faucet out and replace it with a new one! Installing a new kitchen faucet is even easier than removing an old one, so follow directions carefully when putting everything back together again. Thanks for reading our post about how to remove kitchen faucet with u shaped bracket.