
Painting skirting boards can significantly enhance the appearance of a room by providing a clean and polished look. Whether you are refreshing existing skirting boards or painting them for the first time, the process involves careful preparation and execution to achieve a professional finish. In this guide, we will walk you through each step of how to paint skirting boards, ensuring that you have the necessary tools and techniques to paint your skirting boards effectively and efficiently. Let’s get started on transforming your space!
Importance of Painting Skirting Boards
Painting skirting boards is an often-overlooked task that can make a significant impact on the overall aesthetic of a room. Skirting boards act as the finishing touch that frames and defines the space, creating a cohesive look by tying together the walls and flooring. Well-painted skirting boards not only enhance the visual appeal but also protect the woodwork from scuffs, marks, and damage, especially in high-traffic areas.
Additionally, painting skirting boards can help to conceal imperfections, such as small cracks or dents, offering a renewed and refined look. Keeping your skirting boards freshly painted can drastically elevate the elegance and charm of any interior space.
Gather Materials and Tools
Before beginning the painting process, it’s important to gather all the necessary materials and tools to ensure a smooth and efficient workflow. Here is a list of essential items you will need:
- Paint: Choose a high-quality paint specifically designed for woodwork. Consider the finish you desire—gloss, semi-gloss, or satin.
- Primer: A suitable primer is crucial if you are painting bare wood or making a significant color change.
- Paintbrushes: Invest in good-quality angled sash brushes for precision work on the skirting boards.
- Painter’s Tape: Use to protect adjacent areas, such as walls and flooring, from paint splatters.
- Drop Cloths: Cover the floor and nearby furniture to protect them from drips and spills.
- Sandpaper: Fine-grit sandpaper is needed for smoothing any rough wood surfaces.
- Cleaning Supplies: A damp cloth and mild detergent for cleaning the surface before painting.
- Filler and Putty Knife: Use wood filler to address any imperfections like cracks or holes.
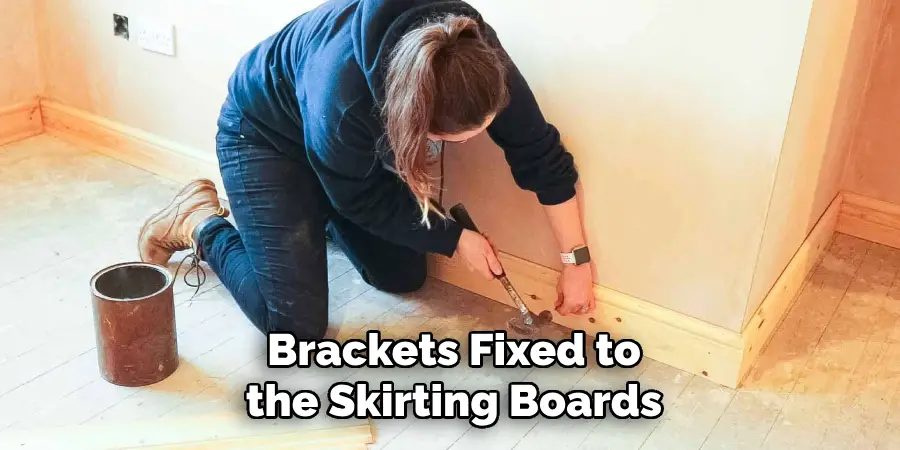
- Screwdriver: If removing old fixtures or brackets fixed to the skirting boards.
- Optional: Foam Rollers: For painting larger uninterrupted sections for a smooth finish.
Ensure you have all these materials prepared and organized before starting the painting process to streamline your efforts and achieve the best results.
10 Methods How to Paint Skirting Boards
1. Prepare the Area Properly
Preparation is the key to a smooth, professional-looking finish. Before you begin painting, clear the area around the skirting boards by moving furniture and any obstructions out of the way. Lay down a drop cloth or painter’s plastic to protect your floors from drips and spills. Next, clean the skirting boards using a damp cloth or a mild detergent solution to remove any dust, dirt, or grease. If the boards are particularly grimy, use a sugar soap solution to ensure they are completely clean. This preparation step is crucial because it helps the paint adhere properly and ensures a smooth, even finish.
2. Sand the Skirting Boards
After cleaning the skirting boards, the next step is to sand them. Sanding smooths out any rough patches, removes old paint, and creates a slightly rough surface that allows the new paint to adhere better. Use medium-grit sandpaper (around 120 to 150 grit) for skirting boards that are already painted, and finer sandpaper (around 180 to 220 grit) for bare wood. Pay special attention to any areas with imperfections, such as chips or dents, and sand them down until smooth. Wipe away dust with a damp cloth after sanding to ensure a clean surface for painting.
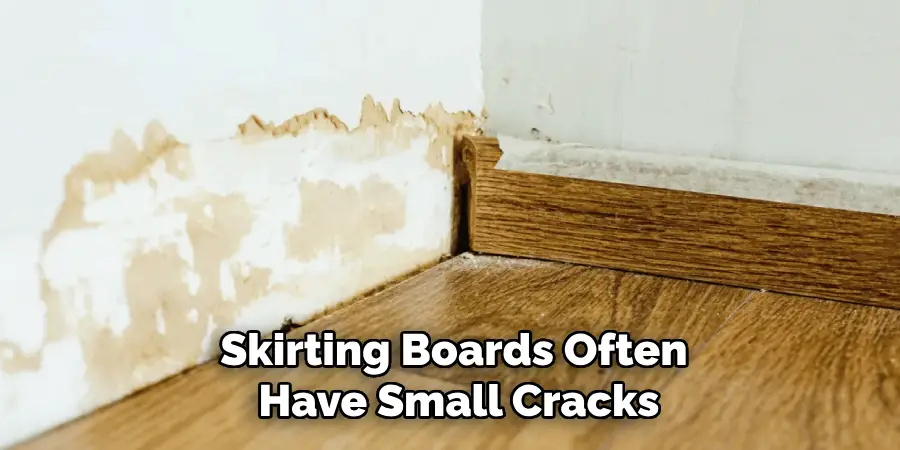
3. Fill in Gaps and Imperfections
Skirting boards often have small cracks, gaps, or imperfections that need to be filled before painting. Use a wood filler or caulk to fill in any cracks or holes. A flexible decorator’s caulk is best for gaps between the skirting board and the wall, as it can expand and contract with temperature changes without cracking. For holes or larger imperfections in the wood, use a high-quality wood filler. Smooth the filler with a putty knife, let it dry completely, and sand it down to ensure an even surface. Filling these imperfections ensures a flawless finish once the paint is applied.
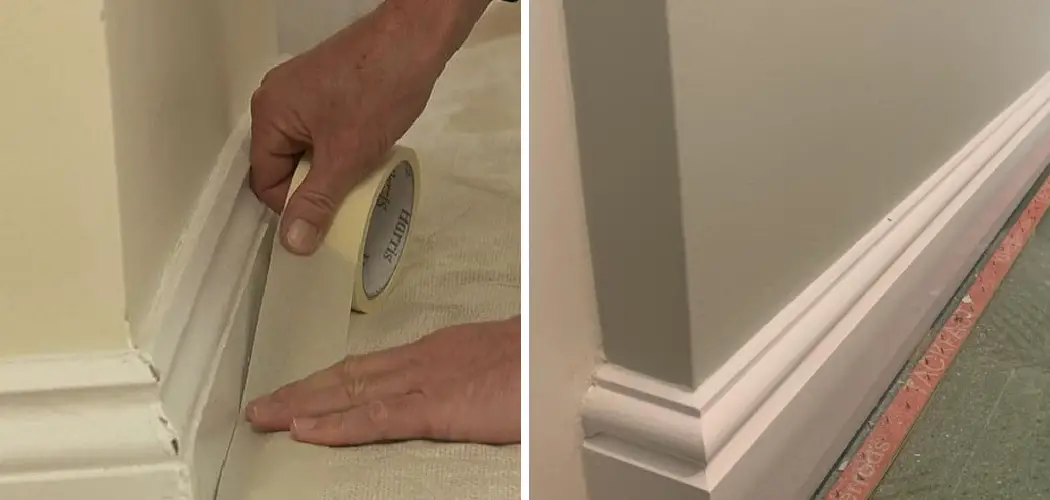
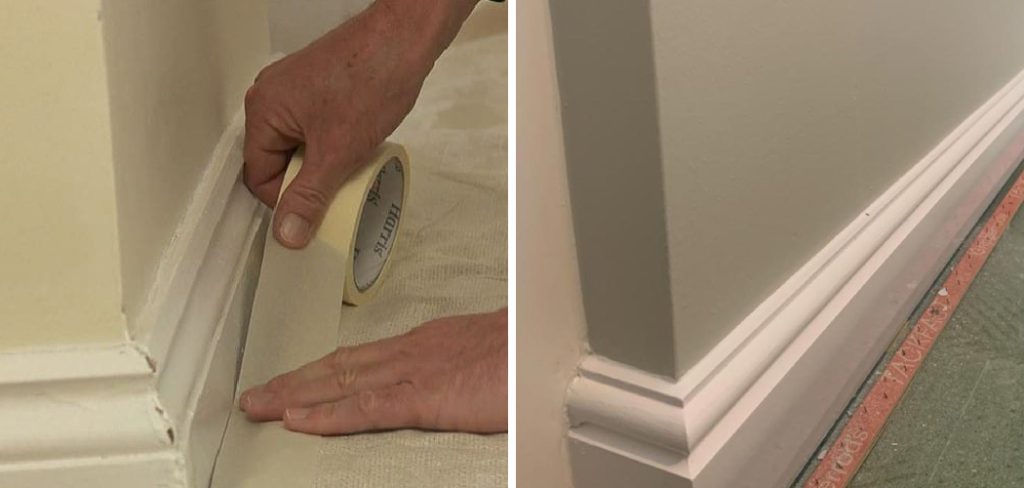
4. Use Painter’s Tape to Protect Walls and Floors
Painter’s tape is essential for achieving clean, sharp lines along the edges of your skirting boards. Apply painter’s tape along the top edge of the skirting board where it meets the wall, and along the bottom edge where it meets the floor. Press the tape down firmly to prevent paint from seeping underneath. Be sure to use a high-quality, low-tack painter’s tape to avoid peeling off any paint when you remove it. Painter’s tape is particularly useful if you’re not confident in cutting in (painting edges) with a steady hand. It provides a protective barrier that ensures clean edges.
5. Prime the Skirting Boards
Priming is an important step that many people overlook, but it’s essential for achieving a professional finish. A primer prepares the surface of the skirting board by sealing the wood and providing a smooth, even base for the paint. If your skirting boards are bare wood or if you’re covering a dark or stained surface with a lighter color, using a primer is especially crucial. Choose a primer that is compatible with the type of paint you plan to use, whether oil-based or water-based. Apply a thin, even coat of primer and let it dry completely before moving on to the paint.
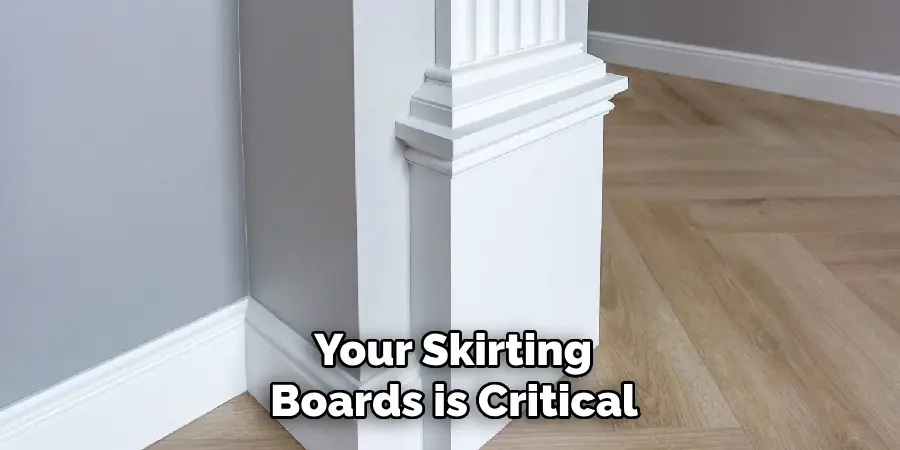
6. Choose the Right Paint for the Job
Choosing the right paint for your skirting boards is critical for both durability and aesthetics. You’ll want a paint that is hard-wearing, easy to clean, and provides a nice finish. Typically, gloss or satinwood paint is used for skirting boards because it’s tough and has a slight sheen that is easy to wipe down. Gloss paint gives a shiny, reflective finish, while satinwood offers a more muted, soft sheen. If you prefer a more subtle look, you can opt for eggshell paint, which has a matte finish but is still durable. Consider the overall look you want for your space when choosing the finish.
7. Use a Good-Quality Brush
For the best results, invest in a good-quality paintbrush specifically designed for trim or woodwork. A brush with synthetic bristles, around 1.5 to 2 inches wide, is ideal for painting skirting boards because it provides good control and smooth coverage. A high-quality brush will help reduce brush marks and give you a more even finish. Avoid using old or worn-out brushes, as they can leave streaks, hairs, or uneven coverage. A quality brush ensures that the paint goes on smoothly and evenly, resulting in a professional finish.
8. Apply Thin, Even Coats of Paint
When applying paint to your skirting boards, it’s best to use thin, even coats rather than thick ones. Thick coats are more likely to drip, run, or create uneven textures, whereas thin coats allow the paint to dry more smoothly and evenly. Start by dipping the tip of your brush into the paint and gently wiping off any excess. Paint in long, smooth strokes along the length of the skirting board, working in sections to maintain a wet edge. This prevents brush marks and ensures a consistent finish. Allow each coat to dry fully before applying the next one.
9. Sand Between Coats
To achieve a perfectly smooth and professional finish, lightly sand the skirting boards between each coat of paint. Use fine-grit sandpaper (around 220 grit) to gently sand the surface of the paint once it has dried. This step removes any imperfections, brush marks, or dust particles that may have settled on the surface while the paint was drying. After sanding, wipe the surface clean with a damp cloth to remove any dust before applying the next coat. Sanding between coats creates a flawless, ultra-smooth finish that looks polished and professional.
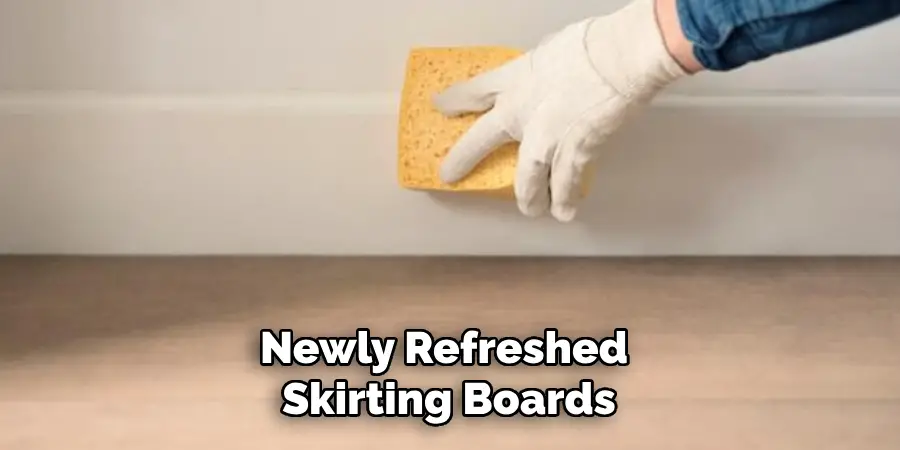
10. Remove Painter’s Tape and Clean Up
Once you’ve applied the final coat of paint and it has dried completely, carefully remove the painter’s tape. Pull the tape off slowly and at a slight angle to avoid peeling away any fresh paint. If you encounter any resistance, use a utility knife to gently score along the edge of the tape to prevent tearing the paint. After removing the tape, inspect the skirting boards for any touch-ups that may be needed, and use a small brush to fix any imperfections. Finally, clean your brushes and any other tools, and enjoy your newly refreshed skirting boards!
Conclusion
Painting skirting boards may require careful preparation and attention to detail, but the results are well worth the effort. By following these ten methods—preparing the area, sanding, filling imperfections, using painter’s tape, priming, selecting the right paint and tools, applying thin coats, sanding between coats, and carefully cleaning up—you can achieve a professional-looking finish that enhances the overall appearance of your room. Follow these simple instructions outlined in this blog post about how to paint skirting boards, and you’ll be able to get the job done with ease.
About
Angela is the chief editor of Indoorense. She began her career as an interior designer before applying her strategic and creative passion to lifestyle and home.
She has close to 15 years of experience in creative writing and online content strategy for housekeeping and cleaning,home decorations as well as other efforts.
She loves her job and has the privilege of working with an extraordinary team. She lives with her husband, two sons, and daughter in Petersburg. When she’s not busy working she spent time with her family.