
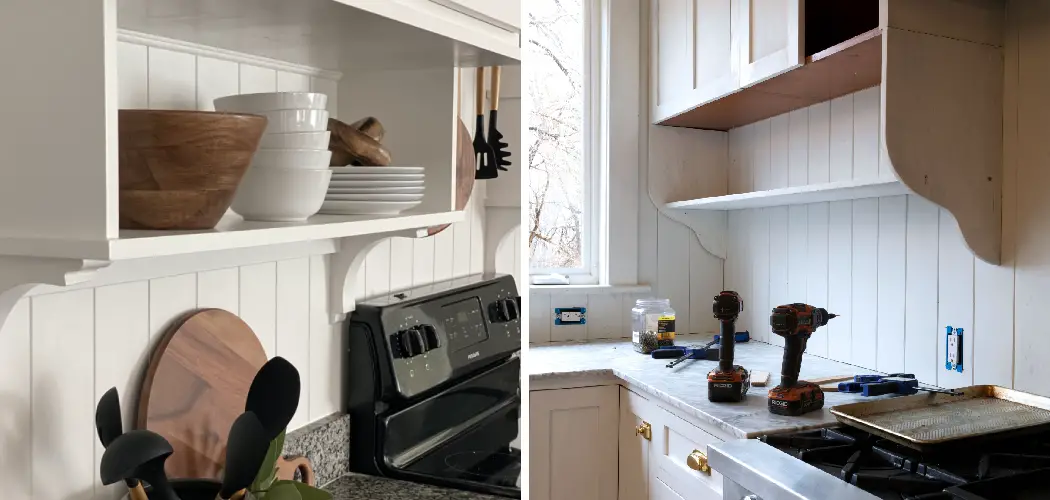
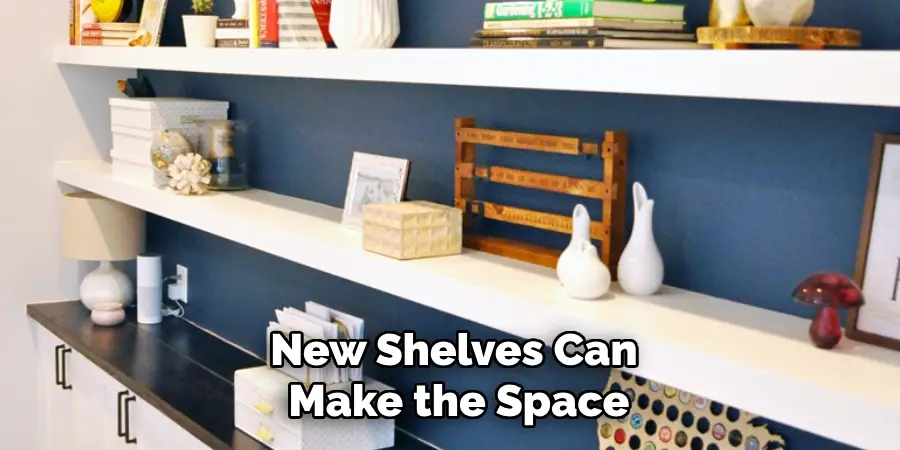
Are you tired of the unused space under your kitchen cabinets? Adding shelves under kitchen cabinets can be a great way to utilize that space and add additional storage.

How to add shelves under kitchen cabinets is an excellent way to maximize your kitchen’s storage space without sacrificing style. This DIY project can help you keep countertops clutter-free and organize kitchen essentials, making them easily accessible while cooking or cleaning. Whether you aim to create extra space for spices, utensils, or decorative items, installing under-cabinet shelves can be practical and aesthetically pleasing. With the right tools, materials, and a bit of patience, even novice DIY enthusiasts can complete this project efficiently.
This guide will walk you through the steps to successfully install shelves under your kitchen cabinets, transforming your kitchen into a more functional and visually appealing space.
What Will You Need?
Before you begin, ensure you have all the necessary materials and tools. Here is a list of items you will need for this project:
- Tape measure
- Level
- Drill
- Screws
- Shelf brackets
- Screwdriver
- Wood shelves or prefabricated shelves with mounting hardware
- Stud finder (optional)

10 Easy Steps on How to Add Shelves Under Kitchen Cabinets
Step 1: Measure and Plan
Begin by accurately measuring the space where you intend to install the shelves. Using a tape measure, determine the length, width, and height available under your kitchen cabinets. It’s essential to ensure that the shelves fit snugly and do not interfere with other kitchen appliances or cabinetry. Consider what you plan to store on these shelves to help decide their depth and number. Once you have your measurements, sketch a simple plan to visualize the shelf arrangement, considering the spacing between shelves to accommodate the items you wish to store.
This planning step is crucial for achieving a balanced and functional setup. Additionally, decide on the optimal placement of the brackets; they must be positioned to provide adequate support for the shelves, with careful attention to wall studs if you’re using a stud finder to enhance stability.
Step 2: Gather Your Tools and Materials
With your plan in place, gather all the tools and materials listed earlier. Having everything at hand will streamline the installation process and help avoid interruptions. Make sure your drill is fully charged or has a power source nearby if corded. Inspect the wood shelves or prefabricated shelves to ensure they are in good condition and that you have enough mounting hardware to complete the installation. Verifying the presence of all needed materials beforehand will allow you to focus entirely on the installation, reducing the risk of errors and ensuring a more seamless experience.
Consider setting up your workspace in the kitchen or nearby area for easy access to the installation site.
Step 3: Mark Drilling Points
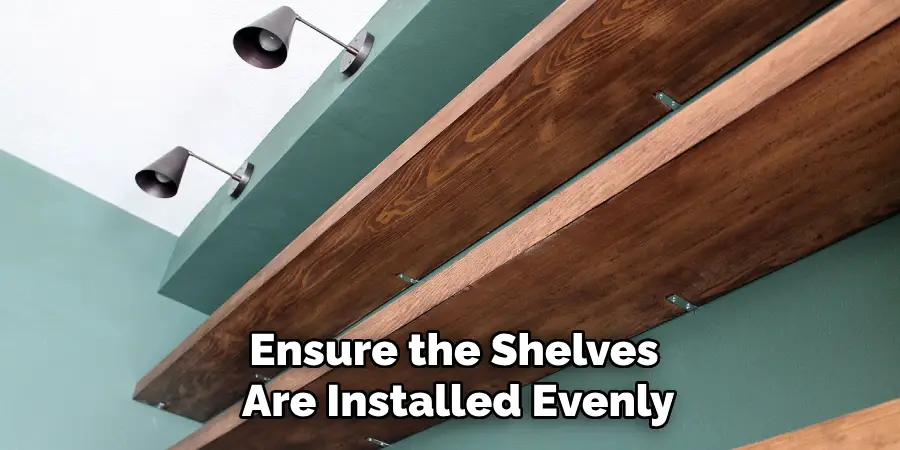
With your measurements in mind and materials ready, it’s time to mark the drilling points for the shelf brackets. Begin by using the level to ensure that your markings will align straight. Holding the bracket against the wall, mark where each screw will go. If you’re using a stud finder, locate the studs first for added support, and try to position the brackets so at least some screws can go into these studs. Ensure that all brackets are at the same height, using your level to double-check. Accurate marking at this stage will facilitate easier drilling and ensure the shelves are installed evenly.
Step 4: Drill Pilot Holes
Once you’ve marked the drilling points, take your drill and begin drilling pilot holes into the marked spots. This step is crucial as it prevents the wood or wall from splitting when you insert the screws. Make sure your drill bit matches the size of the screws you plan to use. If you’re drilling into a stud, be sure the pilot holes are deep enough to hold the screws securely. Drill straight to avoid any angle that might cause misalignment of the brackets. Once all pilot holes are drilled, take a moment to clear away any dust or debris, ensuring a clean surface for bracket installation.
Step 5: Attach the Brackets
You can now attach the shelf brackets to the wall with the pilot holes prepared. Align each bracket over its corresponding pilot holes and secure it in place by inserting screws through the bracket’s mounting holes. Use your screwdriver or drill to tighten the screws, ensuring each bracket is firmly attached to the wall. Take care not to overtighten, as this could damage the wall or brackets. Double-check that the brackets are level and evenly spaced; this will help support the shelves properly and maintain a balanced appearance. Once all brackets are securely fastened, you’re ready to place the shelves.
Step 6: Position the Shelves
Now that the brackets are securely in place, it’s time to position the shelves on top of them. Carefully lift each wood or prefabricated shelf and set it onto the corresponding brackets. Ensure that the shelves are centered and evenly aligned across the brackets for optimal support and aesthetics. If the shelves come with mounting hardware, follow the manufacturer’s instructions to attach them securely to the brackets.
Take this opportunity to double-check the levelness of the shelves, making any necessary adjustments to ensure a straight and balanced appearance. Proper positioning and attachment will keep your shelves sturdy and ready for use.
Step 7: Secure the Shelves
Once the shelves are positioned correctly, secure them to the brackets to prevent movement. If your shelves come with specific mounting hardware, use the instructions to fix them securely. Typically, this involves inserting screws through the pre-drilled holes in the shelves into the brackets. Make sure each screw is tightened appropriately, but avoid overtightening to prevent any potential damage.
This step is crucial for ensuring the shelves remain stable and can safely support the weight of items you place on them. Taking the time to affix the shelves securely will enhance your installation’s safety and longevity.
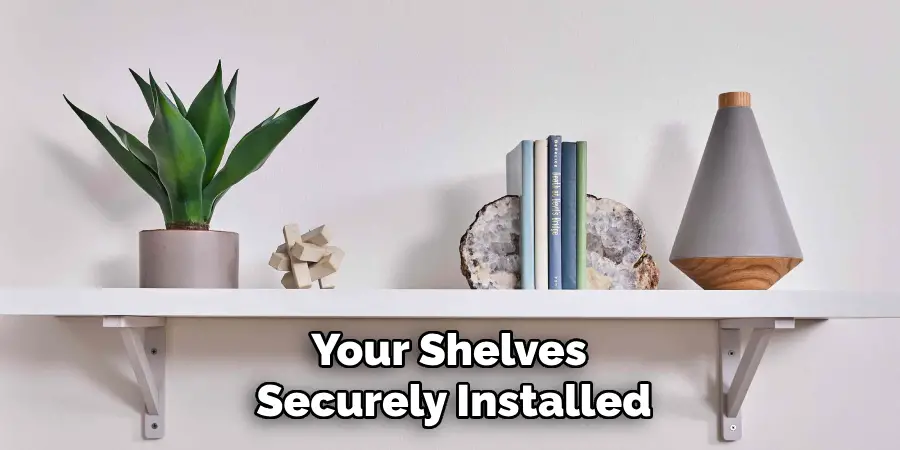
Step 8: Load and Organize Your Shelves
With your shelves securely installed, it’s time to load and organize them with your desired items. Start by placing heavier items on the lower shelves to maintain stability and prevent tipping. As you arrange your kitchen items, consider the frequency of use and accessibility; position frequently used items where they are easily reachable. Use storage containers or baskets for smaller items to keep them organized and easy to find.
Maintain a neat arrangement to enhance the functionality and aesthetic appeal of your kitchen space. Regularly review and reorganize to keep the shelves tidy and optimized for your everyday needs.
Step 9: Maintain Your Shelves
To ensure the longevity and functionality of your newly installed kitchen shelves, regular maintenance is critical. Periodically check the stability of the shelves by inspecting the brackets and screws, tightening them if necessary. Keep the shelves clean by wiping them down with a soft, damp cloth to remove dust and spills, which helps maintain their appearance and structural integrity. Assess the load on each shelf and avoid overloading them to prevent strain and potential damage.
By staying attentive to the condition and organization of your shelves, you’ll preserve their usability and keep your kitchen space efficient and visually appealing.
Step 10: Enjoy Your New Storage Solution
With the installation complete and your kitchen items neatly arranged, take a moment to appreciate your new storage solution. The added organization and accessibility can make cooking and meal preparation more enjoyable. Everything in its designated place enhances efficiency and contributes to a tidy and welcoming kitchen environment. Share the benefits of your organized space with family and friends, and consider how the process might inspire further home improvement projects. Whether tackling a complex recipe or grabbing a quick snack, the convenience of your new setup will surely enhance your culinary experience.
By following these steps, you can successfully install kitchen shelves and optimize your storage space.
5 Things You Should Avoid
- Neglecting Measurement Accuracy: Failing to measure accurately before installing any shelves can lead to shelves that don’t fit properly or hang unevenly. Precise measurements are crucial to ensure a seamless fit under your kitchen cabinets.
- Ignoring Cabinet Support: It’s essential to consider the structural support of your cabinets. Adding shelves without assessing the support could damage them or cause them to collapse under the weight of stored items.
- Using Low-Quality Materials: Avoid using cheap or unsuitable materials for your shelving. Poor-quality materials can warp, sag, or become discolored over time, compromising the function and aesthetics of your kitchen storage.
- Overloading Shelves: Maximizing storage by crowding the shelves might be tempting, but overloading them can stress the brackets and potentially damage the entire setup. Always adhere to the recommended weight limits.
- Disregarding Aesthetic Consistency: Your kitchen’s visual appeal is important, so ignoring the style and color consistency between your cabinets and new shelves can make the space appear disjointed. Ensure the shelves complement your existing kitchen design for a cohesive look.
Conclusion
When adding shelves under kitchen cabinets, focus on balancing functionality with aesthetics. Begin by measuring the space accurately to ensure the shelves fit correctly.
Choose high-quality materials and finishes that align with the existing kitchen decor, providing durability and style. Assess the structural support of your cabinets to avoid mishaps, and always follow the weight recommendations to prevent overloading. By considering these factors, you can effectively enhance your kitchen’s storage solutions, adding both utility and an appealing look to the space.
Hopefully, these tips on how to add shelves under kitchen cabinets, will help you avoid common mistakes and achieve a successful installation of under-cabinet shelves in your kitchen. Happy organizing!
About
Angela is the chief editor of Indoorense. She began her career as an interior designer before applying her strategic and creative passion to lifestyle and home.
She has close to 15 years of experience in creative writing and online content strategy for housekeeping and cleaning,home decorations as well as other efforts.
She loves her job and has the privilege of working with an extraordinary team. She lives with her husband, two sons, and daughter in Petersburg. When she’s not busy working she spent time with her family.