

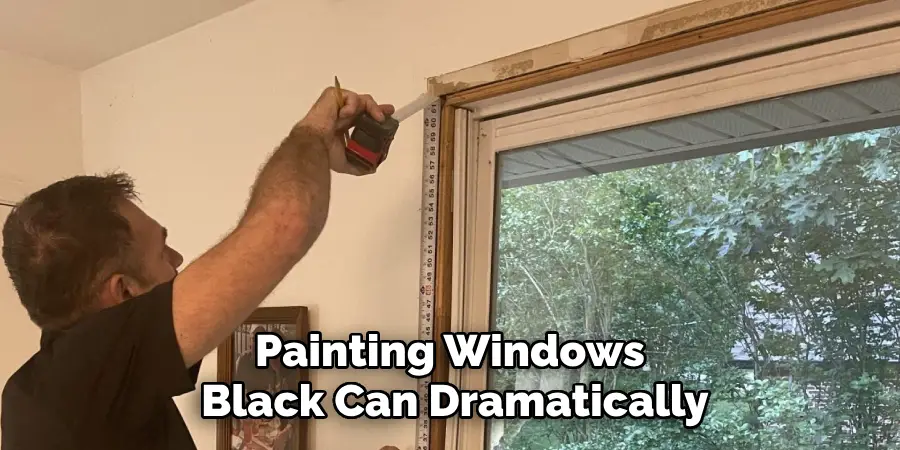
Painting windows black can dramatically transform a room’s ambiance, creating a sophisticated, modern look that complements a variety of design styles. Whether you’re aiming for a chic industrial vibe or simply want to add depth and contrast to your space, black windows can serve as a stunning focal point. This guide will walk you through the materials needed and the step-by-step process how to paint windows black, offering tips and tricks to ensure a smooth painting experience.

Why Paint Windows Black?
Painting windows black is more than just a design choice; it’s a statement that can redefine the aesthetics of a space. Black window frames add a sense of drama and elegance by enhancing contrast and allowing other design elements to pop. Furthermore, they have the ability to visually blur the divide between indoor and outdoor environments, especially when surrounded by lush landscapes or cityscapes.
This technique is also versatile, blending seamlessly into both modern minimalist interiors and traditional spaces with ease. Moreover, black-painted windows are practical, as they tend to show dirt and wear less obviously than lighter colors, making maintenance easier. Whether you want to ground a room with bold accents or offer a clean, polished finish to your home, black windows are a timeless choice.
Tools and Materials Required
To successfully paint your windows black, you’ll need to gather the necessary tools and materials to ensure a professional and lasting finish. Here’s a list of what you’ll need:
- Sandpaper or Sanding Block: To smooth out any rough spots on the window frames, ensuring the paint adheres well.
- Painter’s Tape: Essential for protecting the glass and other areas you don’t want to paint.
- Plastic Sheeting or Drop Cloths: To cover and protect the floor and nearby furniture from paint splatters.
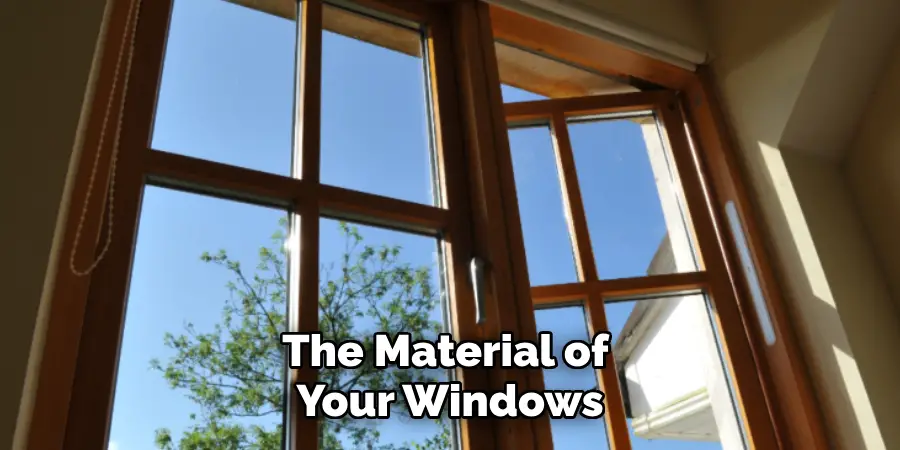
- Primer: A quality primer that works well on your window’s material (wood, metal, or vinyl) is crucial for long-lasting results.
- Paintbrushes and Rollers: Choose high-quality brushes and rollers suitable for the type of paint you are using.
- Black Paint: Use a durable, fade-resistant black paint; semi-gloss or satin finishes often work best for a sleek appearance.
- Stir Stick: To ensure the paint is mixed thoroughly before application.
- Putty Knife and Wood Filler: For filling any imperfections or holes in the window frame.
- Cleaning Supplies: Such as a cloth and mild detergent or vinegar solution, to clean the window frames before painting.
Choosing the Right Paint for Windows
Selecting the appropriate paint is crucial to achieving a professional and durable finish on your windows. When painting window frames black, consider a high-quality, weather-resistant exterior paint if the windows are exposed to outdoor elements. For interior window frames, opt for premium interior satin or semi-gloss paint, as these finishes provide a sleek look while being easy to clean.
It’s also important to choose a paint that adheres well to the window material, whether wood, vinyl, or metal. For this reason, primer may be necessary to ensure the paint bonds properly, especially if you’re changing the color from a lighter shade. Look for paints that boast UV resistance, which will help maintain the color’s vibrancy over time.

10 Steps to Paint Your Windows Black Like a Pro
Are you a DIY enthusiast or a home decorator looking to add a touch of elegance and modernity to your home? Painting your windows black is an excellent way to achieve a chic, sophisticated look. This listicle will guide you through 10 straightforward steps to paint your windows black, ensuring a professional finish without hiring an expert.
1. Gather Your Materials
Before you start, ensure you have all the necessary materials. You’ll need high-quality paint, primer, painter’s tape, sandpaper, a small brush, a larger brush, and a drop cloth. High-quality paints like Benjamin Moore’s Advanced or Sherwin-Williams’ Emerald Urethane Trim Enamel are recommended for their durability and smooth finish.
2. Choose the Right Paint and Primer
Selecting the right paint is crucial for an enduring finish. Use an oil-based or water-based enamel paint, as it provides a hard, glossy surface perfect for windows. Pair this with a primer that’s designed for the material of your windows, whether wood, vinyl, or metal.
3. Prepare the Area
Preparation is key. Cover your floors with a drop cloth to protect against spills. Use painter’s tape to cover any areas you don’t want to paint, such as the glass itself or adjacent walls. Ensure the room is well-ventilated to avoid inhaling fumes.
4. Clean the Windows
Clean surfaces lead to better paint adhesion. Use a mixture of mild soap and water to clean the window frames thoroughly. Remove any old paint, dirt, or grease that might hinder the new paint from sticking properly.
5. Sand the Window Frames
Light sanding is essential for getting a smooth finish. Use fine-grit sandpaper to remove any existing gloss and create a surface that the primer can grip onto. Be sure not to sand too hard, as this can damage the frames.
6. Apply Primer
Primer sets the stage for your paint. Apply a coat of primer evenly across the window frames, allowing it to dry completely. Priming not only helps paint stick better but also blocks stains and provides a uniform base for your paint color.
7. Sand Again (if Needed)
Once the primer has dried, inspect the surface. If you notice any rough spots or drips, lightly sand those areas to ensure a smooth finish.
8. Paint the Windows
Now for the fun part! Start painting your windows using the smaller brush for corners and edges, and switch to the larger brush for broader surfaces. Apply the paint in thin, even coats, allowing each layer to dry before applying the next. Two to three coats are usually sufficient for optimal coverage.
9. Remove the Painter’s Tape
After the final coat has dried, carefully remove the painter’s tape. This will help ensure clean, sharp lines along the edges where the paint meets the glass or adjacent walls.
10. Enjoy Your New Look
Step back and admire your work! Black windows can redefine a space, adding depth and contrast to your home decor. Share your accomplishments with friends or on social media to inspire others.
Painting your windows black is a simple yet impactful way to elevate your home’s interior design. By following these steps, you’ll achieve a professional look that’s both stylish and durable. Ready to take your home’s aesthetics to the next level? Grab your brushes and start transforming your space today!
Maintenance and Upkeep
Ensuring that your freshly painted black windows remain in prime condition requires regular maintenance and care. Begin by incorporating a routine cleaning schedule to prevent the accumulation of dust and grime, which can dull the vividness of the black paint. Use a soft cloth and a mild detergent solution to wipe down the window frames, avoiding abrasive cleaners that can damage the paint coat. For windows exposed to harsh weather conditions, inspect them periodically for any signs of chipping or fading. Touch up these areas promptly to prevent further deterioration and maintain the appearance. Additionally, check for any moisture build-up or leaks around the windows, as this can lead to paint damage and other structural issues.
Troubleshooting Common Issues
Painting windows black can dramatically transform your home’s appearance, but sometimes issues arise during or after the painting process. Here are some common problems and how to address them:
Blistering or Bubbling Paint
Blistering occurs when paint lifts from the underlying surface. This is often caused by painting in direct sunlight or on a hot surface. If you notice blistering, carefully scrape off the affected area, sand it smooth, and reapply primer and paint when conditions are right.
Peeling Paint
Peeling can result from poor surface preparation or application. To fix this, remove the peeling sections using a scraper or sandpaper, then clean the area thoroughly. Re-prime and repaint, ensuring each layer is fully dry before applying the next.
Uneven Color or Streaks
Streaks or uneven color are usually due to improper mixing of paint or applying insufficient coats. Thoroughly mix your paint before application and apply multiple thin coats rather than one thick one, allowing ample drying time between layers.
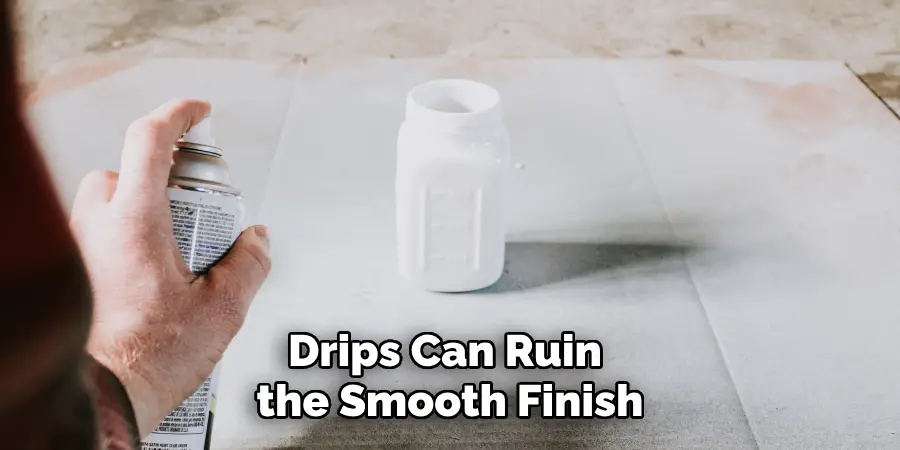
Paint Drips and Runs
Drips can ruin the smooth finish you’re aiming for. To avoid this, use a light hand when applying paint, and always check your work as you go. If a drip occurs, wait for it to dry, sand it lightly, and repaint the area.
Mildew or Mold Growth
Mildew can occur in damp environments, compromising the look and longevity of your paint job. Clean the affected area with a mixture of water and bleach, allowing it to dry completely before repainting and considering using a mildew-resistant paint.
Conclusion
Painting your windows black is a relatively straightforward project that can significantly enhance the aesthetic appeal of your home. By approaching the task methodically—selecting the right materials, preparing and cleaning surfaces, and applying paint carefully—you can achieve a professional finish that not only looks striking but also maintains its beauty over time. Thanks for reading, and we hope this has given you some inspiration on how to paint windows black!
About
Angela is the chief editor of Indoorense. She began her career as an interior designer before applying her strategic and creative passion to lifestyle and home.
She has close to 15 years of experience in creative writing and online content strategy for housekeeping and cleaning,home decorations as well as other efforts.
She loves her job and has the privilege of working with an extraordinary team. She lives with her husband, two sons, and daughter in Petersburg. When she’s not busy working she spent time with her family.