
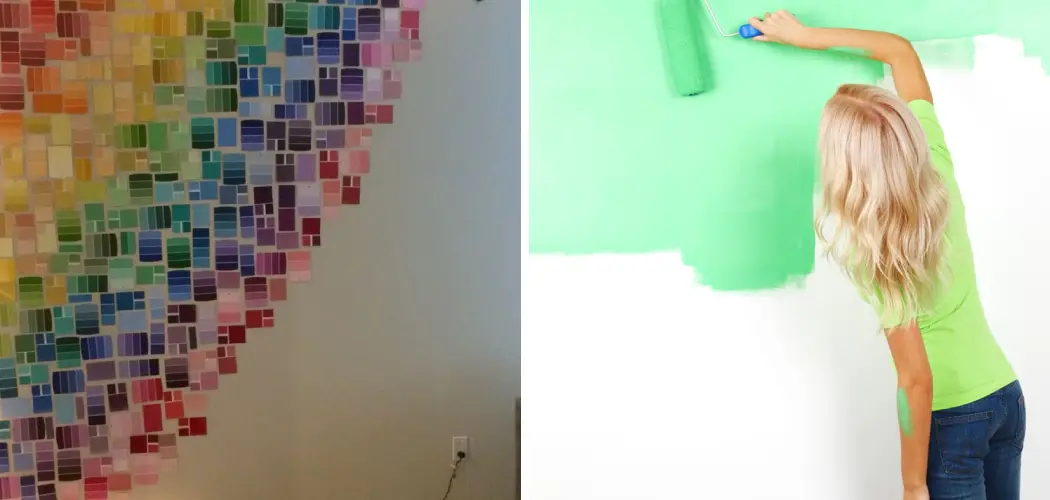
Are you looking to get creative and add a touch of personality to the walls in your home? Sampling paint on your wall is a great way to do just that! Sampling paint is easy and can be done with minimal steps, making it an ideal solution for anyone who wants to give their walls a fresh look.

Here, we’ll cover how to sample paint on wall, including tips and tricks for getting the best results possible. So if you’re ready to get started, let’s dive into how you can achieve lovely walls in no time!
Painting a room is an exciting task that can dramatically change the appearance and feel of a living space. But before committing to purchase gallons of paint, it’s important to get a sense for how the color will look on your wall by testing it out first. Sampling paint can help reduce costly mistakes down the road and ensure that you love the finished look in your home.
In this blog post, we’ll explore how to sample paint on walls effectively so you can find just the right hue for any project.
Why Do You Want to Sample Paint on Wall?
You may want to sample paint on your wall for many reasons before committing to a full-scale painting project. Such as:
1. To Try Out Colors
One of the most common reasons for sampling paint on a wall is to try out different colors and shades. This way, you can visualize how the color will look in your room before investing in larger amounts of paint.
2. To Determine Paint Quality
Sampling paint on a wall can also help you determine the quality of a particular type or brand of paint. Poor quality paints may have an uneven finish, lack gloss or sheen, or could be prone to running and dripping when applied.
3. To Check How the Color Changes with Lighting
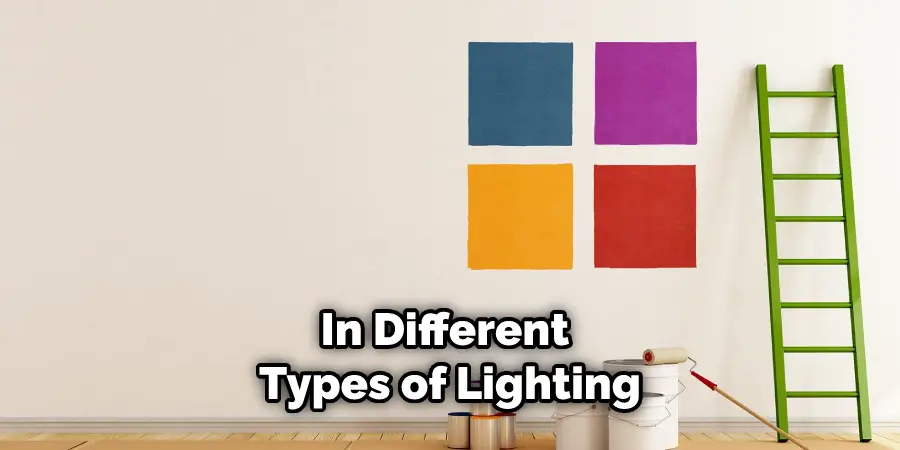
Colors can appear differently during different times of day and in different types of lighting. Sampling paint on your wall allows you to see how a particular color will look in various lighting conditions before committing to a larger painting project.
4. To Experiment with Finishes
Painting samples also allow you to experiment with different finishes and sheens, such as satin, semi-gloss, or flat. This way, you can determine which type of finish works best for your particular room.
Sampling paint on your wall can be a great way to try out colors, determine the quality of paint, check how colors will look in different lighting conditions, and experiment with finishes before investing in a larger painting project. With careful preparation and attention to detail, you can create beautifully painted walls that you’ll love for years to come.
How to Sample Paint on Wall in 6 Easy Steps
Step 1: Choose an Area of the Wall
This is the very first step when it comes to how to sample paint on a wall. Choosing an area that’s not noticeable and away from direct sunlight, furniture, and fixtures is important. But make sure the area is large enough to give you a good idea of how the paint will look.
Step 2: Prepare the Area
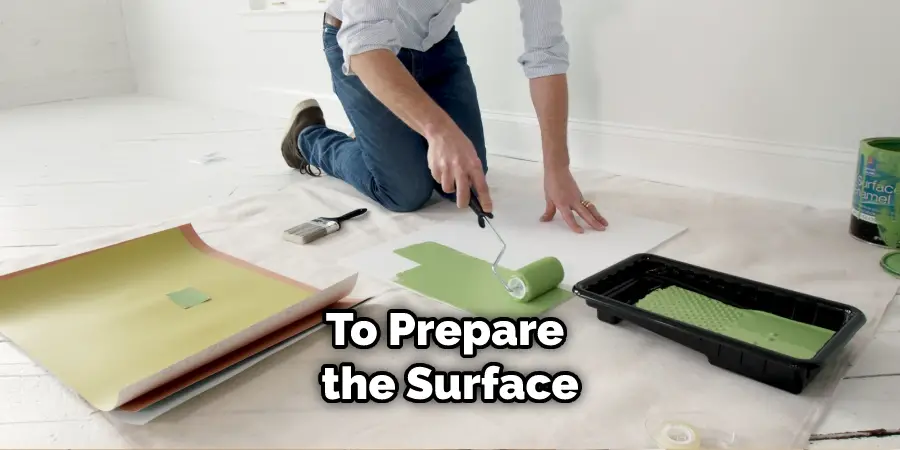
The next step is to prepare the surface of the wall before painting on it. Make sure you use a damp cloth to clean any dust and dirt off the surface. Also, use painter’s tape to place along the edges of your test area.
Step 3: Prime the Wall
Another important step is priming the wall. This will help ensure that your paint adheres well to the surface, so it’s best not to skip this step. Primers can be found in most hardware or home improvement stores and come in different types for different surfaces.
Step 4: Paint the Wall
Once you have finished priming, it’s time to paint! Use a roller or brush to apply your sample paint evenly across the wall, covering all areas you plan on testing. Allow plenty of drying time before moving on to the next step.
Step 5: Evaluate the Color
This is when you can really see if the paint is right for your space. Take a step back and evaluate the color in different lighting conditions, at different angles, and even as it changes throughout the day. Does it match your furniture or fixtures? How does it look against other colors in the room?
Step 6: Clean Up
Once you have evaluated the color, it’s time to clean up. Carefully remove the painter’s tape and any other materials used during testing. Make sure you dispose of them properly as well. With that done, your wall is ready for painting!
Following these steps should give you an accurate representation of how your paint will look on the wall. It may take some time and effort, but it’s well worth it in the end when you have a beautiful, finished product. With How to Sample Paint on Wall, you can be sure that you’ll get the best results!
Some Additional Tips to Sample Paint on Wall
1. Do Not Use a Roller to Sample Paint

A roller will not give you an accurate paint sample, as it may require several coats and small touches that could distort the color. Use a brush instead for a more precise result. Also, avoid using a sponge as it often absorbs some of the paint, so you end up with an inaccurate sample.
2. Consider How the Paint Will Look in Different Lighting
Different types of lighting can affect how your paint sample looks, so make sure to test out the color under different kinds of light before making your final decision. Natural sunlight and artificial lighting can both change the look of a color, so make sure to sample paint in different kinds of lighting.
3. Clean the Wall Before Painting
Before you start painting your sample, it’s important that you clean the wall properly. Dust, dirt, and other particles can affect how the paint looks and may cause streaks or other imperfections. Make sure to clean the wall thoroughly before beginning your project.
4. Test How the Paint Looks Next to Other Colors
When you’re ready to choose a paint color, sample it alongside other colors in the room. This will give you a better idea of how it looks with other shades and help you decide if it is the right color for your space.
5. Use Quality Paint and Materials
Using quality paint and materials to sample paint can greatly affect the overall result. Investing in high-quality supplies will ensure that the color you choose looks exactly how you want it to look after it is applied.
By following these tips, you’ll be able to sample paint on walls with accuracy and confidence. Make sure to take your time when sampling so that you get the perfect color for your space! Good luck, and have fun!
Frequently Asked Questions
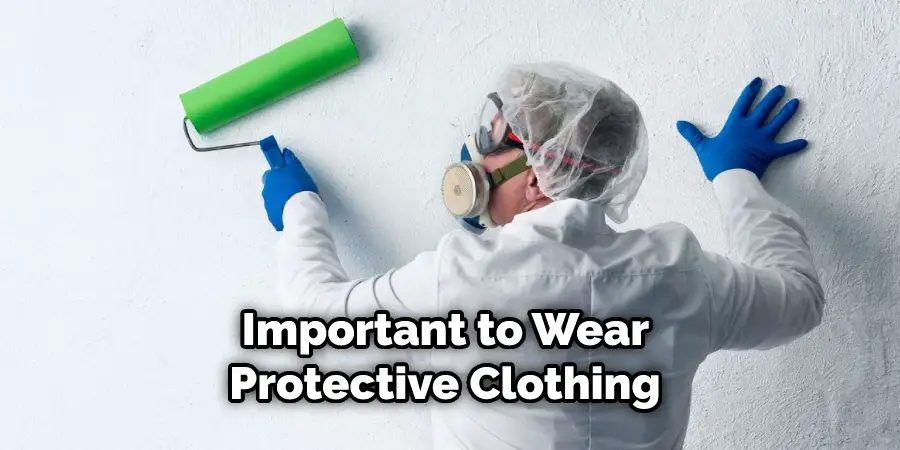
What Precautions Should I Take Before Sampling Paint on a Wall?
Before sampling paint on a wall, make sure to protect the surrounding surfaces from any splashes or drips. Cover furniture and floors with drop cloths and use painter’s tape to cover trim, outlets, door frames, windowsills, and baseboards. Additionally, it is important to wear protective clothing and eye protection.
How Do I Sample Paint on a Wall?
When sampling paint on a wall, start with painting a small section of the wall in a corner or inconspicuous spot close to your lighting source. Be sure to use enough paint to cover the area but not so much that it creates drips or runs. If the paint is in a roller tray, use a short-handled brush to spread it out evenly. Once the sample area has been painted, allow it to dry completely and evaluate the results.
Are There Alternatives to Sampling Paint on a Wall?
Yes! If you would prefer to avoid painting directly on the wall, there are several options for testing paint samples. One option is to purchase a small sample of paint or a quart-sized can and paint it onto poster board or cardboard for easy removal later. You could also use peel-and-stick swatches that adhere directly to the wall without damaging the surface.
Finally, digital tools such as paint visualizers allow you to upload pictures of your space and experiment with different colors virtually.
Conclusion
Now you know how to sample paint on wall. Taking the time to sample paint on wall can help you ensure that you get the perfect shade of color and texture for your space. It’s an important step in any painting project. With patience, practice, and a steady hand, you’ll be able to quickly and easily sample paint on walls with professional results.
With these steps, you should be able to sample paint confidently without making a mess. The most important thing is to take your time to ensure you are happy with the final result. By following these steps, you can ensure that you will end up with a color that you love for your home.
About
Angela is the chief editor of Indoorense. She began her career as an interior designer before applying her strategic and creative passion to lifestyle and home.
She has close to 15 years of experience in creative writing and online content strategy for housekeeping and cleaning,home decorations as well as other efforts.
She loves her job and has the privilege of working with an extraordinary team. She lives with her husband, two sons, and daughter in Petersburg. When she’s not busy working she spent time with her family.