
Are you looking for a way to preserve the vibrant colors of your art by sealing acrylic paint on ceramic tiles? If so, you’ve come to the right place! In this blog post, we’ll go through all the necessary steps and materials needed to properly seal your artwork.

From how to correctly prepare the surface of the tile before painting to what kind of clear coatings are best suited for durability – we will cover all your questions about how to protect your beautiful paintings or murals and make sure they last as long as possible.
If you’re looking for an easy way to spruce up your living space, why not try painting ceramic tiles? It’s an inexpensive and creative DIY project that can add a touch of beauty to any room. Here, we’ll break down how to seal acrylic paint on ceramic tiles so that it lasts for years – whether you decide to display them as art pieces or use them as part of a larger tiling project. Read on to learn the steps involved in ensuring your artwork stays vibrant!
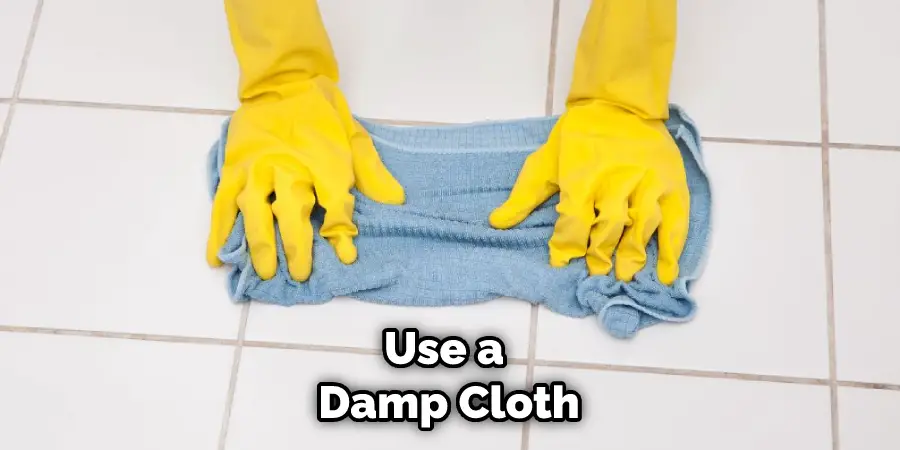
Why May You Want to Seal Acrylic Paint on Ceramic Tiles?
You may want to seal acrylic paint on ceramic tiles for many reasons. Such as:
1. To Protect the Surface From Any Potential Water Damage
One of the most important reasons to seal paint on ceramic tiles is to ensure that the surface of the tile is protected from any water damage. Sealing helps to prevent moisture from seeping through and causing discoloration, warping or other types of damage.
2. To Preserve its Vibrant Color Over Time
Sealing acrylic paint can also help to preserve its vibrant color over time. Providing a layer of protection can help to keep the paint from fading or becoming dull due to exposure to sunlight or other environmental elements. Also, sealing can help prevent the chipping and flaking of the paint, making it look less vibrant.
3. To Create a Long-Lasting Finish
Sealing acrylic paint on ceramic tiles is also important for creating a durable and long-lasting finish. By sealing the paint, you can create a barrier that will protect it from dirt and debris and help keep it looking great for a longer period.
4. To Enhance the Overall Look of Your Tiles
Finally, sealing acrylic paint on your ceramic tiles can also help to enhance their overall look. Adding a layer of protection can make the colors more vibrant and appear richer and more beautiful. Also, the sealant will create a smoother finish and help to reduce any lumps or bumps that may have been caused by uneven paint application.
Overall, sealing acrylic paint on ceramic tiles is important in any home improvement project. Doing so can protect the surface from water damage, preserve its vibrant color over time, and create a long-lasting finish. Follow the steps outlined in this guide to ensure that you are sealing your acrylic paint correctly and effectively!
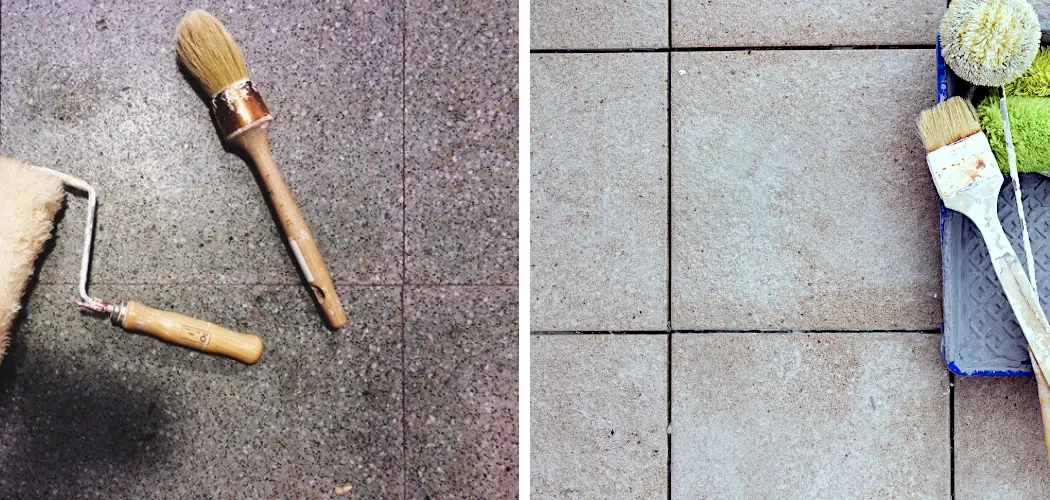
How to Seal Acrylic Paint on Ceramic Tiles in 6 Easy Steps
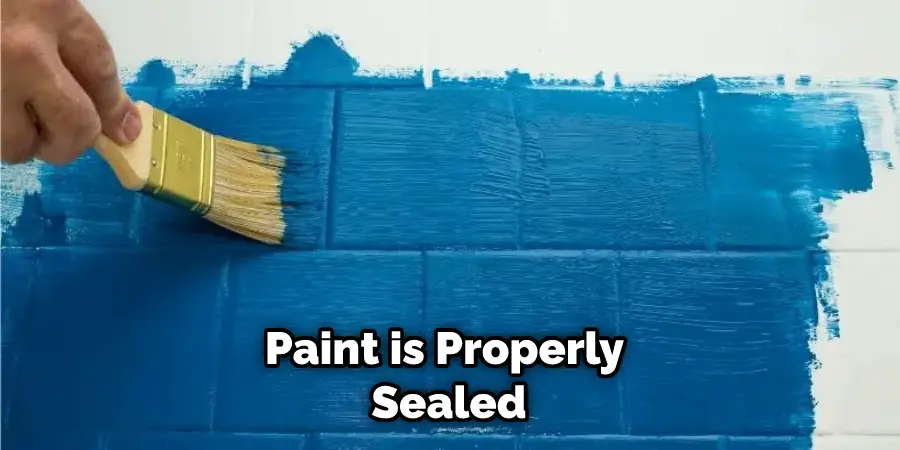
Step 1: Prepare the Ceramic Tile Surface
The very first step is to ensure that the ceramic tile surface is clean and has been properly prepared. Use a damp cloth or sponge to remove any dirt or dust from the surface of the tiles before beginning. Also, make sure that all of the acrylic paint is completely dry before attempting to seal it to the ceramic tiles.
Step 2: Apply a Primer
Once you have prepared the surface, you will need to apply a primer specifically designed for use on ceramic tile surfaces. This will help ensure that the acrylic paint adheres properly and stays in place. Make sure to read the instructions on the primer before applying it.
Step 3: Apply the Acrylic Paint
After the primer has been applied, you can now begin to apply the acrylic paint. Use a brush or roller to apply the paint evenly over the surface of the ceramic tile. Allow at least 24 hours for it to dry completely before proceeding with any further steps.
Step 4: Seal the Acrylic Paint
The next step is to seal the acrylic paint on the ceramic tiles. You will need to choose a sealer that is specifically designed for use on ceramic tile surfaces. Make sure to read all instructions thoroughly before applying the sealer. Also, make sure that the area is well-ventilated during this process.
Step 5: Allow the Sealed Surface to Dry
Once you have finished sealing the acrylic paint on the ceramic tiles, allow it to dry completely. This could take several hours or even days, depending on the type of sealer and temperature in the area. Ensure no moisture is present before proceeding with any further steps.
Step 6: Double Check
The very last step is to double-check that the seal is properly applied. This can be done by running your finger along the surface or using a damp cloth. If you notice any areas where the acrylic paint has not been sealed, simply apply more of the sealer to these areas and allow it to dry again.
Following these steps will help ensure that your acrylic paint is properly sealed onto ceramic tiles and that it will remain in place for many years to come. Make sure to take your time throughout the process, as rushing could lead to mistakes or uneven coverage of the sealer. With just a little bit of patience, you can end up with a beautiful, long-lasting finish on your acrylic-painted ceramic tile.
Some Additional Tips to Seal Acrylic Paint on Ceramic Tiles
1. Do Not Shake or Stir the Paint Too Much
This is especially important if you are using water-based paints. If you shake or stir the paint too much, it may create an uneven finish on the tiles. Also, the paint may be more prone to cracking when dry.
2. Apply Evenly and in Thin Coats
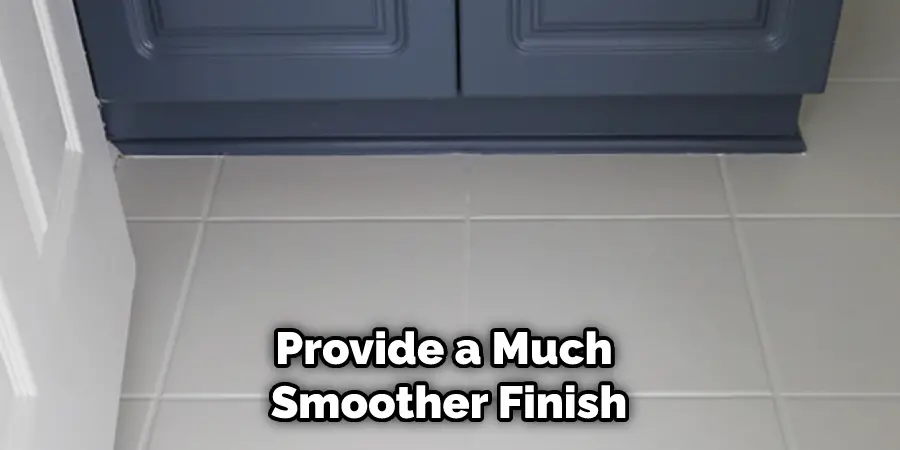
When applying acrylic paint on ceramic tiles, it is important to ensure you are using an even paint application. Applying too thick a coat can increase your chances of cracking or peeling over time. Also, ensure you apply the paint in thin coats, as this will provide a much smoother finish with less chance of cracking or peeling.
3. Allow the Paint to Dry Before Sealing Fully
Before sealing your ceramic tiles with acrylic paint, it is important to allow the paint to fully dry. This can take up to 24 hours for water-based paints and longer for oil-based paints. Once the paint is completely dry, you can then seal the tiles with a clear acrylic sealer to protect them from cracking and fading.
4. Use Clear Acrylic Sealers
When sealing ceramic tiles with acrylic paint, it is important to use clear acrylic sealers as these will provide the best protection against fading and chipping. Make sure to follow the instructions on the sealer carefully as some may require multiple coats for added protection.
Following these tips will help ensure that you are able to get the best results when sealing acrylic paint on ceramic tiles. With a little practice and patience, you can create stunning designs with your painted tiles that will last for years to come. Good luck!
5. Use a Long-Handled Brush
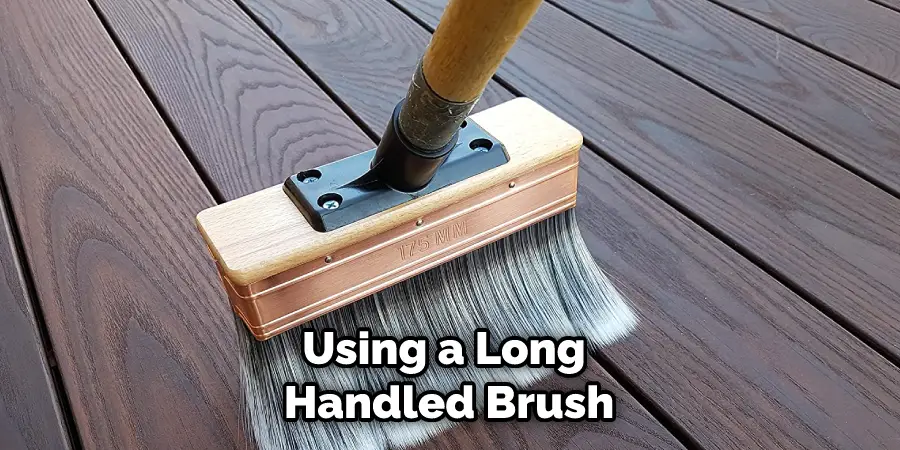
Using a long-handled brush when applying acrylic paint to ceramic tiles will help keep your hands away from the wet paint and can also provide better control over the application. Also, this will help you to achieve an even and consistent finish.
Frequently Asked Questions
What Precautions Should I Take When Applying Acrylic Paint on Ceramic Tiles?
When applying acrylic paint on ceramic tiles, it is important to take safety precautions, like wearing protective eyewear and using a respirator or face mask. Additionally, make sure to use adequate ventilation when spraying the paint onto the tile surface. It is also important to prep the surface correctly to ensure that the paint adheres properly.
How Do I Prep Ceramic Tiles Before Applying Acrylic Paint?
Before applying acrylic paint to ceramic tiles, it’s important to thoroughly clean the tile surface and remove any dirt, dust, or grime. You may also want to sand the surfaces lightly with fine-grit sandpaper to create a rougher surface for the paint to adhere to. Additionally, it’s important to make sure that the tile is completely dry before you begin painting.
Also, if you are applying paint to a glossy or shiny surface, it’s important to lightly sand or scuff the tiles with fine-grit sandpaper to create better adhesion.
What Is the Best Way to Seal Acrylic Paint on Ceramic Tiles?
The best way to seal acrylic paint on ceramic tiles is to use a clear sealer, such as polyurethane or epoxy. These types of sealers will protect the paint from water damage and keep it looking fresh for years to come. Additionally, you may want to apply several coats of the sealer for maximum protection. It’s also important to make sure that all layers are completely dry before you apply the next coat.
What Are the Benefits of Sealing Acrylic Paint on Ceramic Tiles?
Sealing acrylic paint on ceramic tiles has a number of benefits, including creating a durable and long-lasting finish that is resistant to water damage and wear and tear. The sealer also helps protect the underlying tile surface against damage or discoloration while making the paint more resistant to fading and discoloration.
Additionally, sealing the paint can help make it easier to clean and maintain your ceramic tile surfaces.
Conclusion
Now you know the steps about how to seal acrylic paint on ceramic tiles to take to make sure the acrylic paint you use on ceramic tiles stays sealed and doesn’t succumb to wear, tear, and other elements. If done correctly, the paint should last long and add a vibrant touch to any home or office space. Don’t forget that, as with any other project involving paint and sealant, it is best to work in a well-ventilated area when possible.
Taking the extra step of sealing your ceramic tiles with acrylic paint can save you time and money in the long run. Applying acrylic paint on ceramic tiles can be a great way to update the look of any room in your home.
To ensure that the paint adheres properly, it’s important to prep the surface correctly and use a clear sealer to keep the paint looking fresh and protected for years to come. By following these steps, you can create a durable and long-lasting finish on your ceramic tiles!
About
Angela is the chief editor of Indoorense. She began her career as an interior designer before applying her strategic and creative passion to lifestyle and home.
She has close to 15 years of experience in creative writing and online content strategy for housekeeping and cleaning,home decorations as well as other efforts.
She loves her job and has the privilege of working with an extraordinary team. She lives with her husband, two sons, and daughter in Petersburg. When she’s not busy working she spent time with her family.