

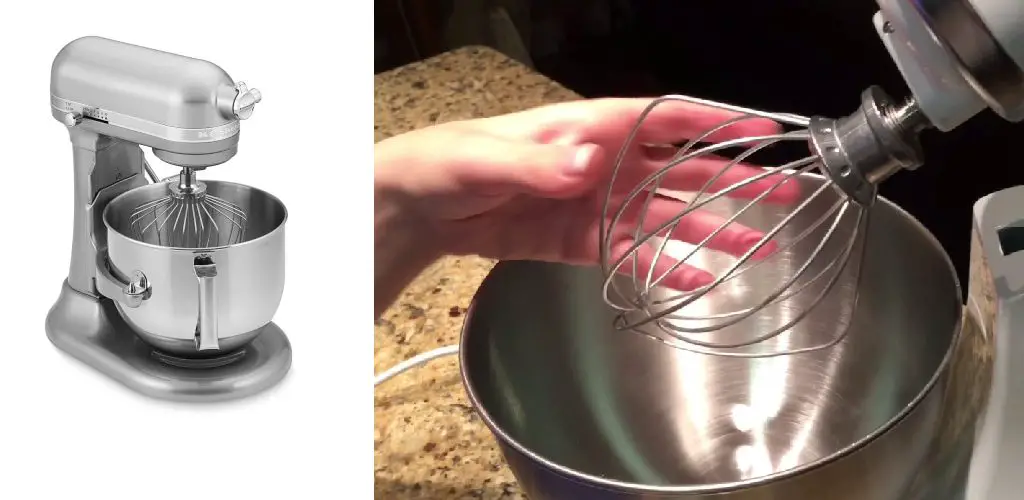
Removing a whisk from a KitchenAid mixer can be challenging. The whisk is attached to the mixer with a screw that is difficult to remove. This blog post will show you how to remove whisk from kitchenaid mixer without damaging either the whisk or the mixer. Follow these simple steps, and you will be able to remove the whisk in no time.
There are a few reasons why you might want to remove the whisk from your KitchenAid mixer. First, if you need to clean the whisk, or if you need to replace it with a new one, then you will need to remove it from the mixer.
Required Materials
- Phillips head screwdriver
- Kitchenaid mixer
- Whisk
A Stepwise Guide on How to Remove Whisk from Kitchenaid Mixer
Step 1: Turn the Kitchenaid Mixer Off:
It is important to turn the Kitchenaid mixer off before attempting to remove the whisk.
Step 2: Locate the Release Button on The Top of The Mixer:
The release button is located at the top of the Kitchenaid mixer and is generally shaped like a small circle.
Step 3: Push Down on The Release Button and Pull the Whisk Out:
Once you have located the release button, push it down and pull the whisk out. You should be able to do this without any difficulty.
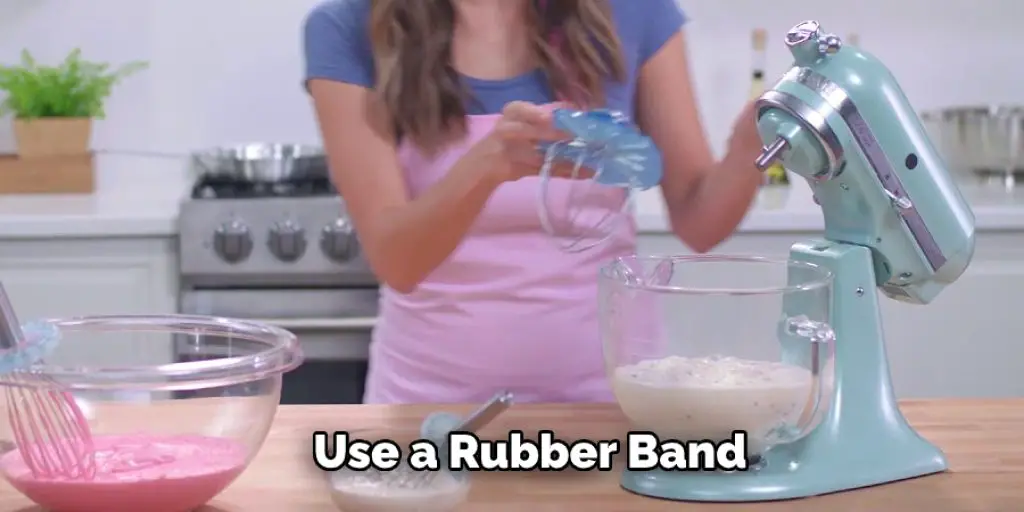
Step 4: If The Whisk Is Still Stuck, Use a Rubber Band:
If you have trouble removing the whisk, you can try using a rubber band. Wrap the rubber band around the base of the whisk and then pull it off. This should loosen it up enough to be removed.
Step 5: Clean the Whisk:
Once you have removed the whisk, it is important to clean it. This can be done by using a brush or a dishwasher. Make sure that the whisk is completely dry before putting it away.
Step 6: Put the Kitchenaid Mixer Back Together:
Once you have cleaned the whisk, put the Kitchenaid mixer back together by following the instructions in the manual. Make sure that everything is in place and that it is properly secured before using it.
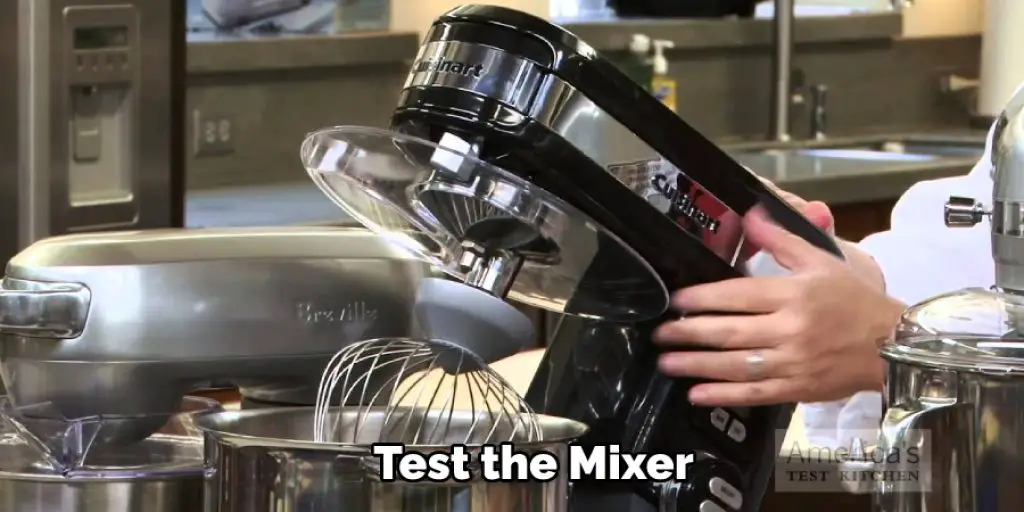
Step 7: Test the Mixer:
Once you have put the Kitchenaid mixer back together, test it to ensure that it is working properly. This can be done by making a cake or other food. If everything is in order, then you are ready to start cooking.
Step 8: Enjoy Your Kitchenaid Mixer:
You can use it with confidence now that you know how to remove the whisk from the mixer. But, first, make sure to follow the manual instructions and clean the whisk after each use. Then, sit back and enjoy your delicious creations!
Removing the whisk from a Kitchenaid mixer can be tricky, but with these simple steps, you should be able to do it without any difficulty. First, ensure to turn off the mixer before attempting to remove the whisk and clean it properly after each use. Then, you can enjoy your delicious creations! Keep reading for more information about how to remove whisk from kitchenaid mixer.
What to Do If Your whisk Are Stuck?
If your whisk is stuck, you can try to remove them by soaking the mixer in warm water for about 15 minutes. If that doesn’t work, you can try using a pair of pliers to twist them off.
Method 1: Use a Warm Compress:
Fill a bowl with warm water and place the mixer in it. Let it soak for about 15 minutes. Then, try to remove the whisks. If they are still stuck, proceed to Method 2.
Steps to Follow on:
Step 1:
Fill a bowl with warm water.
Step 2:
Place the mixer in the bowl.
Step 3:
Let it soak for about 15 minutes.
Step 4:
Try to remove the whisks.
Step 5:
If they are still stuck, proceed to Method 2.
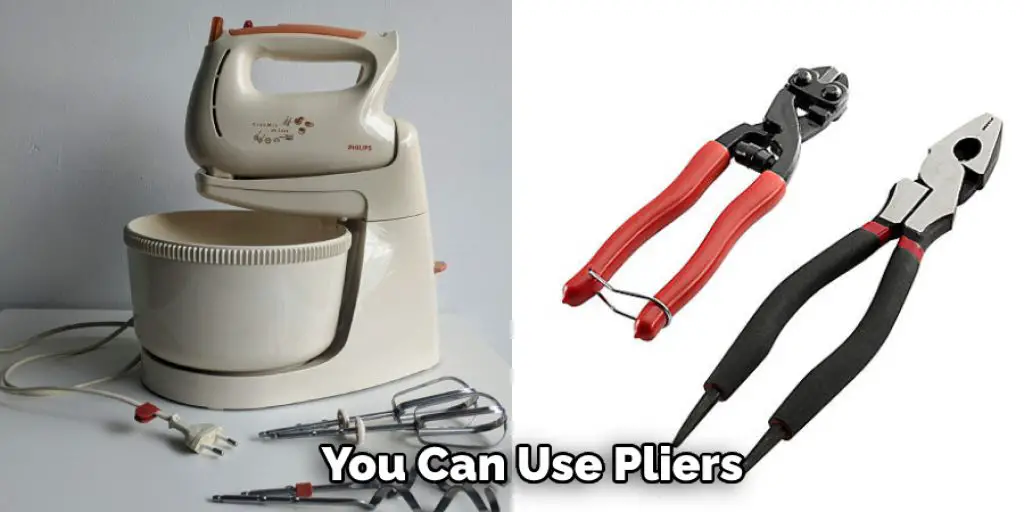
Method 2: Use Pliers:
If the whisks are not coming off the mixer quickly, you can use pliers. Grip the whisk with the pliers and twist it off. Be careful not to damage the whisk or the mixer.
Steps to Follow on:
Step 1:
Grip the whisk with the pliers
Step 2:
Twist it off
Step 3:
Be careful not to damage the whisk or the mixer.
Method 3: Use a Wrench:
If the whisks are not coming off the mixer easily, you can use a wrench. Grip the whisk with the wrench and turn it counterclockwise. Be careful not to damage the whisk or mixer.
Steps to Follow on:
Step 1:
Locate the wrench that came with your mixer.
Step 2:
Fit the wrench over the end of the whisk.
Step 3:
Turn the wrench counterclockwise to loosen the whisk.
Step 4:
Remove the whisk from the mixer.
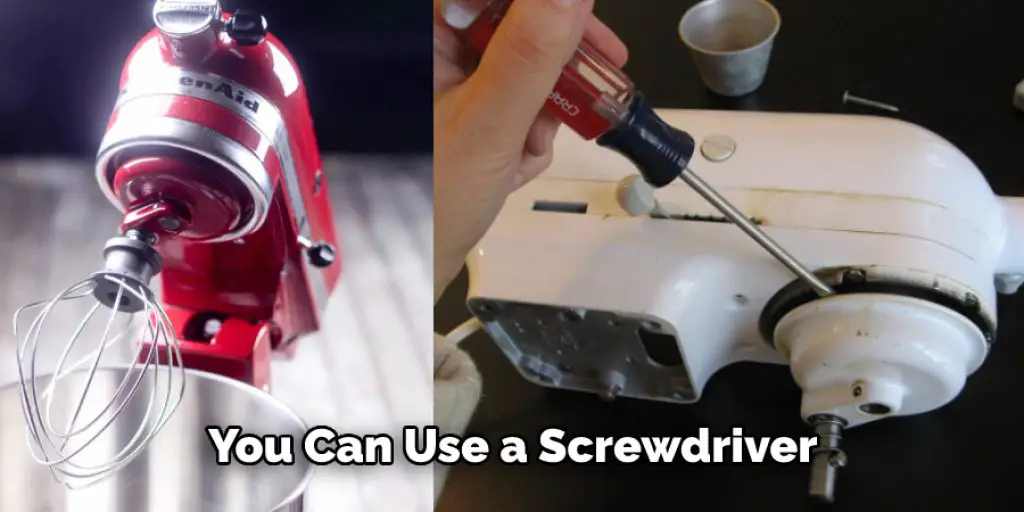
Method 4: Use a Screwdriver:
If you don’t have the KitchenAid tool or the Allen wrench, you can use a screwdriver to remove the whisk. First, remove the screws on the top of the mixer that holds the cover in place. Then, use the screwdriver to pry off the cover. You will see two screws at the top of the mixer that holds the whisk in place. Remove the screws and take out the whisk.
Steps to Follow on:
Step 1:
Turn off the mixer and unplug it from the power outlet.
Step 2:
Remove the screws on the top of the mixer that holds the cover in place.
Step 3:
Use the screwdriver to pry off the cover. You will see two screws at the top of the mixer that holds the whisk in place.
Step 4:
Remove the screws and take out the whisk.
Method 5: Use a KitchenAid Tool:
KitchenAid offers a special tool to remove the whisk from the mixer. This tool is called the Whisk Removal Tool, and it is specifically designed to help take the whisk out of the mixer. First, you will need to insert it into the hole at the top of the mixer where the whisk goes in. Then, once it is in the hole, you will need to twist it until the whisk pops out.
Steps to Follow on:
Step 1:
Unplug the mixer.
Step 2:
Locate the hole at the top of the mixer where the whisk goes in.
Step 3:
Insert the Whisk Removal Tool into the hole.
Step 4:
Twist it until the whisk pops out.
If you do not have a Whisk Removal Tool, you can also use a butter knife or a chopstick. Just be careful not to damage the mixer.
Removing the whisk from a KitchenAid mixer can be a little tricky, but you should be able to get the job done with these five methods. Method 1 is the easiest, so start there and work your way up if needed. And, as always, be careful not to damage the mixer while trying to remove the whisk. Happy cooking!
You can check it out to Layer a Pizza
Frequently Asked Question
What Is a Paddle Attachment for A Kitchen Aid Mixer?
A paddle attachment is a kitchen tool that is used to mix ingredients. It is usually made of plastic or metal and has a flat beater used to stir or mix ingredients. The paddle attachment is attached to the Kitchen Aid mixer, and it rotates to mix the ingredients.
How Do You Remove a Dough Hook?
To remove the dough hook from a Kitchen Aid mixer, you will need to loosen the screw located on the top of the mixer. You can do this by using a Phillips head screwdriver. Once the screw is loosened, you can remove the dough hook by pulling it up and out of the mixer.
How Do You Unstick a Kitchen Aid Mixer Bowl?
To unstick a Kitchen Aid mixer bowl, you will need to loosen the screw located on the top of the mixer. You can do this by using a Phillips head screwdriver. Once the screw is loosened, you can remove the bowl by pulling it up and out of the mixer.
Do All Kitchen Aid Mixers Have a Spring?
Not all Kitchen Aid mixers have a spring. Some Kitchen Aid mixers have a locking mechanism that holds the bowl.
Can I Use Whisk Instead of Paddle Attachment?
Yes, you can use a whisk instead of the paddle attachment. The whisk will help incorporate more air into the ingredients and give you a more whipped texture.
What Is a Whip Attachment?
A whip attachment is a kitchen tool that is used to mix ingredients. It is usually made of plastic or metal and has a wire beater used to stir or mix ingredients. The whip attachment is attached to the Kitchen Aid mixer, and it rotates to mix the ingredients.
What Is a Whisk Attachment?
A whisk attachment is a kitchen tool that is used to mix ingredients. It is usually made of plastic or metal and has a wire beater used to stir or mix ingredients. The whisk attachment is attached to the Kitchen Aid mixer, and it rotates to mix the ingredients.
Conclusion
KitchenAid mixers are one of the most popular appliances in kitchens across America. The mixer is a workhorse, helping make everything from pancakes to pizza dough. But what do you do when your whisk attachment breaks or gets lost? Don’t worry; we’re here to help. This article will show you how to remove the whisk from your KitchenAid mixer without any tools. So stay calm and keep reading for instructions on how to remove whisk from kitchenaid mixer.
You can check it out to Use Toastmaster Coffee Maker