
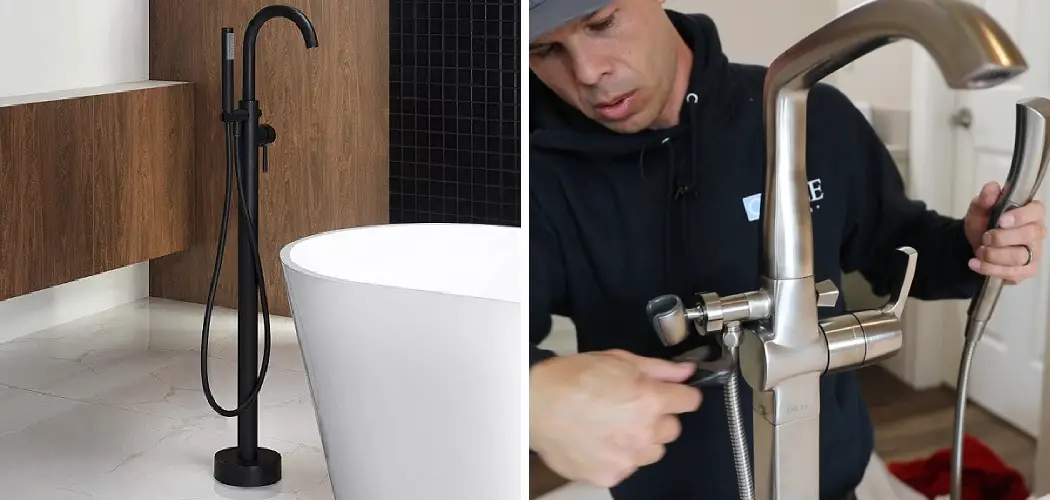
If you’re looking for a luxurious bathing experience, installing a freestanding tub faucet on concrete might be the perfect option. While this may seem daunting, it’s quite simple if you follow these step-by-step instructions on how to install a freestanding tub faucet on concrete.
This guide will discuss everything you need to know to install your new faucet, including what tools and materials you’ll need and how to connect the plumbing properly. We’ll also provide helpful tips on troubleshooting any common problems that may arise during installation. By the end of this guide, you’ll be able to confidently install your freestanding tub faucet on concrete so that you can enjoy a relaxing soak in your very own tub. Let’s get started!

Few Things To Consider Before Installing Freestanding Tub Faucet
Choose the Right Location:
The first step is to choose the right location for your faucet. Keep in mind that the closer the faucet is to the tub, the easier it be to install. However, you’ll also want to ensure that the faucet’s too close to the tub’s edge so it’s easily within reach.
Size and Weight of the Faucet:
The next thing you’ll need to consider is the size and weight of the faucet. Ensure the faucet you choose is small enough to be installed on your concrete tub. Also, remember that some faucets are very heavy and may require additional support.
Type of Faucet:
There are two main types of faucets: those that mount on the tub and those that don’t. If you’re installing a freestanding tub, then you’ll need to choose a faucet that doesn’t mount on the tub. These types of faucets are usually easier to install. If your tub is already mounted, then you can choose either type of faucet.
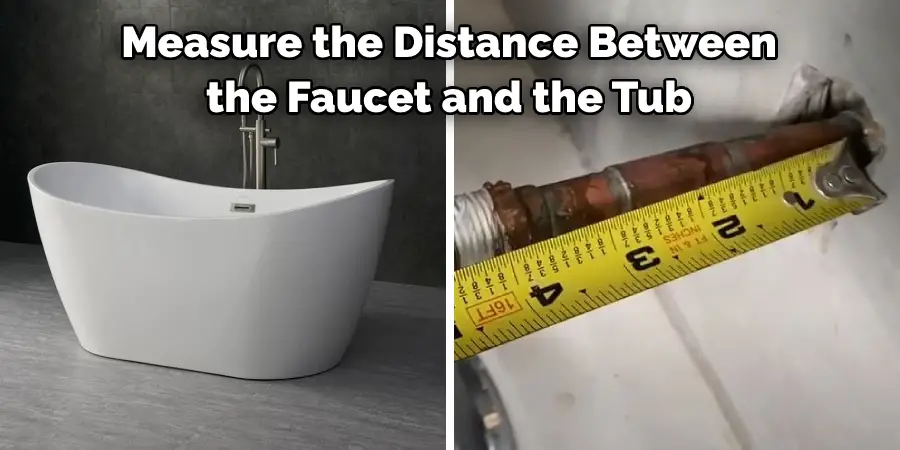
Distance Between Faucet and Tub:
Another important consideration is the distance between the faucet and the tub. You’ll want to ensure that the faucet is close enough to the tub so that you can easily reach it, but not so close that it’s in the way. Make sure to measure the distance between the faucet and the tub before you purchase your faucet to avoid any issues.
Now that you’ve considered all of these factors, you’re ready to install your freestanding tub faucet.
Tools & Materials Needed
- Tape measure
- Level
- Drill with a 1/2″ concrete drill bit
- 3/8″ x 1-1/4″ concrete anchors (4)
- Freestanding tub faucet
- Wrench or adjustable pliers
- Teflon tape
Step by Step Intructions: How to Install a Freestanding Tub Faucet on Concrete
Step 1: Measuring the Area.
The first step is to measure the area where you’ll install your faucet. Use a tape measure to determine the width and height of the space. Then, use a level to mark the center of the space. This will be where you’ll drill your holes for the concrete anchors. If the space is not level, you may need to shim the anchors to level the faucet.
Step 2: Drilling the Holes.
Next, use a drill with a 1/2″ concrete drill bit to drill four holes in the center of the space for the concrete anchors. The holes should be evenly spaced and should be deep enough to accommodate the length of the anchors. Make sure there is no debris in the holes before proceeding.
Step 3: Installing the Concrete Anchors.
Now, it’s time to install the concrete anchors. First, insert the anchors into the holes. Then, use a wrench or adjustable pliers to tighten the nuts until the anchors are secure. Make sure that the anchors are level before proceeding. When installing the faucet, it’s important to ensure it is also level. Before proceeding, use a tape measure to check the anchors and the faucet base.
Step 4: Check the Faucet for Levelness.
Now that the concrete anchors are in place, it’s time to check the faucet for levelness. First, use a level to ensure the faucet is level from front to back and side. Once you’ve confirmed that the faucet is level, you can proceed to the next step.
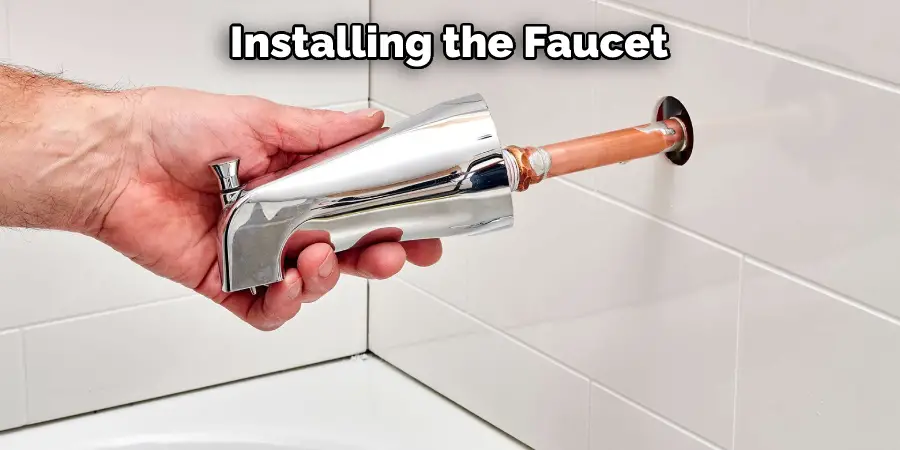
Step 5: Installing the Faucet.
Now, it’s time to install the faucet. First, wrap some Teflon tape around the threads of the water supply lines. This will help to create a tight seal and prevent leaks. Next, thread the supply lines into the fittings on the back of the faucet. Then, use a wrench or adjustable pliers to tighten the connections. Once the water supply lines are connected, turn on the water supply and check for leaks. If there are any leaks, tighten the connections until they stop.
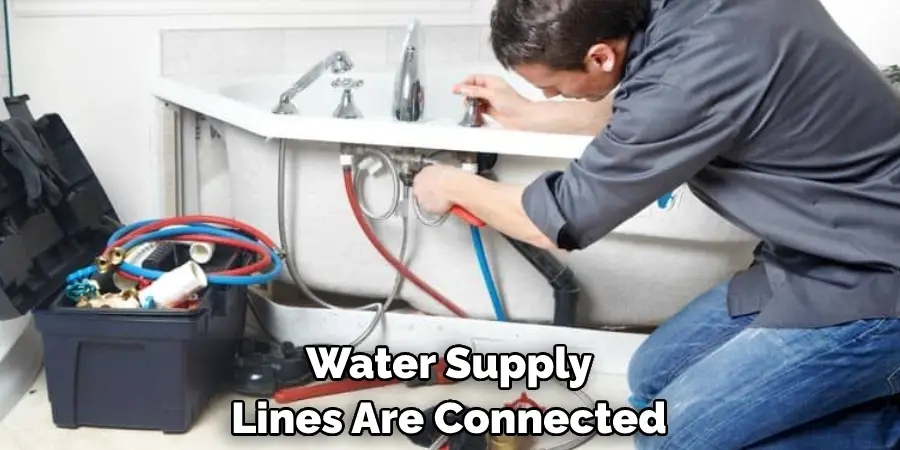
Step 6: Testing the Faucet.
Once the faucet is installed and the water supply lines are connected, it’s time to test the faucet. First, turn on the water and let it run for a few minutes to ensure no leaks. Then, turn off the water and check the connections again to ensure they’re tight. If any water leaks from the connections, tighten them until the leaks stop. Your freestanding tub faucet is now installed and ready to use!
Additional Tips and Advice
- Always use a level when working with any plumbing fixture. This will ensure your faucet is installed correctly and looks level when finished.
- Ensure the area around your tub is clear before beginning any installation. You’ll need a clear workspace to avoid accidents.
- Familiarize yourself with your faucet’s parts and components before beginning the installation process. This will make the job go much smoother.
- Take your time when installing a freestanding tub faucet. Rushing can lead to mistakes that could cause serious damage to your plumbing.
- Be sure to turn off the water to your home before beginning any work on your faucet. This will prevent any accidents or injuries from occurring.
- If you’re not comfortable working with plumbing fixtures, it’s best to hire a professional to install your freestanding tub faucet. They’ll have the experience and expertise to get the job done right.
With these tips in mind, you’re now ready to install your freestanding tub faucet like a pro!
Can You Deck Mount Faucet on Freestanding Tub?
Most people choose to install their freestanding tub faucets on the deck, or at least partially on the deck. This is because it provides more stability and support for the tub’s weight and water. It also allows you to use your tub without worrying about the faucet getting in the way.
However, you can also install your freestanding tub faucet on concrete. This is a bit more challenging, but it is possible. You will need to use a different mounting bracket and ensure that the concrete is strong enough to support the tub’s weight and water.
When installing a freestanding tub faucet on concrete, you will first need to drill a hole into the concrete. The size of the hole will depend on the type of mounting bracket that you use. Once the hole is drilled, insert the bracket into the hole and secure it with screws.
Make sure the bracket is level, then set the tub on top. Use shims to level the tub if necessary. Once the tub is level, you can now install the faucet. Attach the water lines to the faucet using pliers and then turn on the water supply. Test the faucet to make sure it is working properly.
Does a Freestanding Tub Need to Be Secured to the Floor?
Most tubs are secured to the floor with a few screws. If your tub isn’t, it’s probably held in place by the weight of the water. That’s not necessarily bad, but if you have an earthquake or your house settles, your tub could move and break a pipe. It’s best to secure it to the floor. You’ll need to drill holes in the floor and insert concrete anchors. Then, you can secure the tub with screws. If there is any movement, the anchors will hold, and the tub won’t budge.
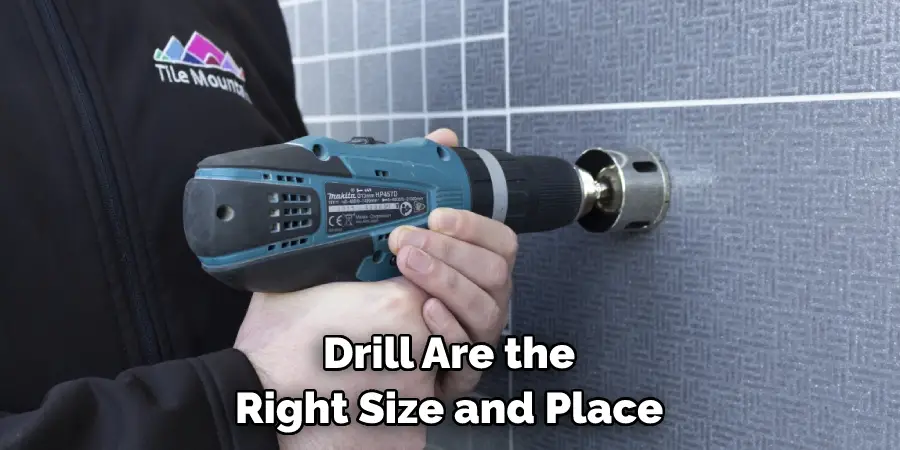
Concrete is a very strong material but can crack if not installed properly. So when installing a freestanding tub faucet on concrete, you must be extra careful. Make sure that the holes you drill are the right size and place. If unsure, ask a friend or family member to help you. It’s always better to be safe than sorry.
Conclusion
If you are comfortable with basic plumbing and carpentry skills, you should be able to install a freestanding tub faucet on concrete without too much trouble. The most important thing is to take your time and measure everything twice before you start drilling into your concrete slab.
By following these simple steps on how to install a freestanding tub faucet on concrete, you can add a touch of luxury to your bathroom at a fraction of the cost of hiring a professional contractor. Have you installed a freestanding tub faucet on concrete? What tips would you share with others who want to do the same? Share your thoughts in the comments below!
You Can Check It Out To Install Pur Water Filter on Pull out Faucet