
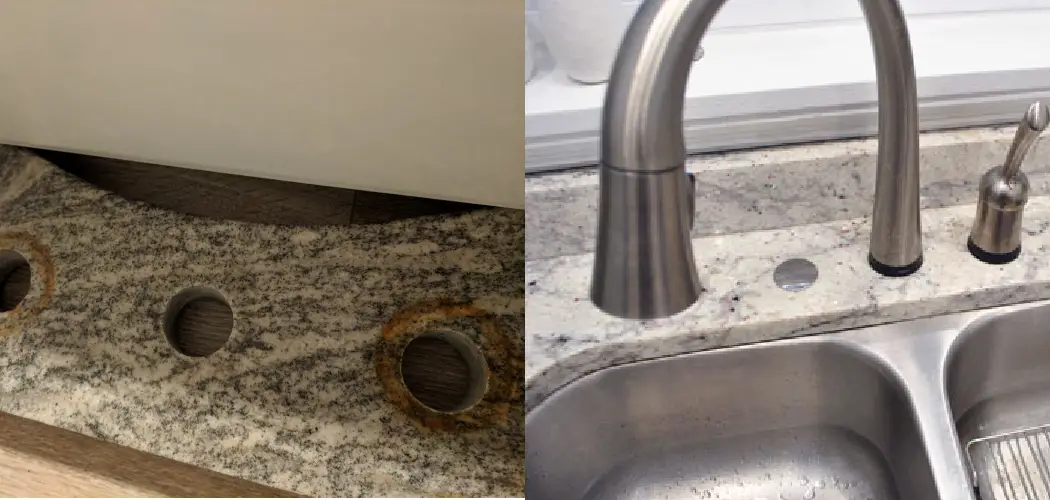
Granite is a strong, natural stone quarried in large slabs. It is often used for countertops, backsplashes, and flooring. Granite is a popular choice because it’s durable and easy to maintain. One downside is that it can be susceptible to water damage if not properly sealed. For example, if a faucet hole becomes damaged, you can plug the hole yourself.
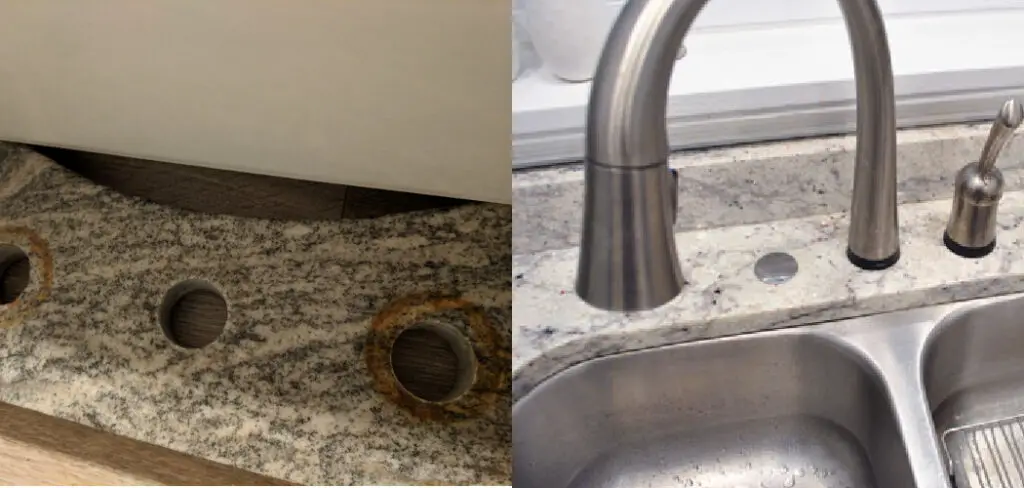
Regular use can cause wear and tear on your granite countertops. Over time, small holes may form from the taps or faucets you use daily. It’s important to plug these holes as soon as they form to prevent water damage and further erosion. This blog post will show you how to plug faucet holes in granite and provide tips for maintaining your countertops. Read on for more information.
Why Should You Seal a Faucet Holes?
A faucet hole that is not properly sealed can allow water to seep into the granite and cause damage. The water can break down the sealant, causing the granite to become stained or discolored. In addition, water can also cause the granite to crack or chip. By sealing the faucet holes, you can prevent these problems and keep your granite countertops looking like new.
It is also helpful to seal the faucet holes to prevent dirt and debris from getting into the granite. If the holes are not sealed, dirt and debris can accumulate in the granite, making cleaning difficult. By sealing the holes, you can keep your countertops clean and free of dirt and debris. So, if you want to keep your granite countertops looking their best, it is important to seal the faucet holes.
Tools and Materials Needed
- Granite sealant
- Caulking gun
- Silicone caulk
- Paper towel
- Putty knife
Step by Step Guide: How to Plug Faucet Holes in Granite
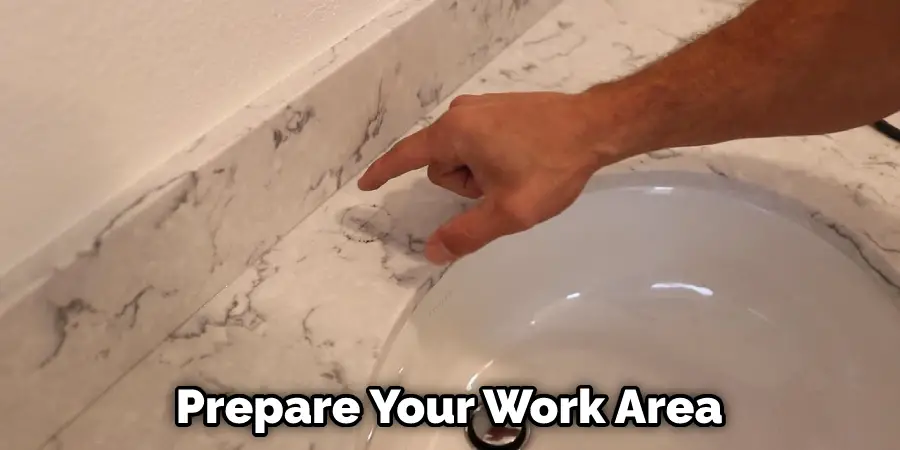
Step 1: Prepare Your Work Area
Before you begin, it’s important to clear off your work area and lay down some old towels or a drop cloth. This will help to protect your countertops from any accidental scratches or sealant residue. Make sure there is no water near your work area as well.
Step 2: Apply Granite Sealant
Start by applying a generous amount of granite sealant to the faucet hole. Use a caulking gun to apply the sealant evenly around the hole. The sealant will help fill in any cracks and prevent water from seeping through. If the hole is particularly large, you may need to apply multiple layers of sealant.
Step 3: Apply Silicone Caulk
After the granite sealant has dried, apply a layer of silicone caulk around the hole. Use your finger to smooth out the caulk and ensure no air bubbles. The silicone caulk will provide an additional layer of protection against water damage. If the hole is still visibly present, you can apply a second layer of silicone caulk.
Step 4: Wipe Away Excess Material
Once you’re satisfied with the sealant and caulk, use a paper towel to wipe away any excess material. Be careful not to remove any of the sealant or caulk from the hole itself. If there is any sealant or caulk on your countertops, you can remove it with a putty knife. Be sure to dispose of any excess materials properly.
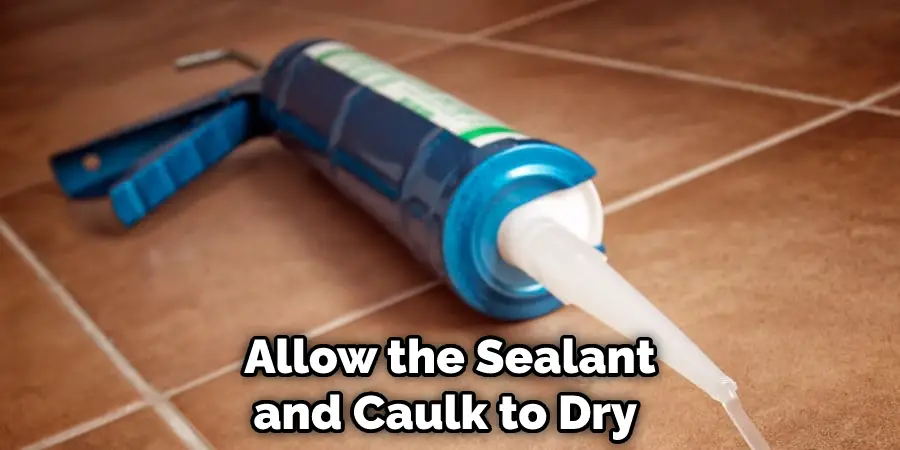
Step 5: Allow the Sealant to Dry
Before using your sink, it’s important to allow the sealant and caulk to dry completely. This usually takes 24-48 hours. Once the sealant and caulk are dry, your faucet holes should be plugged and your sink will be ready to use. If you’re unsure if the sealant or caulk is dry, you can test it by running a bead of water over the area. If the water beads up, it’s not yet dry. If the water is absorbed into the sealant or caulk, it’s ready to use.
Step 6: Apply Putty Knife
If any sealant or caulk has been removed from the hole, you can apply a putty knife to reapply it. Be sure to smooth out the material, so there are no air bubbles. If your granite is sensitive to chemicals, you may want to use a food-grade sealant. Make sure there is no water in the sink before you apply the sealant.
Step 7: Allow to Dry Completely
After you’ve applied the sealant or caulk, it’s important to let it dry completely before you move on to the next step. Depending on the type of sealant or caulk you’re using, this could take anywhere from a few hours to a few days. Make sure to read the manufacturer’s instructions to know how long you need to wait.
Step 8: Attach the Faucet
Now you’re ready to attach the faucet. Be sure to follow the manufacturer’s instructions to install the faucet properly. Once the faucet is in place, you can turn on the water and test it out. You may need to reapply the sealant or caulk if there are any leaks. If you think the sealant or caulk has been damaged, you can always remove it and start from scratch.
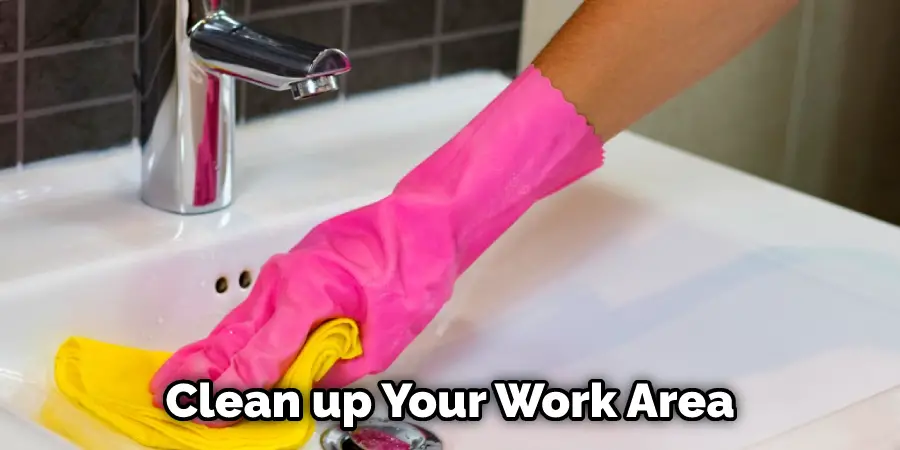
Step 9: Clean Up
Once you have finished installing the faucet, it’s time to clean up your work area. Be sure to dispose of any old towels or drop cloths. If there is any sealant or caulk on your countertops, you can remove it with a putty knife. Wipe down the area with a damp cloth to remove any residue.
Step 10: Enjoy Your New Faucet
Now you can enjoy your new faucet and have peace of mind knowing that your sink is properly protected against leaks. Be sure to check the sealant and caulk periodically to make sure it’s still in good condition. Depending on how often you use your sink, you may need to reapply it from time to time. With proper care, your faucet should last for many years to come.
Tips for Maintaining Your Granite Countertops
- Proper cleaning is essential to maintain the beauty of your granite countertop.
- Granite is a natural stone and should be sealed periodically to protect it from staining.
- Use coasters under all glasses and bottles to prevent staining.
- Blot up spills immediately.
- Avoid using harsh chemicals or abrasives on your granite countertop.
- To plug faucet holes in granite, use a high-quality epoxy resin designed to repair granite.
- Apply the epoxy resin to the hole, then insert a wooden dowel or toothpick into the center of the hole.
- Allow the epoxy to cure for 24 hours before using the sink.
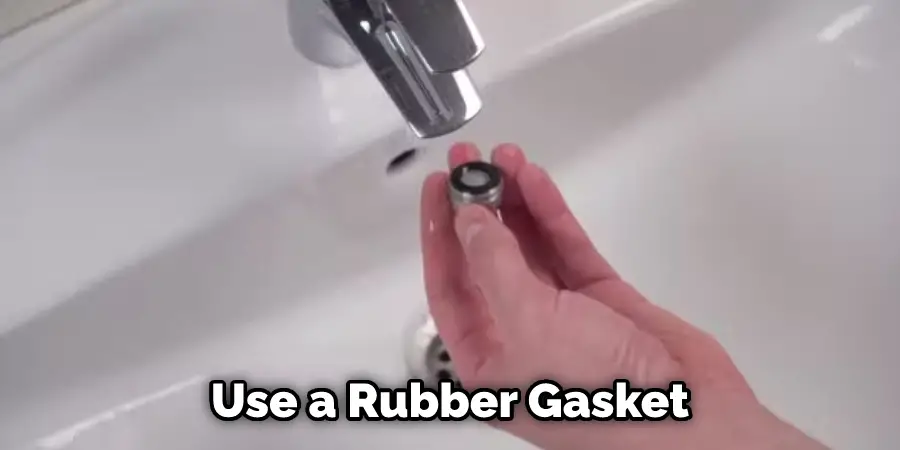
What to Use to Fill Gaps in Granite?
If you’re looking to fill gaps in your granite, there are a few different options that you can use. One option is to use a rubber gasket. Another option is to use a silicon sealant. And finally, you can also use epoxy resin. Which option you choose will depend on the gap size and the durability level you’re looking for.
A rubber gasket may be all you need if the gap is small. You can find these at most hardware stores. Just make sure to get one that’s the right size for your particular gap. For larger gaps, or if you need something more durable, silicon sealant or epoxy resin will probably be your best bet.
To apply silicon sealant, just squirt it into the gap and smooth it out with a putty knife. Epoxy resin is a bit more difficult to work with, but it will create a stronger bond. You’ll need to mix the two parts of the epoxy together before applying it to the gap. Once you’ve applied your chosen filling material, just let it dry, and voila! Your gaps should be filled, and your granite countertop will look good as new.
How Do You Fill a Kitchen Sink Hole?
Most people don’t think about how they will fill the holes in a faucet until they need to do it. There are a few ways to plug a hole in your granite kitchen sink. The most common method is to use epoxy putty, which is readily available at any hardware store. Another way to fill the holes is to use silicon caulk.
Epoxy putty is easy to use and will give you a nice, clean seal. First, clean the area around the hole with rubbing alcohol. This will help the epoxy to adhere better. Next, knead the putty until it’s soft, then press it into the hole. Use a wet cloth to smooth it out, then let it dry for 24 hours. Silicon caulk is also easy to use, but you’ll need to be more careful with it since it’s not as forgiving as epoxy putty.
Conclusion
So, if you have granite countertops in your kitchen and notice water spots or faucet holes that need to be plugged in, don’t fret. You can fix the problem yourself very easily with a few simple tools and some silicone caulking.
Just clean the granite’s surface well before you start so that the caulking will adhere properly. And be careful not to get any caulking on your hands – it’s pretty tough to get off! We hope you found this tutorial on how to plug faucet holes in granite helpful. If you did, please share it with your friends and family members who may also have granite countertops.