
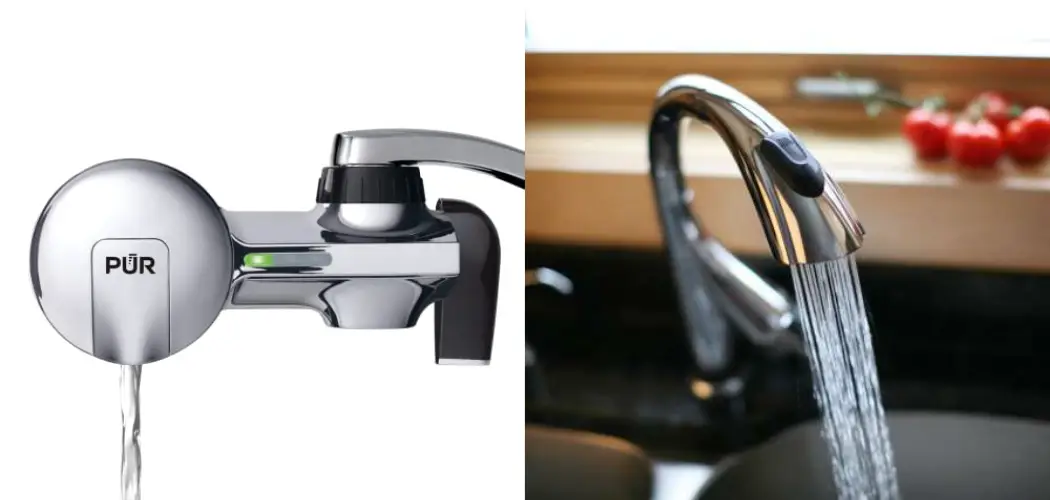
Having clean and fresh water to drink is important for your health and your food taste. However, sometimes the water that comes straight from your faucet isn’t as clean as you would like it to be. That’s where water filters come in! In this blog post, we’ll show you how to install PUR water filter on pull out faucet.

What Is a Pur Water Filter?
A PUR water filter is a type of filtration system that is designed to remove impurities from water. The filter uses a process known as reverse osmosis to remove contaminants from water, leaving behind only clean, pure water. A PUR water filter can be used independently or as part of a filtration system. The filter can be used to purify both tap water and well water.
It is an effective way to remove impurities such as chlorine, lead, and bacteria from water. A PUR water filter can also improve the taste and smell of water. The filter is easy to use and can be installed in minutes. It is an affordable way to ensure that you have access to clean, pure water.
Why Should You Install Pur Water Filter on Pull-out Faucet?
Having a water filter is important because it removes impurities from your water, making it healthier to drink. There are many different types of water filters on the market, but one of the most popular is the Pur Water Filter. This type of filter is installed on your pull-out faucet and uses a three-stage filtration system to improve your water quality.
The first stage filters out larger particles, such as dirt and sediments. The second stage removes smaller impurities, such as chlorine and lead. Finally, the third stage uses a carbon filter to remove VOCs and other contaminants. As a result, you can be confident that your water is free of harmful chemicals and pollutants. Plus, the Pur Water Filter is easy to install and requires very little maintenance.
7 Steps to Follow on How to Install Pur Water Filter on Pull out Faucet
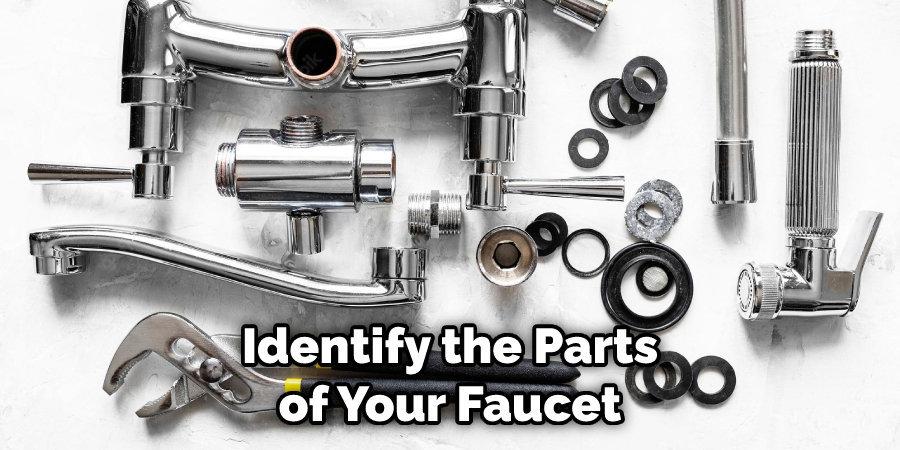
Step One: Identify the Parts of Your Faucet
The first step is to identify the parts of your faucet. Most pull-out faucets have three main parts: the spout, the hose, and the head assembly. The head assembly is usually where the water filters are located.
Step Two: Remove the Old Water Filter (if Applicable)
If you already have a water filter installed on your faucet, you’ll need to remove it before installing the new one. To do this, simply unscrew the housing unit that contains the filter from the rest of the faucet. Once it’s loose, you should be able to pull it out and access the old filter.
Step Three: Install the New Filter
Now it’s time to install the new filter. Begin by taking the housing unit that contains the filter and screw it back into place on the faucet. Make sure it’s tight so that there’s no chance of leaks. Once the housing unit is in place, take the new filter and insert it into the unit. There should be a designated spot for the filter to go. Once it’s in place, screw on the cap to secure it.
Step Four: Connect the Hose
The next step is to connect the hose to the faucet. Most hoses will have a quick-connect fitting that makes this process super easy. Simply align the hose with the fitting and push it until it clicks into place. If your hose doesn’t have a quick-connect fitting, you’ll need to screw it onto the faucet manually.
Step Five: Connect the Sprayer Head
Now it’s time to connect the sprayer head. This part is usually pretty easy, as most sprayer heads will have a quick-connect fitting that you can align with the hose and push into place. If your sprayer head doesn’t have a quick-connect fitting, you’ll need to screw it onto the hose manually. Again, be careful not to overtighten it, as this could damage the hose.
Step Six: Test for Leaks
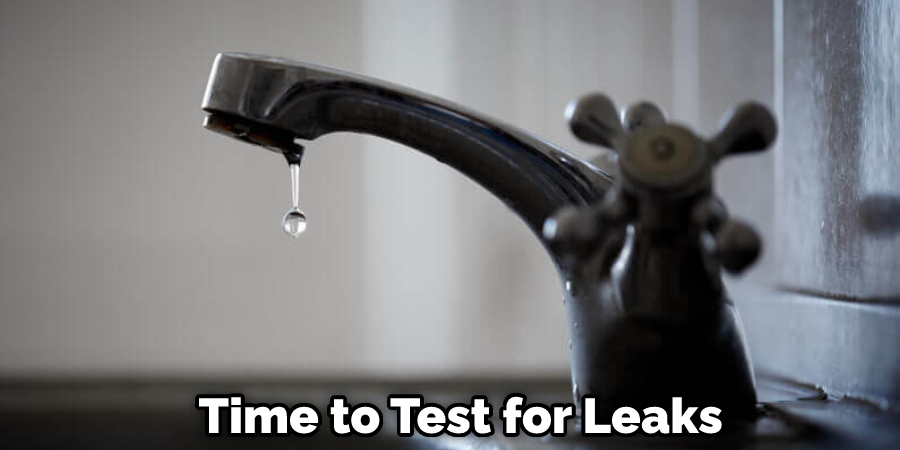
Once everything is connected, it’s time to test for leaks. Start by turning on the water supply to your faucet and then turn on the faucet itself. Let the water run for a minute or so to see if there are any leaks. If you don’t see any leaks, congratulations! You’ve successfully installed your new water filter. However, if you see leaks, go back and check all the connections to ensure they’re tight.
Step Seven: Enjoy Clean, Filtered Water!
The final step is to enjoy clean, filtered water! Now that your new water filter is installed, you can enjoy the peace of mind of knowing your family is drinking clean water. That’s it! You’ve now learned how to install pur water filter on pull out faucet.
How to Choose the Perfect Water Filter for Your Home
Water is essential for life but can also be a breeding ground for bacteria and other contaminants. That’s why choosing the right water filter for your home is important. The first step is to identify the type of contaminants you’re trying to remove. Some common impurities include lead, chlorine, and sediment. Once you know what you’re looking for, you can narrow your options and choose a water filter designed to remove those specific contaminants.
Another important factor to consider is the quality of your water supply. For example, if you live in an area with hard water, you’ll need a filter that can remove minerals like calcium and magnesium. Finally, be sure to read the reviews before making your purchase. By finding the perfect water filter for your home, you can rest assured that your family is drinking clean, safe water.

10 Benefits of Installing a Pur Water Filter in Your Home
While many people take clean drinking water for granted, the truth is that not all water sources are created equal. In fact, according to a report by the Environmental Working Group, more than 180 contaminants have been found in U.S. tap water. While most of these contaminants are not harmful at low levels, they can build up over time and pose serious health risks. That’s where Pur water filters come in.
Pur filters use a three-stage filtration process to remove more than 99% of contaminants, including lead, mercury, and chlorine. As a result, Pur-filtered water tastes better and is safer for your family to drink. In addition to providing clean drinking water, Pur filters offer several other benefits for your home.
For example, they can help extend your appliances’ life by preventing sediment buildup and save you money on your monthly water bill. So if you’re looking for a way to improve the quality of your family’s drinking water, a Pur filter is a great place to start. Keep reading for more information about how to install pur water filter on pull out faucet.
How Do I Know if My Faucet Is Compatible with The Pur Water Filter?
The first thing you need to do is check to see what kind of faucet you have. If you have a standard faucet, then you will need an adapter to use the Pur water filter. The adapters are available at most hardware stores. If you have a pull-out or a sprayer faucet, you will need to purchase a separate Pur water filter designed for that type of faucet. The next thing you need to do is check the size of your faucet.
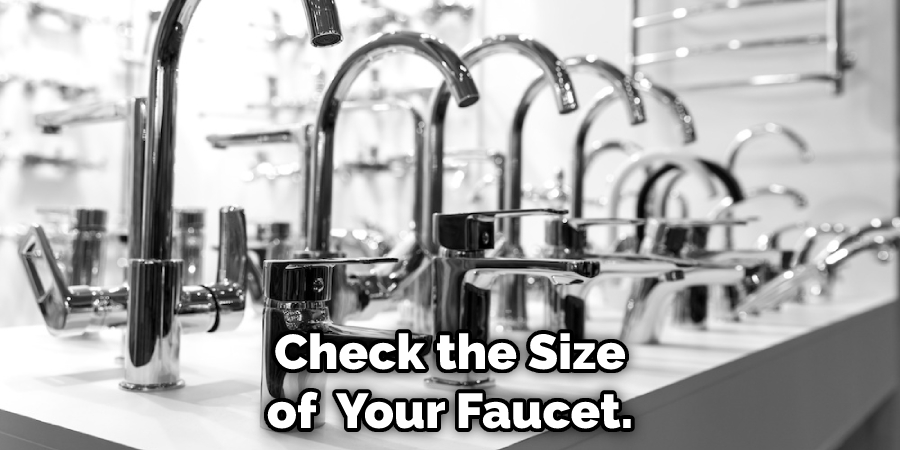
The Pur water filter is designed to fit standard-sized faucets, but if your faucet is larger or smaller than average, then you will need to purchase an adapter to make it fit. Finally, you need to check the flow rate of your faucet. The Pur water filter is designed for a maximum flow rate of 2 gallons per minute, so if your faucet has a higher flow rate, then you may not be able to use the filter.
What Should I Do if There’s No Room to Install the Pur Water Filter on My Pull out Faucet?
If you have a pull-out faucet and there’s no room to install the Pur water filter, don’t worry – there’s still a way to use the filter. The first thing you’ll need to do is remove the aerator from the end of your faucet. This is usually a small, circular piece that unscrews easily. Once you’ve removed the aerator, screw the adapter that comes with the Pur filter onto the end of the faucet.
Then, you’re all set to attach the filter to the adapter. Keep in mind that you’ll need to replace the filter every few months, so make sure to keep an extra one on hand. By following these simple steps, you can enjoy filtered water even if there’s no room to install the filter directly onto your pull-out faucet.
Conclusion
Installing a PUR water filter on your pull-out faucet is an easy way to get cleaner, healthier water for drinking and cooking. Our tutorial will walk you through the process if you’re unsure how to do it. Once you have your PUR water filter installed, you can enjoy fresher-tasting water without any of the contaminants that can make you sick. Thanks for reading our post about how to install pur water filter on pull out faucet.