

When it’s time for a new shower door, you may be wondering how to remove the old one. Self-adhesive shower door handles are often used to keep the glass in place. Unfortunately, these can be difficult to remove without damaging the door or handle. In this blog post, we’ll show you how to remove self-adhesive shower door handles safely and efficiently. Keep reading to learn more!

What Is Self-Adhesive Shower Door Handles?
Self-adhesive shower door handles are an easy and affordable way to update your shower. Unlike traditional handles that require drilling and installation, self-adhesive handles can be installed in minutes with just a few simple steps. Simply clean the surface where you want to install the handle, remove the backing from the adhesive, and press the handle into place.
That’s it! Self-adhesive shower door handles are not only easy to install, but they are also very durable. They are made of high-quality materials that can withstand daily use and are resistant to rust, corrosion, and scratches. So whether you’re looking for a new style or simply want an upgrade, self-adhesive shower door handles are an excellent option.
Why Might You Need to Remove Self-Adhesive Shower Door Handles?
The main reason you might need to remove self-adhesive shower door handles is if they become loose or damaged. Over time, the adhesive that holds the handles in place can break down, causing the handles to become loose.
In addition, the adhesive can be damaged by water, soap, and other cleaning products. If the adhesive is damaged, it will no longer be able to hold the handles in place.
Another reason you might need to remove self-adhesive shower door handles is if you’re remodeling your bathroom. If you’re changing the style of your shower door, you’ll need to remove the old handles and install new ones.
Luckily, removing self-adhesive shower door handles is a relatively easy process. With a little patience and the right tools, you can remove the handles without damaging the door or handle.
How to Remove Self-Adhesive Shower Door Handles in 6 Easy Steps
If you’re tired of your shower door handles sticking out and getting in the way, you may be looking for a way to remove them. Self-adhesive shower door handles are a great option for those who want to remove their old handles without damaging the door. However, there are a few things you’ll need to do to remove self-adhesive shower door handles.
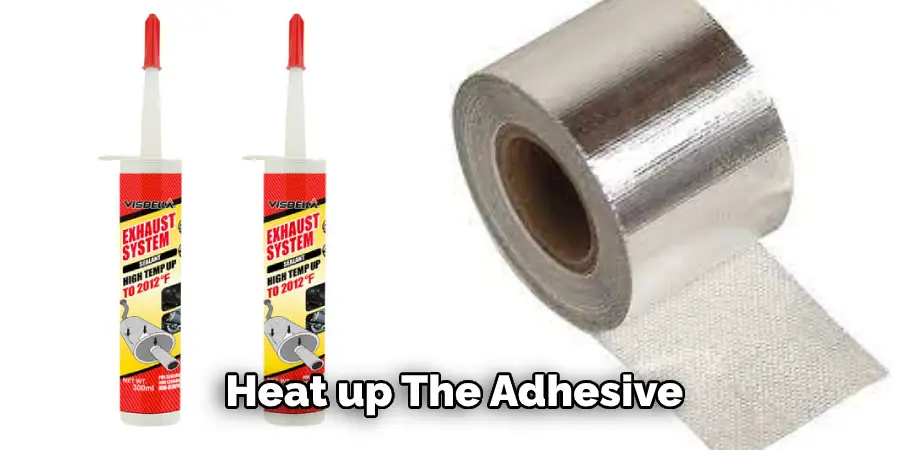
1. Heat up The Adhesive
This can be done with a hair dryer or a heat gun. If you’re using a hair dryer, make sure to keep it moving, so you don’t overheat any one area. You just want the adhesive to be warm and soft, not hot.
2. Use A Spatula
Once the adhesive is heated up, you can use a spatula to pry the handle off of the door. Start by slipping the edge of the spatula under the bottom of the handle and then gently pushing up. If the handle is still firmly attached, you can try using a putty knife or a screwdriver. Be careful not to scratch the door surface as you pry the handle off.
3. Apply More Heat
If the handle is still not coming off, try applying more heat. You can use a hair dryer or a heat gun on its lowest setting. Hold the heat source about 6 inches away from the adhesive and move it around until the adhesive becomes soft. Then, try removing the handle again.
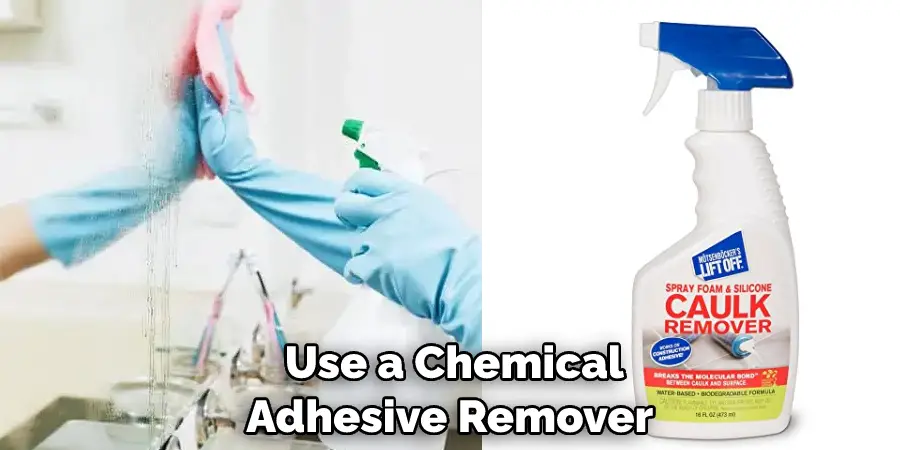
4. Use a Chemical Adhesive Remover
If the heat doesn’t work, you can try using a chemical adhesive remover. There are a few different brands that make these, so be sure to read the instructions carefully before use. Apply the remover to a clean cloth and then apply it to the adhesive. Let it sit for a few minutes, and then use a putty knife or spatula to remove the handle.
5. Clean The Area
Once the adhesive is removed, it’s important to clean the attached handle area. This will ensure that the new adhesive will adhere properly and create a strong bond.
To clean the surface, simply use a mild soap and water solution. Next, gently scrub the area to remove any residue left behind by the old adhesive. Once the area is clean, dry it thoroughly with a soft cloth.
6. Attach New Handles(Optional)
Once the surface is clean and dry, you can attach new handles. If you’re using self-adhesive handles, simply peel off the backing and press the handle into place. For best results, press down on the handle for a few seconds to create a strong bond.
You’ll need to apply a new adhesive if you’re not using self-adhesive handles. There are a few different adhesives that can be used for this project. However, we recommend using an epoxy or acrylic-based adhesive. Simply apply the adhesive to the back of the handle and press it into place. Once the adhesive has dried, your new handles will be firmly attached.
That’s it! You’ve now learned how to remove self-adhesive shower door handles. Be sure to follow the instructions carefully to avoid damaging your door. With a little bit of effort, you can easily update your shower and make it look brand new.
What Are Alternative Methods to Removing Self-Adhesive Shower Door Handles?
Home improvement stores offer a wide variety of self-adhesive shower door handles. However, these handles may not always adhere to the door as intended, making them difficult to remove. If you’re struggling to remove a self-adhesive shower door handle, you can try a few alternative methods.
One option is to use a putty knife to pry the handle off of the door. You can also try using a heat gun or hair dryer to soften the adhesive. Another possibility is to apply WD-40 or another lubricant to help loosen the adhesive. With a little patience and perseverance, you should be able to remove the handle without damaging the door.
How to Care for And Maintain Your Self-Adhesive Shower Door Handles
Your self-adhesive shower door handle is an important part of your bathroom. It helps keep your doors clean and adds a touch of style to your bathroom. However, like all things in your bathroom, it can get dirty and tarnished over time. Here are some tips on how to care for and maintain your self-adhesive shower door handles:
- Wipe the handles down with a damp cloth regularly. This will help to remove any soap scum or dirt that has built up on the handles.
- If the handles start to look dull, you can use a mild polishing compound to restore their shine.
- Be careful not to use harsh cleaners or abrasive pads when cleaning the handles, as this can damage the adhesive.
By following these simple tips, you can keep your self-adhesive shower door handles looking like new for years to come.
How to Prevent Self-Adhesive Shower Door Handle Adhesive Residue From Forming in the First Place
One of the most annoying things that can happen in the bathroom is when you have to deal with adhesive residue from a shower door handle. Not only is it unsightly, but it can also be difficult to remove. Fortunately, you can do a few things to prevent this problem from occurring in the first place.
First, ensure that the handle’s surface is clean and free of dirt or soap scum before applying the adhesive. Second, apply a thin layer of adhesive and let it dry for several minutes before attaching the handle to the shower door. Finally, if there is any residual adhesive after attaching the handle, use a razor blade or putty knife to scrape it off.
By following these simple tips, you can keep your shower door handles looking like new. Keep reading for more information about how to remove self-adhesive shower door handles.
How to Remove Silicone Sealant from Shower Door Handle
Anyone who has ever dealt with silicone sealant knows that it can be a real pain to remove. The process can be even more challenging if you’re trying to remove silicone sealant from a shower door handle. The good news is that it is possible to remove silicone sealant from shower door handles with the right tools and techniques.
First, start by heating the silicone sealant with a hair dryer. This will help to loosen the adhesive bond. Once the sealant is soft, use a putty knife or similar tool to scrape it away. You may need to use a solvent such as acetone or mineral spirits for stubborn areas.
With patience and some elbow grease, you should be able to remove all traces of silicone sealant from your shower door handle.
Why Did My Self-Adhesive Shower Door Handles Come Off?
Have you ever applied a self-adhesive label to something, only to have it fall off soon after? If so, then you know how frustrating it can be. Now imagine that instead of a label, you’re trying to attach a handle to your shower door – and it keeps falling off! If this is happening to you, there are a few possible explanations.
First, the surface you’re trying to attach the handle to may be too smooth. Self-adhesive materials need some texture to grip. Second, the surface may be too dry. Again, self-adhesives need moisture to adhere properly. Finally, the adhesive itself may be faulty. If you’ve tried all of these things and still can’t get your handles to stay put, then it’s time to call in a professional.
Conclusion
Although it may seem daunting at first, removing self-adhesive shower door handles is a fairly simple process. Just follow the steps we’ve outlined, and you should have them removed in no time! Thanks for reading our post about how to remove self-adhesive shower door handles.