
Are you ready to add some personality and extra wow factor to your bathroom space? Then think about taking on the challenge of tiling your shower ceiling! Yes, you heard that right – with a few key tools, supplies and know-how, it’s possible for even an amateur do-it-yourselfer to accomplish turning their shower or tub into a beautiful work of art.
Whether you’re looking for something classic or funky, this guide on how to connect ceiling speakers to receiver will show you how to tile a shower ceiling that fits within your aesthetic and budget. Get ready to create something unique – let’s get started!
Needed Tools and Materials
Given below is the list of tools and materials you will need to successfully connect your ceiling speakers to a receiver.
- Receiver
- Ceiling Speakers
- Screwdrivers for drilling holes (if necessary)
- Wall/Ceiling Mounts for the speakers
- Speaker Wire or Cable
- Scissors, Knife or Wire Cutters
- A Pen or Marker
10 Step-by-step Guides on How to Connect Ceiling Speakers to Receiver
Step 1: Prepare the Receiver
The first step is to make sure that your receiver is properly set up and in working order. Check for any user manuals or accompanying instructions as you may need these when connecting the speakers. If you are unsure of how to use the receiver, contact your local technician for assistance. This is important to make sure everything is working properly before you start connecting the ceiling speakers. It will also save you from any unnecessary hassles in the long run.
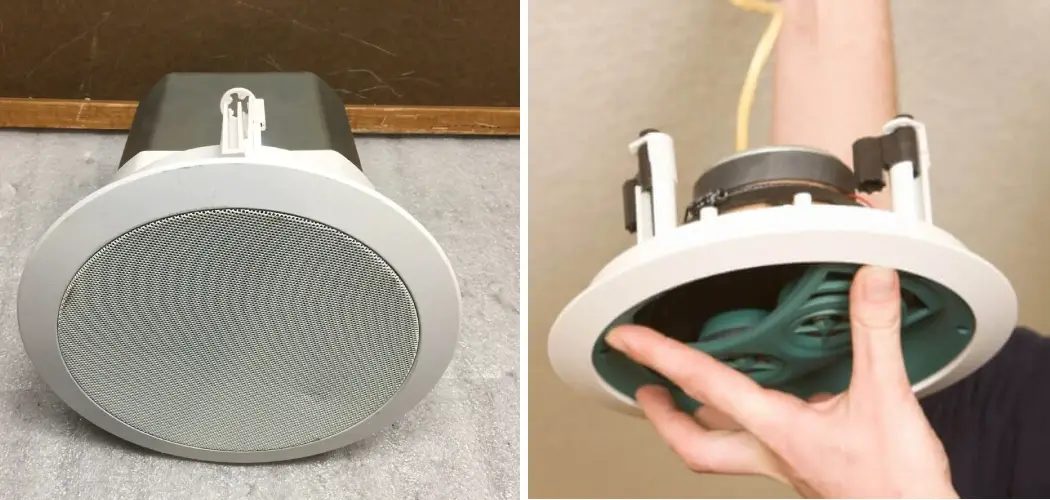
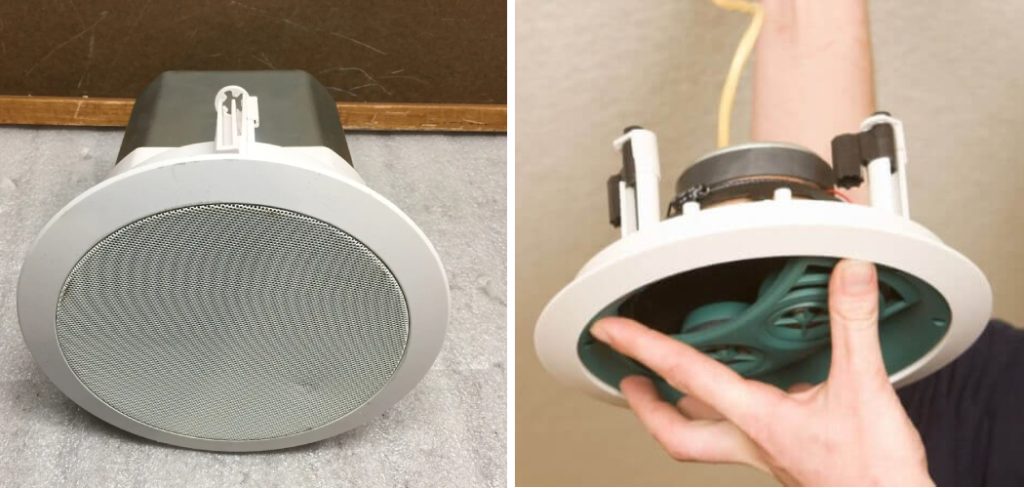
Step 2: Position Ceiling Speakers
Once the receiver is ready, start by determining where you want to install the ceiling speakers. This includes both the height and the angle. Make sure to account for any furniture, appliances, or other objects that may be in the way of your speakers. This step is important as the quality of your audio output will depend on proper positioning. It’s also a good idea to mark the spot on the ceiling with a marker or pen, for reference.
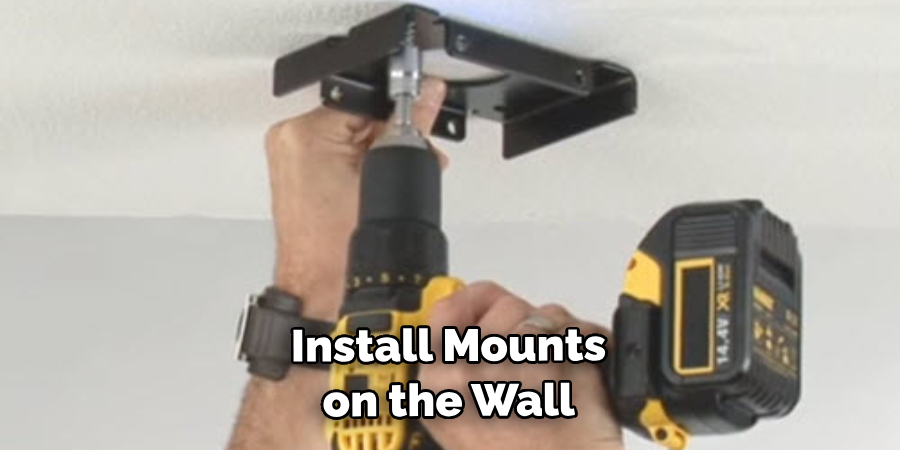
Step 3: Install Mounts for Ceiling Speakers
Before connecting the ceiling speakers, you’ll need to install mounts on the wall/ceiling where they will be placed. Make sure to mark the spots with a pen or marker, then drill holes where needed for mounting. It is important to make sure that the mounts are securely affixed and correctly aligned. Although not necessary, it can be useful to have a helper for this part of the process. This will make sure that the mounts are properly placed with both of you ensuring accuracy.
Step 4: Connecting Speaker Wires
Next, connect the speaker wires from the ceiling speakers to your receiver. It is important to ensure that you use the correct cables for this connection, as incorrect wiring could cause damage or result in poor sound quality.
If necessary, refer to the user manual of your receiver for further instructions. It’s important to pay attention here, as improper connections may cause a short circuit or other damage. This is why it’s important to double-check all your connections.
Step 4: Connect Speaker Wire to the Receiver
Once the mounts are installed, start connecting the speaker wire or cable from the receiver’s output jacks to the ceiling speakers (if applicable). Make sure that both ends of the wire/cable are securely connected and the wires are not crossed. This will ensure that the audio output is properly transmitted to the ceiling speakers. But if you’re not sure how to connect them, seek help from a professional. Otherwise, you could damage your receiver or speakers.
Step 5: Connect Speaker Wire to Ceiling Speakers
If you’re using a speaker wire, connect one end of the wire to one of the input jacks on each ceiling speaker. Securely attach the other end of the wire/cable to the mounting bracket (if applicable). Make sure all connections are tightly secured. It’s also important to check for any damaged or frayed wires. But if you’re using a cable, make sure to securely attach the cables to each ceiling speaker.
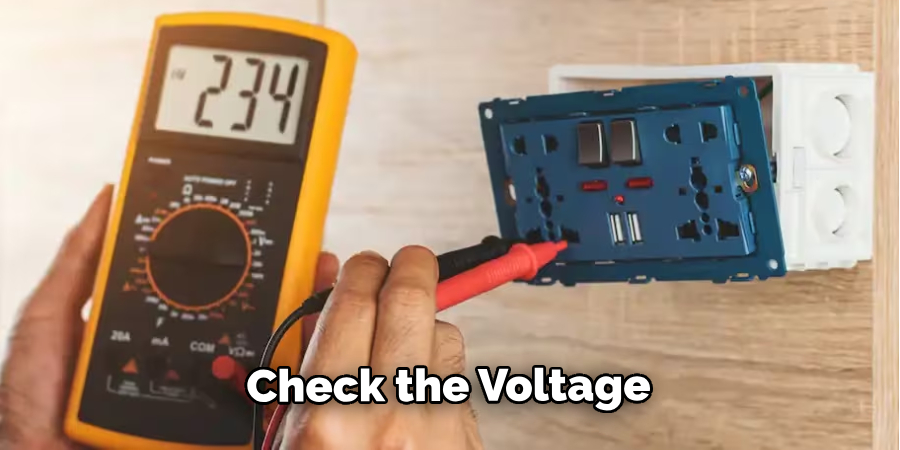
Step 6: Connect the Receiver to the Power Source
Now it’s time to power up the receiver. Plug the receiver into a wall outlet or other available power source and switch it on. However, make sure to follow the safety guidelines for using the device. It’s also important to secure the wires and cables away from any potential hazards. This includes any objects that may move or be bumped into. It’s also a good idea to check the voltage of your power source before using it.
Step 7: Turn On Ceiling Speakers
Once the receiver is powered on, you can turn on the ceiling speakers. Make sure to adjust the volume settings to a comfortable level and double-check that all connections are properly secured. It’s important to test the sound in the room before proceeding. You can do this by playing a few tunes from your music library or an online streaming service. But be sure to keep the volume at a low level.
Step 8: Test the Sound
Now it’s time to test the sound of your newly connected ceiling speakers! Start by playing a track (or two) at an acceptable or slightly higher volume and determine if the sound is satisfactory. It’s important to check for any distortion, static, or other audio issues.
If the sound is pleasing to your ears, then you can move on to step nine. If not, then double-check all of your connections and make sure that everything is properly secured.
Step 9: Adjust the Equalizer
If you’re not satisfied with the sound quality of your ceiling speakers, you can adjust the equalizer settings to improve it. This is done by adjusting the low-frequency (bass) and high-frequency (treble) levels until you get the desired sound quality. You can use a manual or online tutorial to help you with this step.
Step 10: Enjoy the Music!
Now that you’re done connecting your ceiling speakers to the receiver, it’s time to sit back and enjoy the music! You can further adjust the equalizer settings to bring out more of your favorite tunes. Get ready to experience a whole new level of sound quality in your home. Always remember to keep the volume at a comfortable level – your ears will thank you for it!
Tiling a shower ceiling is a great way to add extra sparkle and personality to your bathroom, but installing ceiling speakers is an even more exciting challenge! With the right tools and materials, it’s easy for anyone to install their own set of ceiling speakers – just follow this guide on how to connect ceiling speakers to receiver. You’ll be enjoying music in your shower before you know it! Forget the spa – now you’ll have your own personal music oasis.

How Much Could It Cost?
The cost of connecting ceiling speakers to your receiver depends on several factors, including the type and number of speakers you’re using as well as any additional materials needed (e.g., mounts, speaker wire). Depending on these factors, the total cost of setting up a set of ceiling speakers could range anywhere from $50 to over $200.
When budgeting for a project like this, it’s important to factor in the cost of any tools or supplies you may need. It’s also best to overestimate the amount of time it will take to complete the job – this way, you won’t be surprised by any unexpected costs that may arise along the way.
Frequently Asked Questions
Q: How Do I Know Which Type of Receiver is Best for My Ceiling Speakers?
A: When choosing a receiver, it’s important to consider the size and power needs of your ceiling speakers. You should also keep in mind any additional features you may want or need, such as wireless streaming capabilities or built-in equalizers. To get the most out of your speakers, make sure to select a receiver that is compatible with them.
Q: Can I Connect My Ceiling Speakers Directly to My Phone or Computer?
A: No, it’s not recommended that you connect ceiling speakers directly to your phone or computer. This is because most phones and computers don’t have the necessary amplifier power to drive the speakers. Instead, it’s best to use a receiver as this will provide you with more control over your sound.
Q: Do I Need Professional Assistance to Install My Ceiling Speakers?
A: Although it is possible for anyone to install ceiling speakers on their own, some people may prefer to seek professional help. This is especially true if you’re not comfortable working with tools or wiring, as these can be dangerous if done incorrectly. Additionally, a professional installation will ensure that everything is securely connected and functioning properly.
Conclusion
In summary on how to connect ceiling speakers to receiver, connecting ceiling speakers to a receiver can be done with relative ease. Considering the necessary components like a power amplifier, speaker wires and an audio receiver, it’s possible for anyone to finish this task quickly and effectively.
Remember that in order to successfully create a home audio system that contains the desired fidelity of sound across multiple speakers, doing research to understand which type of power amplifier is necessary for the size of the room and how many receivers are needed ensures that no time or resources are wasted on unneeded components.
Above all else, once you have gathered all the required components and understand how they work together, connecting the ceiling speakers should not pose any significant issues when done correctly. With these tips in mind, you can conquer this task and implement your very own home audio system with ease!
Rick is a handyman who grew up helping his dad with his business. He learned a lot from him about how to fix things, and also about how to work hard and take care of business. These days, Rick is still into fixing things- only now, he’s doing it for a living.
Rick is always looking for new ways to help people grow and develop. That’s why he started contributing to this blog: to share all his experience and knowledge so that he can help people who are interested in DIY repair.