
If you’re looking to tile your shower niche without using bullnose, there are a few things you need to know. In this blog post, we’ll show you how to tile shower niche without bullnose and provide some tips for making it look great. So whether you’re tiling on a budget or just want something a little different, keep reading for the scoop on DIY tiling without bullnose.
What Is Tile Shower Niche Without Bullnose?
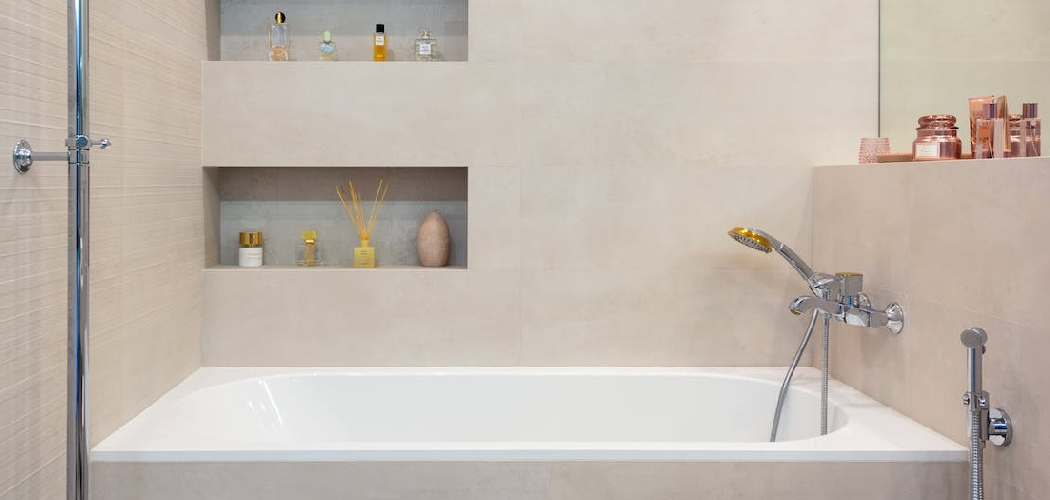
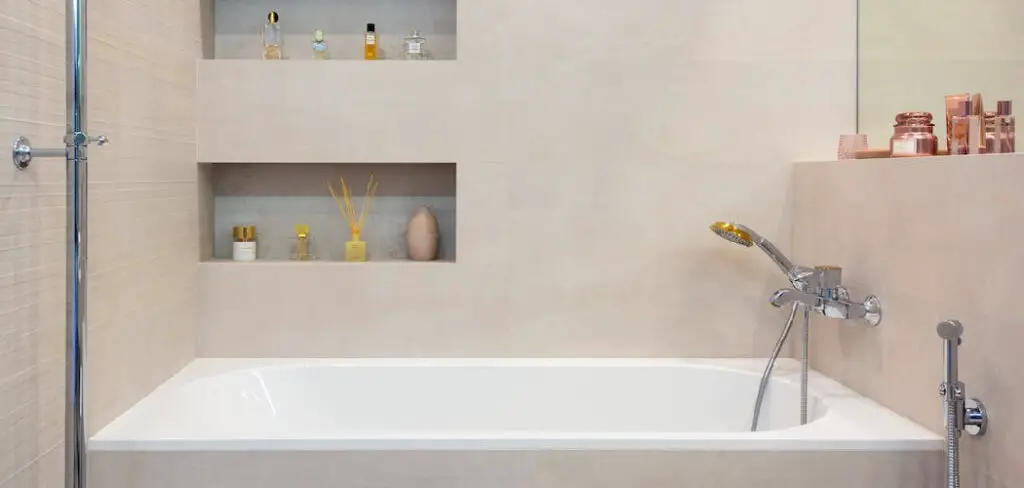
A tile shower niche is a recessed area in the shower that allows you to store shampoo, soap, and other bath accessories. Bullnose is a type of edging that is placed around the tile niche to create a finished look. Bullnose can be made from ceramic, porcelain, or stone and is available in various colors and styles. While tile shower niches without bullnose are not as common as those with bullnose, they can add a unique touch to your shower.
Tile shower niches without bullnose are typically square or rectangular in shape and can be placed in the corner of the shower or along one of the walls. When choosing a tile shower niche without bullnose, be sure to select a tile that is durable and easy to clean. Stone or porcelain tiles are a good choice for this type of niche, as they are less likely to crack or chip than ceramic tiles.
Why Should You Tile Shower Niche Without Bullnose?
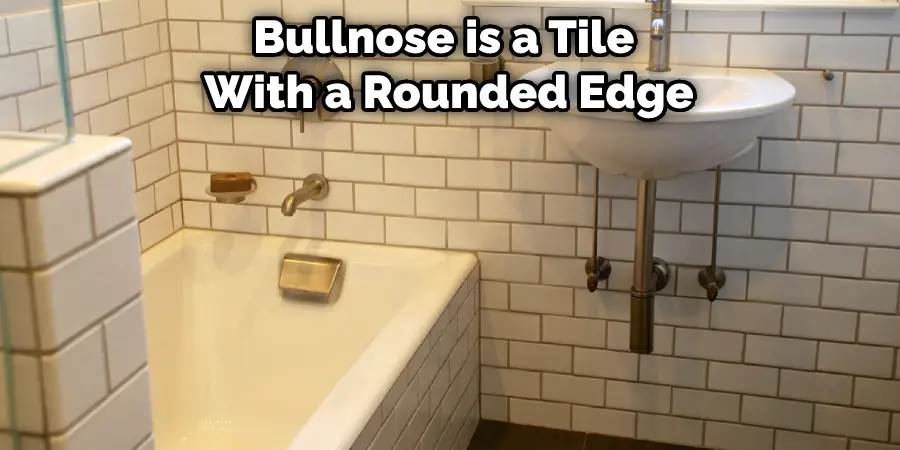
Bullnose is a tile with a rounded edge, usually used for finishing edges or trim. However, bullnose can also be used to tile shower niches, providing a clean, finished look. Bullnose tiles are available in various colors and styles to find the perfect match for your bathroom. In addition, bullnose tiles are easy to install and relatively inexpensive. While there are several benefits to using bullnose tile, there are also some drawbacks.
First, the rounded edge of the tile can make it difficult to clean. Second, if the tile is not properly sealed, water can seep behind the bullnose and cause problems with mold or mildew. Finally, bullnose tile can be more difficult to cut than regular tile, making it more challenging to create intricate designs. Despite these potential problems, bullnose tile can still be an attractive and functional option for the tiling shower niches.
7 Tips to Follow on How to Tile Shower Niche Without Bullnose
1. Clean Your Surface
The first step is to make sure your surface is clean and free of any debris. You don’t want anything getting in the way of your tile adhesive, so it’s important to start with a clean slate.
2. Choose Your Tile
Now, select the tile you want to use for your shower niche. Again, you can choose from various materials, colors, and sizes. Just make sure the tile you select is waterproof and durable.
3. Measure Your Space
The next step is measuring your space and determining how many tiles you need. It’s important to be precise when measuring as you don’t want to waste any material.

4. Cut Your Tile
Once you have your measurements, it’s time to cut your tile to size. You can use a wet saw or a tile cutter for this step. Just make sure you wear protective gear such as gloves and eyewear.
5. Apply Adhesive
Now it’s time to apply the adhesive to your tile. You can use a trowel or putty knife for this step. Just make sure you evenly spread the adhesive over the entire surface.
6. Place Your Tile
After applying the adhesive, it’s time to place your tile into position. Make sure you press down firmly so that the tile adheres to the surface.
7. Grout Your Tile
The final step is to grout your tile. You can use a variety of different colors to match your decor. Just make sure you apply the grout evenly and allow it to dry completely before using your shower.
That’s it! You’ve now learned how to tile shower niche without bullnose. Just follow these simple steps, and you can create a professional-looking shower in no time.

What Are My Options if I Don’t Want to Use Bullnose?
If you’re not a fan of the traditional bullnose edge, there are plenty of other options to choose from. For a more modern look, you could opt for an eased edge, which is slightly rounded and has a softer appearance. If you’re looking for something with a more vintage feel, try a beveled edge with sharp, angled sides.
Alternatively, if you want your countertop to stand out, you could go for an ogee edge with a distinct S-shaped profile. Whatever edge you choose, consult a professional to ensure it’s the best fit for your countertop.
How to Add a Niche to Your Shower Without Spending Lots of Money
If you’re looking for a way to add a touch of luxury to your shower without spending a lot of money, consider adding a niche. Shower niches are recessed shelves that provide a convenient place to store shampoo, soap, and other shower essentials. They can also be used to display decorative items or hold candles and plants. Best of all, they’re relatively easy to install yourself.
Simply mark the desired location for the niche on the shower wall and use a power drill to create pilot holes. Next, insert wall anchors into the holes and attach the shelf brackets. Finally, set the niche into place and secure it with screws. You can easily add a stylish and functional element to your shower with just a few simple tools and materials.

5 Cheap and Easy Ways to Create a Niche in Your Shower
1. Start by giving your shower a good cleaning. Remove all soap scum, mildew, and another build-up from the surface of the shower. This will help you get a fresh start and also make it easier to see any existing niche areas.
2. Next, take a look at your shower’s layout. Is there a natural niche that you could enhance? For example, many showers have a small alcove near the door that can be easily transformed into a storage area.
3. If you don’t have an existing niche, you can create one by installing shelving or storage units. Freestanding shelves are easy to add extra storage without permanently changing your shower. You can also install wall-mounted shelves or cabinets if you want something more permanent.
4. Another option is to use shower caddies or hooks to create additional storage space. Caddies can be hung from the showerhead or mounted on the wall, providing a place to store shampoo, soap, and other items. Hooks can also be used to hold towels or robes within easy reach.
5. Finally, consider using attractive storage containers to hold your shower items. Baskets, jars, and boxes can all be used to store items attractively while still keeping them within easy reach. With a little creativity, it’s easy to turn your shower into a stylish and functional space!
How to Avoid Common Tiling Mistakes when Working with A Niche
A niche can be a great way to add interest to a tiled wall, but it’s important to avoid common mistakes when working with this design feature. One common mistake is to tile the niche without first considering the size and shape of the tiles. It’s important to ensure that the tiles will fit correctly in the niche and that there is enough space for grout joints. Another mistake is to use the wrong type of adhesive or grout.
Non-sanded grout should never be used with glass or metal tiles, and waterproof adhesives are required for most shower applications. Finally, it’s important to avoid Common Tiling Mistakes when Working with A Niche to clean the surface of the niche before tiling. Any dirt or debris on the surface will become trapped under the tiles and difficult to remove. By taking these simple precautions, you can ensure that your tiled niche will be both attractive and durable.
What Type of Tile Is Best for A Shower Niche Without Bullnose?
When it comes to choosing tile for a shower niche, there are many factors to consider. However, one of the most important considerations is the type of tile you select. One popular option is bullnose tile, which features a rounded edge that helps to prevent water damage. However, bullnose tile can be difficult to install and may not provide the best grip for soap and shampoo.
Another option is subway tile, which offers a classic look that is easy to clean. However, subway tile can be slippery when wet, so it is important to choose a non-slip variety. Ultimately, the best type of tile for a shower niche depends on your personal preferences and the needs of your space.
Conclusion
So there you have it! Your complete guide on how to tile shower niche without bullnose. We hope you found this tutorial helpful and that your new tiled shower niche looks fabulous. If you run into any problems or have any questions, be sure to leave a comment below, and we’ll do our best to help. Have fun with your DIY project, and happy tiling!