How to Decorate a Round Mirror for Christmas
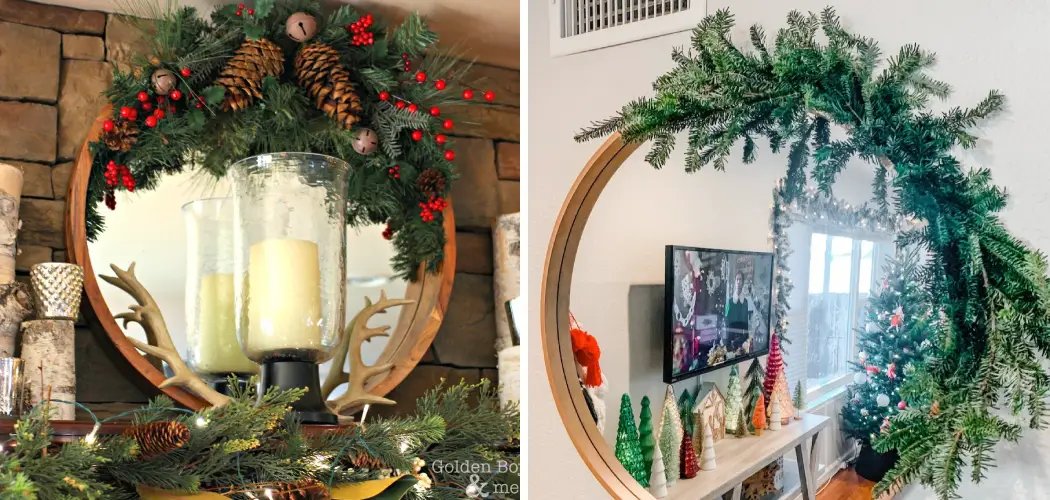
When the holidays come around, one of the best ways to get into the festive spirit is by decorating your home. A personal favorite for many people when it comes …

When the holidays come around, one of the best ways to get into the festive spirit is by decorating your home. A personal favorite for many people when it comes …
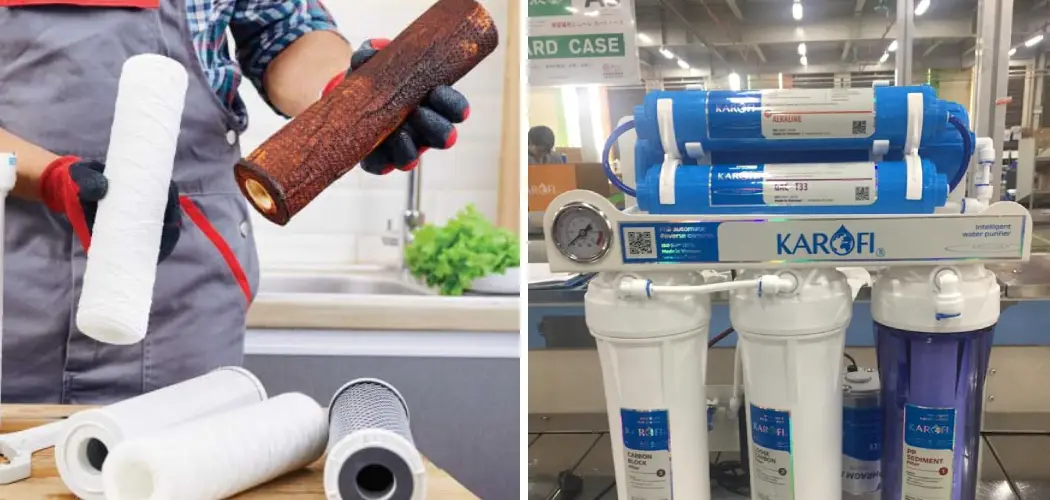
Are you living in a rust-prone area and wondering how to deal with the problem of rusty water? If so, then you’ve come to the right place! In this blog …

Storing clothes in a non-climate-controlled storage unit can be economical for those looking to save money on their storage fees. It is also beneficial to store clothing items that are …
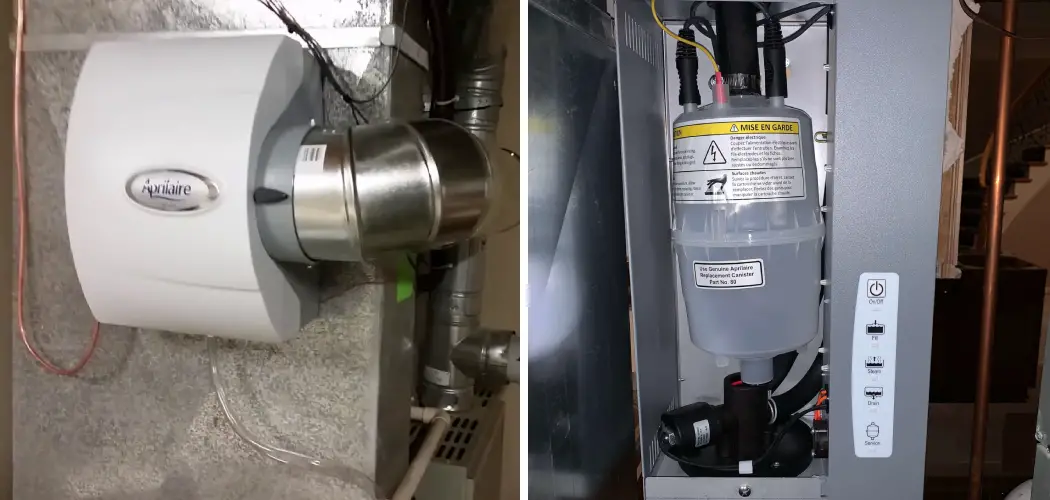
A whole-house humidifier installed in your home can help keep the air comfortable, which has significant health benefits. If the air inside your house is too dry, it can cause …
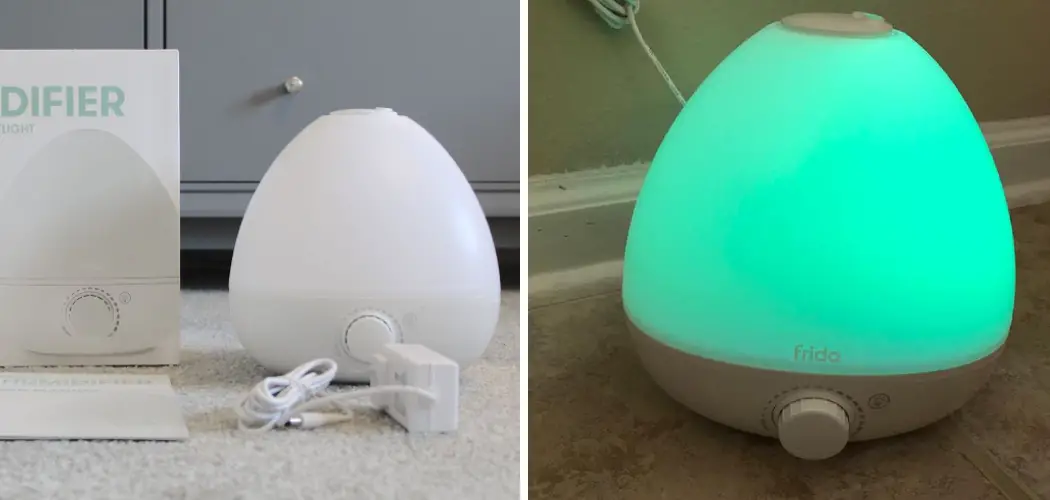
Do you have a Frida humidifier in your home that has stopped working properly? If so, it could be time to reset it. Resetting your humidifier can help restore its …
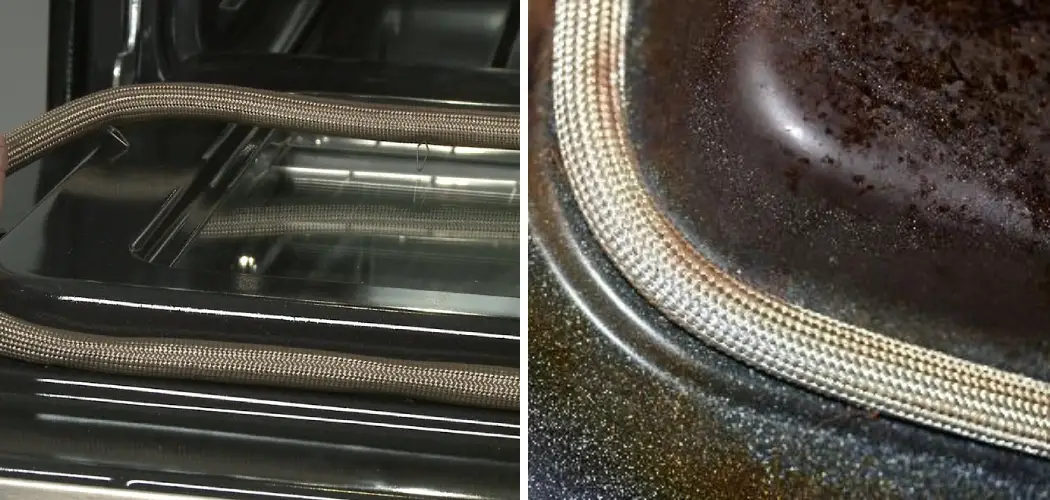
Are you looking for a way to make your oven door sparkle and shine like new? Do you cringe at the sight of nasty, baked-on grease accumulation that won’t come …
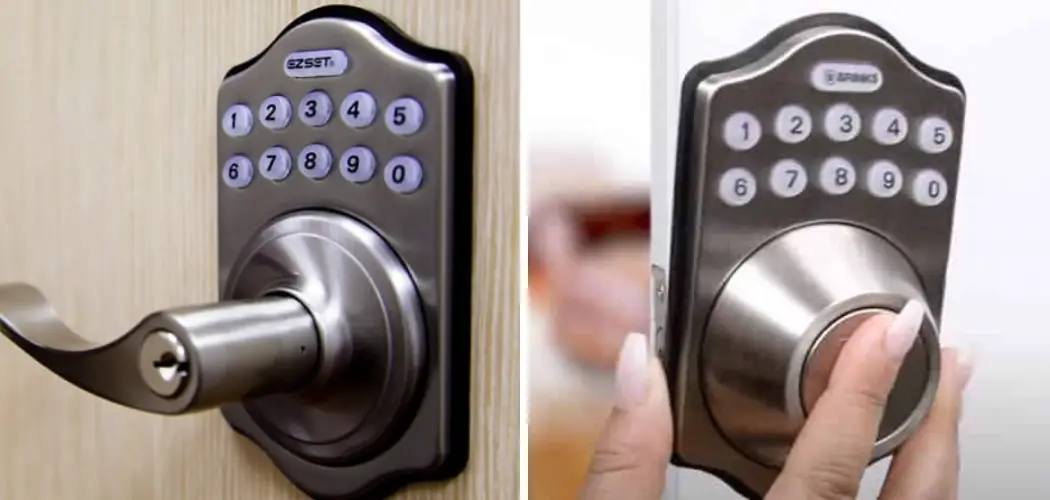
Are you having difficulty figuring out how to reset your Brinks keypad door lock? Have no fear – this task doesn’t have to be complicated. With the right direction, you …
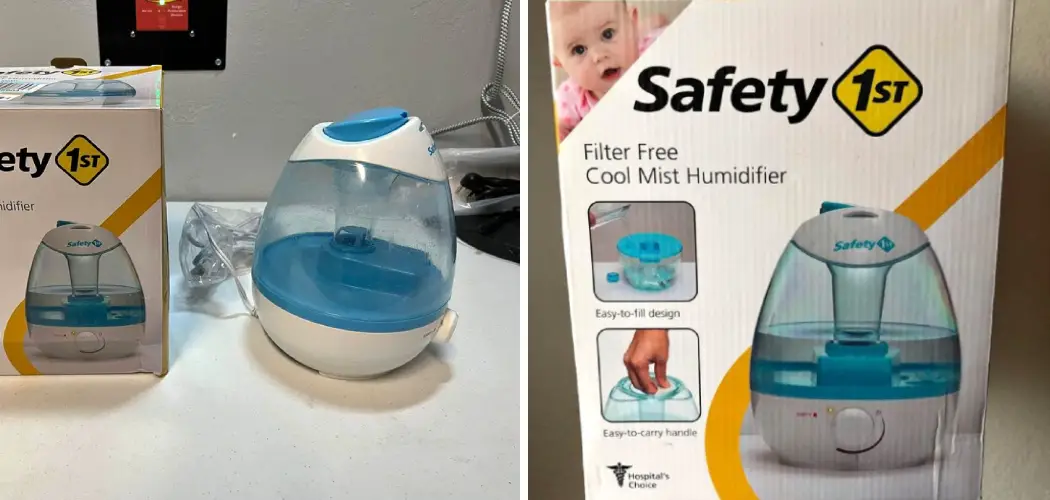
Filling a humidifier can be intimidating, especially when it comes to safety. Breathing in contaminated air is something no one wants, and making sure your humidifier is correctly filled with …
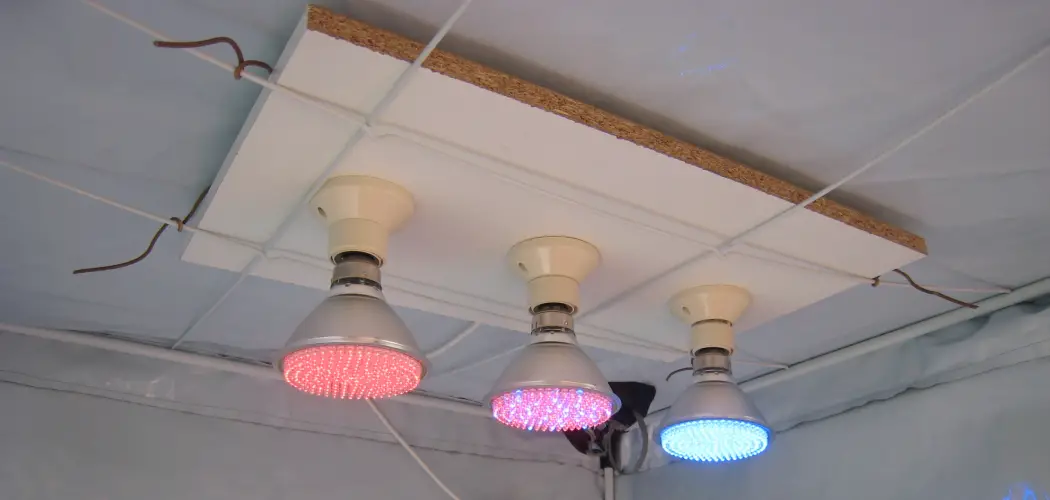
Are you looking for an intuitive and efficient way to hang grow lights from your ceiling? If yes, then this blog is the perfect place to start! Lighting is one …
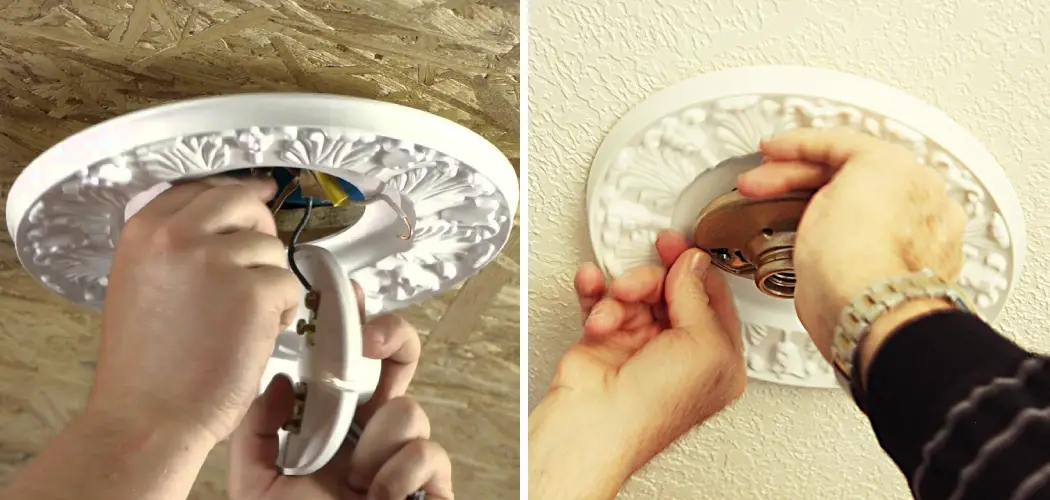
If you’ve ever had the unfortunate experience of looking up at your ceiling and seeing a huge gap around your ceiling light box that is full of dust or cobwebs, …