
Are you looking for a way to make your oven door sparkle and shine like new? Do you cringe at the sight of nasty, baked-on grease accumulation that won’t come off with a damp cloth or detergent? Don’t despair – there is an easy solution!
By following this comprehensive guide on how to clean oven door gasket, you’ll learn how to clean your oven door gasket so that it looks brand new. From gathering materials to safety precautions, we’ve got everything covered so stick around and we will show you just how simple cleaning your oven’s gasket can be!
11 Step-by-step Guides on How to Clean Oven Door Gasket
Step 1: Gather Materials
Before beginning the cleaning process, it is important to make sure you have all of the necessary materials. For this task, you’ll need:
- A Damp Cloth or Rag
- Dish Soap
- Baking Soda
- Toothbrush
- Disinfectant Spray (Optional)
Step 2: Safety Precautions
Before beginning any deep cleaning, it is always important to take certain safety precautions. Make sure your oven is unplugged and not in use. Wear gloves to protect your hands from the cleaning chemicals or detergents you will be using. To avoid any potential damage, it is important to read all instructions on any cleaning product before using them on the oven door gasket.
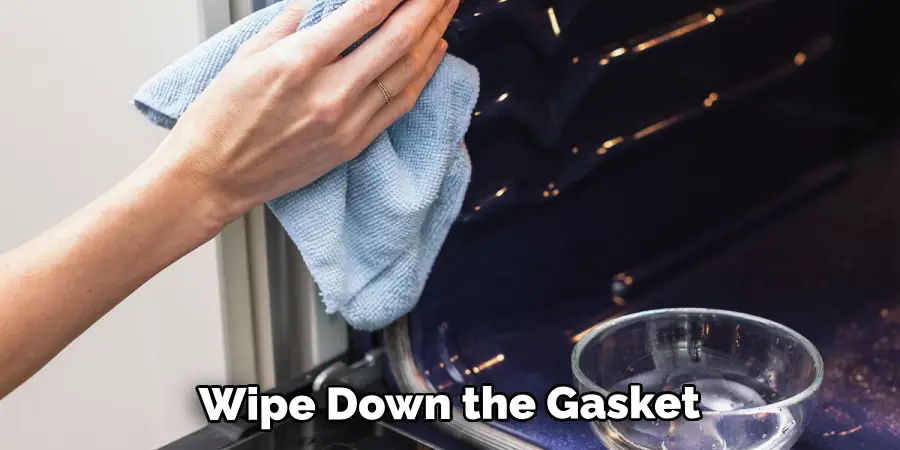
Step 3: Start the Cleaning Process
Once you have gathered the necessary materials and taken all of the proper safety precautions, it is time to begin the cleaning process. Start by lightly dampening a cloth or rag with warm water and dish soap. Gently wipe down the gasket with this soapy mixture to loosen any baked-on grease or dirt. It is not necessary to use too much pressure as this could cause damage.
Step 4: Scrubbing Baked on Grease
If there is any stubborn, baked-on grease residue, sprinkle baking soda onto the gasket and use a toothbrush to scrub it off. The baking soda will act as an abrasive that will help lift any stuck debris from the gasket. But be sure to use gentle pressure and go with the grain of the gasket. It is best to use circular motions for optimal results. You may need to repeat this process a few times for any tough spots.
Step 5: Rinse and Dry Gasket
After scrubbing the gasket with baking soda, rinse the gasket off and dry it with a clean cloth or rag. This will help to remove any leftover baking soda residue that could attract more dirt and grease in the future. If you are unable to fully dry the gasket, then you can use a blow dryer in a cool setting. But be sure to keep it at least 6 inches away from the gasket.
Step 6: Disinfectant (Optional)
At this point, you can choose to apply a disinfectant spray such as Lysol or another approved product to further sanitize the area. Allow the spray to sit for several minutes before wiping it off with a damp cloth. You can also use a dryer air setting to help speed up the drying process.

Step 7: Re-install Oven Door Gasket
Once the gasket is clean and dry, you can begin to re-attach it to the oven door. Make sure that your fingers are not in close contact with the hot metal surface of the oven door as you do this. Be careful not to pull the gasket too tight, as this can cause it to become misshapen. It is also important to check for any overlapping sections of the gasket when re-installing it.
Step 8: Clean the Ovenncoar Door Frame and Window
Once the gasket is reinstalled, you can begin cleaning the oven door frame and window with a damp cloth or rag. Make sure that all of the dirt and grease are completely removed. This will ensure that the door opens and closes properly after cleaning. It is also important to check for any signs of rust on the inside and outside of the door.
Step 9: Rinse and Dry the Oven Door Frame and Window
Once the frame and window have been thoroughly cleaned, use a dry cloth or paper towel to wipe off any excess moisture. This will help to prevent streaking or spotting on the glass. However, if there are any stubborn spots, you can use a glass cleaner to help remove them. It is important to use a soft cloth and avoid any harsh abrasives or scrubbing.
Step 10: Reattach Any Detachable Parts of the Oven Door
If your oven door has any detachable parts, reattach them to the oven door. Make sure that all of the pieces are securely fastened and not loose. You can then use a dry cloth or paper towel to wipe off any excess moisture. Although this step is not necessary for every oven door, it is important to check your manual for any additional instructions. It is also important to make sure that the door opens and closes properly after reattaching any detachable parts.
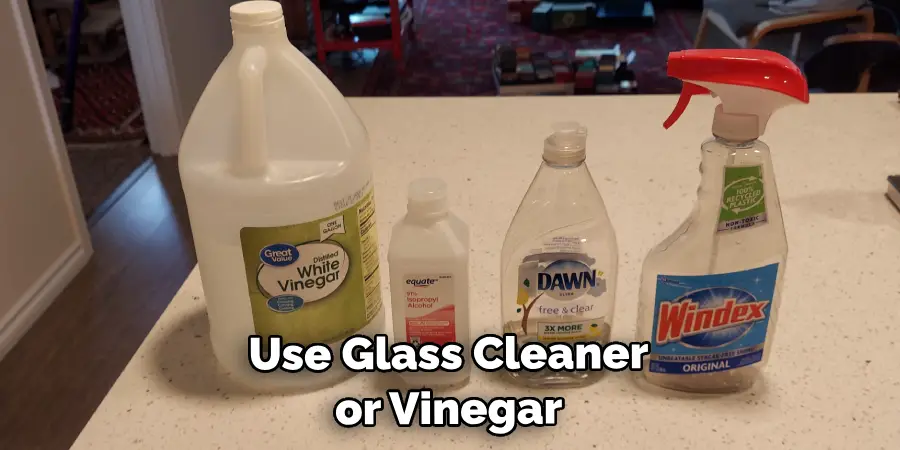
Step 11: Final Touches
Finally, you can make your oven door look new with a few final touches. Use glass cleaner or vinegar and water solution on the window of the oven door for a streak-free shine. For the frame of the door, you can use a dry cloth or paper towel to wipe off any dust or dirt.
Cleaning your oven door gasket does not have to be a daunting task! With this comprehensive guide, you now know exactly how to clean your oven door gasket so that it looks and works like new. Don’t forget to refer to this guide the next time you need to deep clean your oven door.
Now that you know how to clean oven door gasket, you can keep your oven looking brand new for many years to come. The next time you find yourself with baked-on grease or dirt on the gasket, refer back to this guide and follow each step carefully. Your oven will thank you!
Good luck and happy cleaning!
Frequently Asked Questions
Q: How Often Should I Clean My Oven Door Gasket?
A: It is recommended that you clean your oven’s gasket at least once a month to ensure that it is free from dirt and grease. This will help to ensure that your oven is running efficiently and prevent any potential damage.
Q: What Else Can I Do To Keep My Oven Clean?
A: In addition to cleaning the gasket, you should also regularly clean the interior of your oven (including the racks, door, and window). This can be done using a mild detergent and warm water. Additionally, you should clean up any spills or splatters as soon as they occur to prevent them from baking on the oven surfaces. Doing these simple tasks will help keep your oven in tip-top shape!
Q: Is it Safe To Use Chemical Cleaners On An Oven Door Gasket?
A: Generally, it is not recommended to use chemical cleaners on an oven door gasket. Stick with gentle dish soap and warm water for a safe and effective cleaning job. If you do choose to use a chemical cleaner, be sure to read the instructions carefully and keep your hands away from any chemicals or detergents.
Q: What Is The Best Way To Store Cleaning Products For An Oven Door Gasket?
A: Once you have finished cleaning your oven’s gasket, it is important to store all of the materials properly. Make sure to keep all of the supplies (rags, toothbrushes, etc.) in a cool and dry place away from children and pets. Additionally, any chemical cleaners should be stored according to the manufacturer’s instructions for safe and proper use.
Cleaning your oven door gasket doesn’t have to be a difficult task. By following this comprehensive guide, you can have your oven door sparkle and shine like new in no time! And with a little bit of regular maintenance, you can keep your oven looking its best for many years to come. So don’t delay – get cleaning today!
Happy Cleaning!
Conclusion
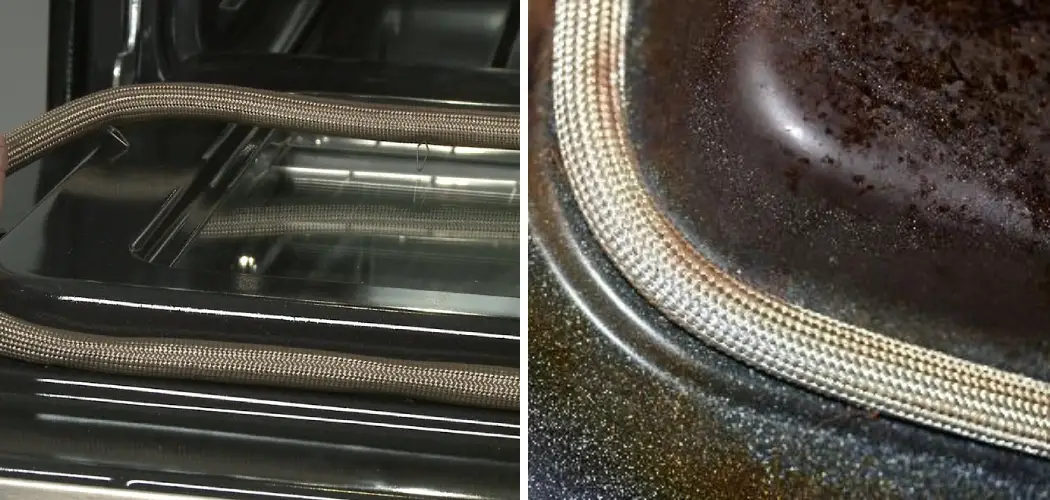
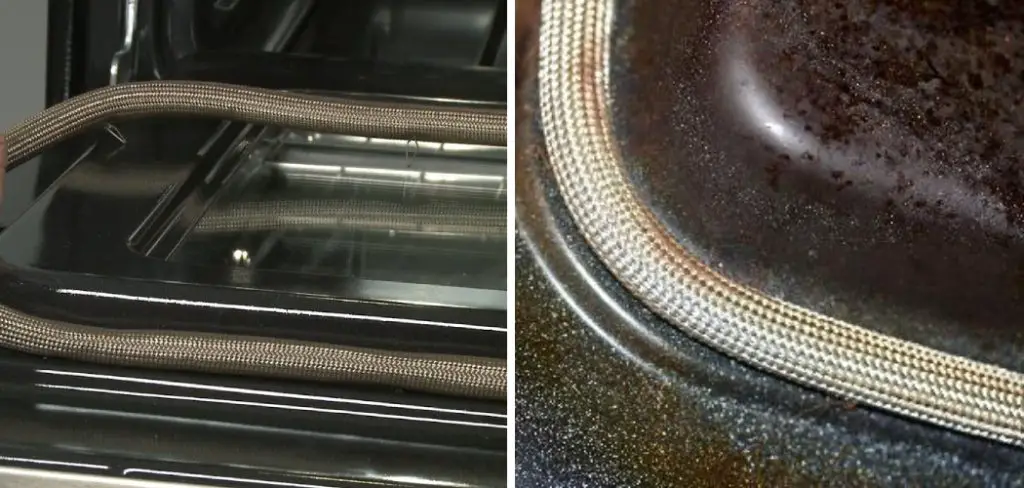
Cleaning oven door gaskets is an essential part of keeping your oven in good working order. Oven door gaskets are susceptible to build-ups of grime, dirt, and food debris which can disrupt and even destroy their function. Regularly removing any debris and gunk from the door gasket will help keep it in optimal condition.
Cleaning can be done with a sponge, cloth, brush, or vacuum cleaner. With a bit of extra care and maintenance, you’ll ensure the efficient and safe functioning of your oven for years to come. There is no need to wait until dirt accumulates before you grab that cloth or vacuum! Get ahead of the game and clean your oven door gasket regularly for long-term utility. Remember that small steps can lead to huge improvements, take those steps today and start seeing results! Thanks for reading this article on how to clean oven door gasket.
About
Angela is the chief editor of Indoorense. She began her career as an interior designer before applying her strategic and creative passion to lifestyle and home.
She has close to 15 years of experience in creative writing and online content strategy for housekeeping and cleaning,home decorations as well as other efforts.
She loves her job and has the privilege of working with an extraordinary team. She lives with her husband, two sons, and daughter in Petersburg. When she’s not busy working she spent time with her family.