
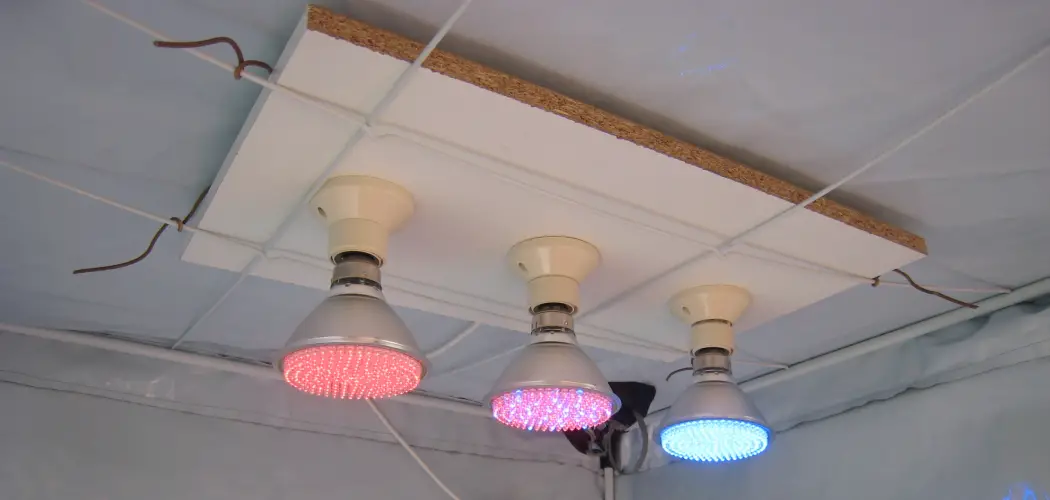
Are you looking for an intuitive and efficient way to hang grow lights from your ceiling? If yes, then this blog is the perfect place to start! Lighting is one of the most crucial parts of maintaining healthy crops indoors. Knowing how to hang grow lights from ceiling can be a game-changer in achieving optimal growth and ensuring maximum yield with minimal effort.

That’s why we’ve put together this informative guide containing expert tips on how to securely and safely hang grow lights from your ceiling like a pro! We’ll break down each step of the process – from setting up fixtures, mounting points and connecting cables – so that no matter what type of indoor garden setup you have, you’ll have all the knowledge necessary for proper installation. So let’s get started – read on!
Needed Supplies
- Grow Lights
- Hanging Fixtures
- Hooks and Screws to Attach Fixtures to Ceiling Beams
- Anchors for Mounting Points (if Necessary)
- Wire Cutters or Snips
- An Electrical Outlet Power Source
11 Step-by-step Guidelines on How to Hang Grow Lights From Ceiling
Step 1: Preparation
Choose a suitable location for your grow light fixtures. Make sure it is a space that can accommodate the size of the lights and equipment, as well as provide plenty of ventilation. Also, consider the height – you want the light to be able to reach all parts of your garden without blocking any pathways or obstructing views. You should also make sure the ceiling is able to support the weight of your fixtures and equipment.
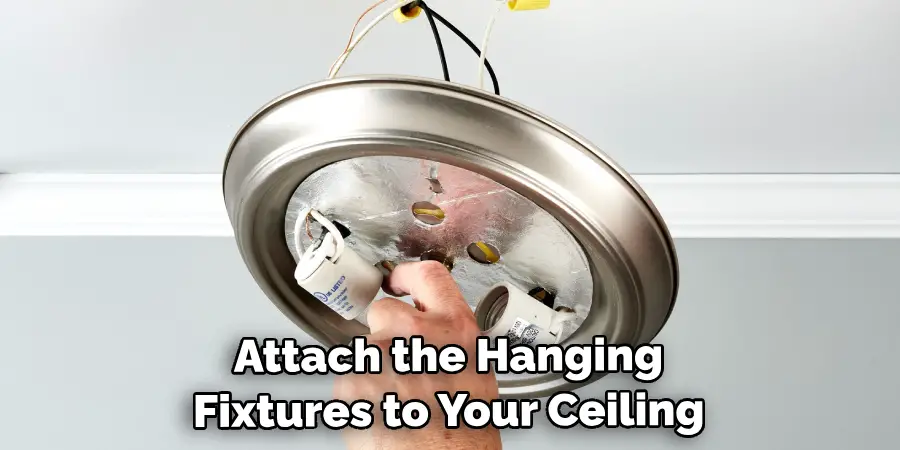
Step 2: Secure the Fixtures
Attach the hanging fixtures to your ceiling beam or joist using screws and hooks. Make sure they are securely fastened, as it will serve as support for the grow lights later on. If you don’t have a beam or joist, you may need to use anchors in order to hang the fixture from the ceiling.
It’s important to follow the manufacturer’s instructions when installing the fixtures. But before you start mounting, consider the placement of your lights – it’s best to leave some space between each fixture for added safety.
Step 3: Attach the Grow Lights
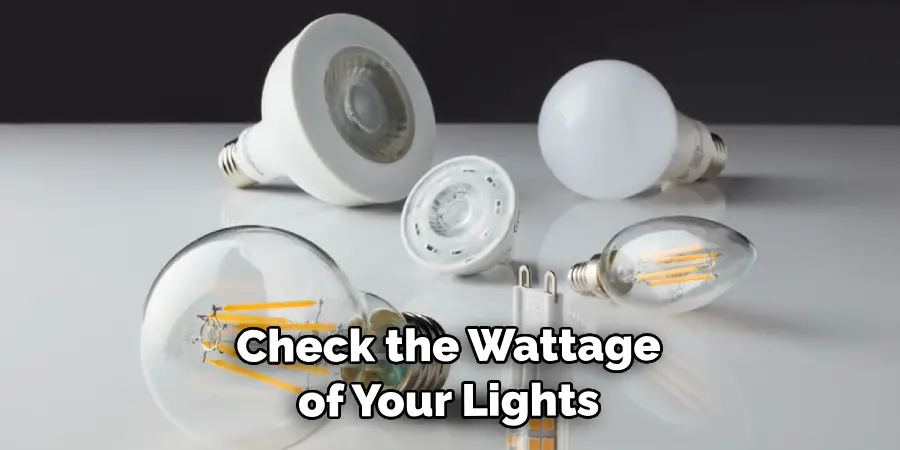
Now that you have the fixtures in place, it’s time to attach the grow lights. Start by attaching the mounting points of your lights to the hanging fixture with screws and hooks. If needed, make sure to position them at an angle for optimal light distribution throughout your garden. However, before doing so, be sure to check the wattage of your grow lights and make sure that it is compatible with the power supply.
Step 4: Connect the Wires
Cut off any excess wire that might be hanging from your grow lights and connect them to an electrical outlet power source. Make sure all connections are secure and firmly in place before continuing.
I don’t recommend using an extension cord or power strip for this step as it could cause a fire hazard. It’s best to have a professional electrician perform this task. But, if you feel comfortable doing it yourself, be sure to double-check all of your connections and follow the manufacturer’s instructions.
Step 5: Adjust the Height of the Lights
Once everything is connected, you can adjust the height of the lights to ensure they are at an optimal distance from your plants. This will ensure that each plant gets enough light without any of them being burned or wilted due to extreme exposure. You can also adjust the angle of the lights to allow for better coverage. If needed.
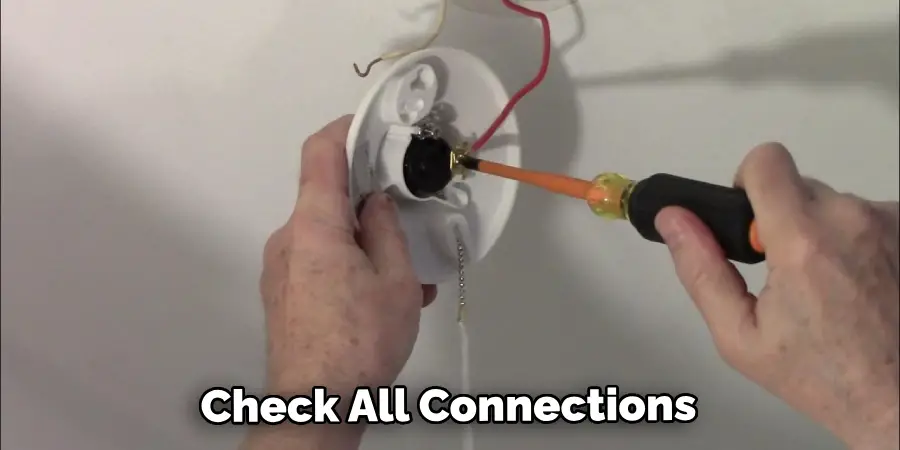
Step 6: Double-check Connections and Fixtures
Before you turn on the power, check all connections and fixtures again to make sure they are secure and safe. Check for any frayed wires, loose screws or missing parts – if anything looks amiss, do not turn on the lights until it has been addressed and corrected. This will help avoid any hazards and ensure your safety. You should also check to make sure the fixtures are not blocking any pathways or obstructing views.
Step 7: Plug in the Lights
Now that everything is ready to go, plug in your grow lights and turn them on! Make sure the power switch is in the ‘on’ position and that all fixtures are receiving electricity. Otherwise, your lights won’t be able to produce the optimal light and heat needed for your crops.
Although it may look like the lights are on, you should double-check that they are actually working correctly. This is usually done by observing the plants’ response and growth over a few days – if they appear to be thriving under your new lighting setup, then you know the installation has been successful!
Step 8: Monitor Growth and Light Exposure
Monitor your plants to make sure they are getting enough light exposure, but not too much. If you notice any signs of wilting or burning, adjust the height of your grow lights accordingly. This will help ensure that all of your plants are getting the right amount of sunlight. You should also keep an eye on the wattage and power consumption of your grow lights to make sure they are running efficiently and not overloading your circuit.
Step 9: Clean Regularly
Regularly clean your grow lights and fixtures to ensure optimal performance. Dust can easily accumulate around the bulbs, so make sure you remove any buildup of dirt or debris for best results. You should also check the wiring and connections to make sure everything is tight and secure. This will help avoid any electrical shorts or hazards.
Step 10: Make Adjustments if Necessary
If necessary, adjust the height, angle or position of your light fixtures to ensure that they are providing enough light for your plants without burning them. But remember, changes should be made gradually so you can monitor the effect over a few days or weeks. This will help ensure your plants receive their desired amount of light without any damage.
Step 11: Enjoy your Garden!
Once everything is set up and ready to go, it’s time to sit back and enjoy the fruits of your labor! With an efficient grow light setup in place, you can now watch your garden thrive and flourish without any hassle. Always remember to check the wattage of your lights and keep an eye out for any signs of damage or wilting. This will help ensure that your plants are receiving the right amount of sunlight without being over-exposed. Enjoy!
And that’s it! We hope this guide on how to hang grow lights from ceiling has been helpful in getting your garden setup running optimally. So get out there, get creative, and start growing! If you have any questions or need further advice concerning lighting for your indoor garden, please don’t hesitate to reach out to our team of experts who will be more than happy to help. Good luck and happy growing!
Frequently Asked Questions
Q: Do I Need to Use an Electrician to Install My Grow Lights?
A: While it’s not necessary, many people prefer using a licensed electrician when it comes to installing and wiring electrical devices such as grow light fixtures. If you do choose to hire an electrician, make sure he or she is certified and has the appropriate experience in this field.
Q: How Often Should I Change My Grow Lights?
A: Generally speaking, it’s recommended that you replace your grow lights every 8-12 months depending on usage and intensity of light exposure. This is to ensure that your plants get an even distribution of light throughout their growing cycle.
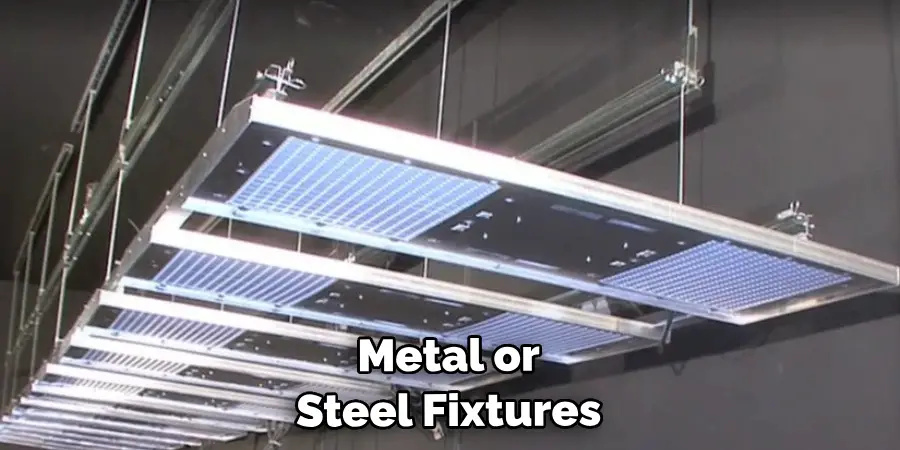
Q: What Type of Fixtures Should I Use for Hanging Grow Lights?
A: Any type of hanging fixture can be used, however, metal or steel fixtures are recommended for longevity and stability. Make sure the strength and diameter of the fixture are sufficient for supporting the weight of your grow lights.
Q: How Far Should My Grow Lights Be From the Plants?
A: This will depend on the type of plant you are growing. Generally, it’s recommended to keep grow lights at a minimum distance of 6-12 inches away from the plants. However, if you have taller plants, you may need to move your lights further away in order to avoid burning them or causing wilting.
Conclusion
Now that we’ve discussed the best ways to hang grow lights from the ceiling, it’s important to remember that safety must always be a top priority. Before hanging your light fixtures, be sure to double-check the weight restrictions of the buttons and make sure they can handle the extra load. Additionally, be sure not to overload electrical outlets by plugging too many bulbs into a single extension cord.
Finally, on how to hang grow lights from ceiling, with the proper knowledge and precautions in place, you can start growing healthy plants inside your home or office. Whether you decide on fluorescent shop lights or something more sophisticated like LEDs, hanging grow lights from the ceiling can be a fun and rewarding way to make sure your indoor flowers and vegetables get plenty of light all year round.
About
Angela is the chief editor of Indoorense. She began her career as an interior designer before applying her strategic and creative passion to lifestyle and home.
She has close to 15 years of experience in creative writing and online content strategy for housekeeping and cleaning,home decorations as well as other efforts.
She loves her job and has the privilege of working with an extraordinary team. She lives with her husband, two sons, and daughter in Petersburg. When she’s not busy working she spent time with her family.