

Painting flowers on walls has become increasingly popular in recent years. Wall murals featuring floral motifs pop up in homes, offices, restaurants, and even public spaces. These attractive designs provide a touch of beauty to a space and can also be incredibly therapeutic for those who create them. Painting flowers on walls is an excellent way to add character and vibrancy to an otherwise blank canvas.
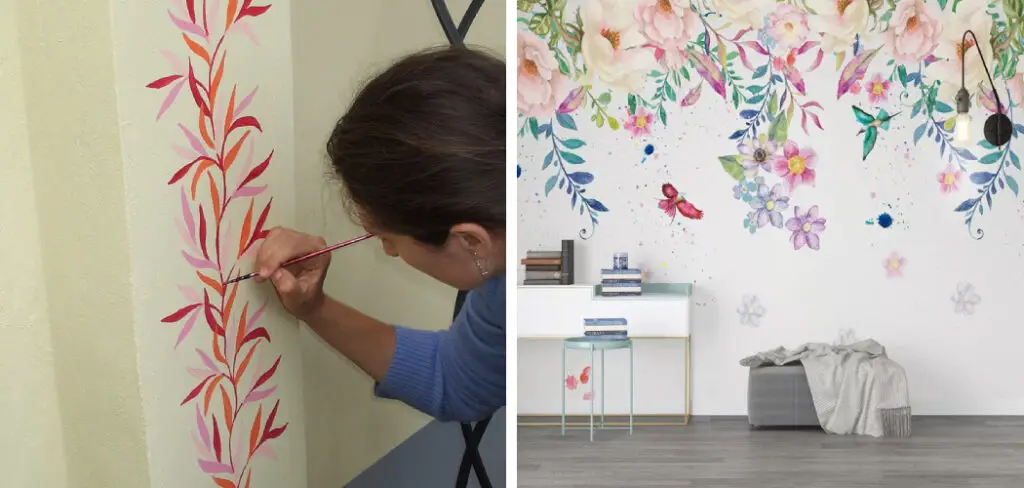
One of the greatest advantages of painting flowers on walls is that it adds a unique, personalized touch to any room in your home. Painting flowers can transform any wall into an eye-catching focal point with vibrant color, texture, and dimension. It also gives you the opportunity to express yourself and create something truly special.
Painting flowers on walls can also be a cost-effective way to decorate compared to wallpaper or tile. You can find step-by-step instructions on how to paint flowers on walls in this blog article.
Step-by-step Instructions for How to Paint Flowers on Walls
Step 1: Inspect the Wall
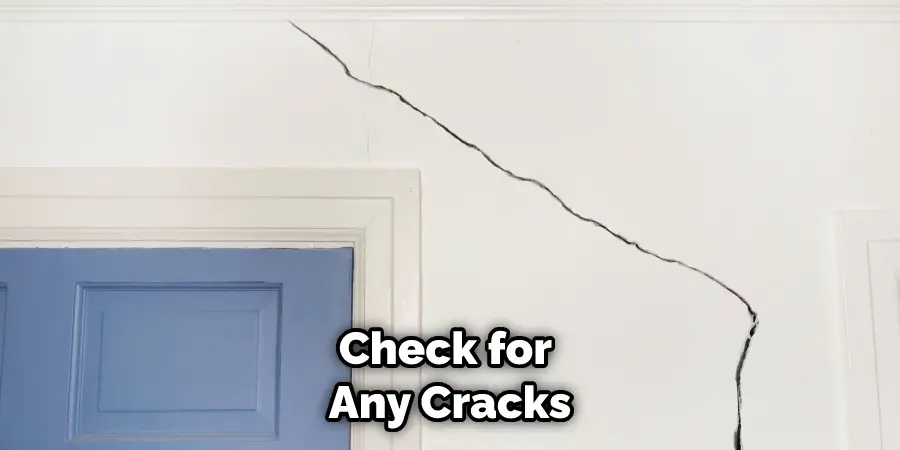
Before you start painting, it’s important to inspect the surface of your wall. Check for any cracks or holes that need to be filled in with spackle and patched up. Make sure the wall is clean and free of dust before you begin.
Step 2: Gather Supplies
Gather all the materials you’ll need to paint your flowers. You’ll need acrylic paints, artist brushes, and a pencil to sketch the design. Once you have all your supplies gathered, you can start sketching out your flower design on the wall with a pencil. Take your time here and make sure your design is exact.
Step 3: Start Painting
Once you have the design sketched out, you can begin painting. Begin with a single color and gradually add more colors for shading and shadows as you go. Make sure to keep the paint thin so it won’t run or drip. As you paint, add small details that bring your flower to life. You can use different shades of colors or thin lines to give it texture and depth.
Step 4: Add a Background
Once you’ve finished painting your flowers, you may want to add some sort of background for them. This could be a plain color or a more elaborate pattern. After you’ve finished painting and adding the background, let your wall mural dry for at least 24 hours before touching or moving it.
Step 5: Apply Sealant
Once the mural is completely dry, you can apply a sealant to ensure that it will last for years. Now that your mural is dried and sealed, you can hang it with nails or hooks on the wall. Finally, sit back and enjoy your beautiful flower mural. Let the colors bring life to your room and make a statement.

With these steps, you can easily create beautiful flower murals on your walls! Just remember to take your time and use the proper supplies for the best results.
Tips for How to Paint Flowers on Walls
- Make sure you prep your wall with primer and painter’s tape to ensure clean lines and no seepage of paint onto unwanted areas.
- Be sure to use high-quality water-based acrylic paints that are easy to wash off any mistakes.
- Before you start painting, practice the designs and motifs on paper first to get a feel for them.
- Begin painting with smaller brushes or sponges to ensure all the details are in place before switching to bigger ones.
- Start with the lighter colors, then layer on darker shades to get the desired look.
- If you are unsure of freehand drawing, use a stencil or preexisting template as a guide.
- Once your first layer is dry, add another to make sure your colors appear vivid and vibrant.
- Apply a sealant or matte finish to make your design last longer and protect it from any dust or dirt.
By following these easy steps, you can create beautiful flower wall art to bring life and beauty to any room.
How Much Time Should It Take to Complete a Painting?
It typically takes anywhere from two to four hours to paint flowers on walls, depending on the size and complexity of the mural. If you are a beginner, it may take longer as you learn how to use different techniques for painting. Make sure you have enough time for multiple coats of paint, and also allow yourself extra time if needed for mistakes or accidents. Planning ahead and giving yourself plenty of time when painting flowers on walls is best.
In addition, consider the way the light falls in the room and how shadows will affect your painting. This can add an extra layer of complexity that requires additional time to complete. Remember that you should take regular breaks throughout the process so you don’t become overwhelmed and you can ensure the best possible result. Painting flowers on walls can be a fun, creative project that adds beauty to your home.
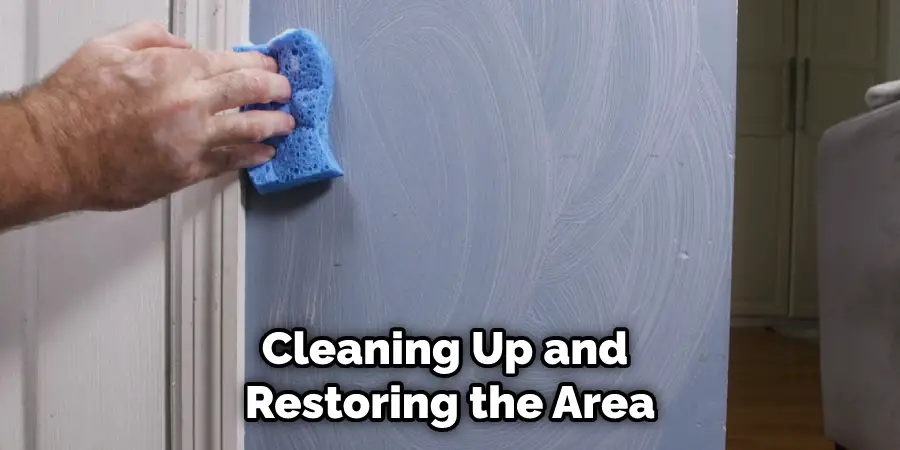
How Should You Go About Cleaning Up After Your Painting is Finished?
Once you have completed your flower painting, cleaning up and restoring the area around it is important. To do this, use a damp cloth or sponge with mild soap and water to wipe away any excess paint that may remain on the wall. If necessary, you can also use a soft-bristled brush to remove any stubborn spots.
Make sure to rinse the surface before moving on. Finally, make sure to let the painted area dry thoroughly before applying a sealer or varnish for protection.
This will help to ensure that the colors of your flower painting stay beautiful and vibrant. Once you have finished, it is a good idea to take a step back and admire your work! Painting flowers on walls can be an incredibly rewarding experience, and it’s sure to add an extra touch of beauty to any room.
How Should You Go About Mixing Colors for Your Painting?
When planning to create a floral painting on your wall, it is important to mix the right colors that will help bring to life the beauty of the flowers in your painting. To ensure you achieve this, you should begin by selecting a range of base colors and then blending them together using white or black paint. If you are using acrylic paints, mix your colors on a plastic palette and add more paint as needed to get the desired color.
To check if your color is right, you can use a piece of cardboard and test it there.
If you want a more realistic look for your painting, try using multiple shades of each flower’s petals or leaves. This will create depth in the painting, making it look more realistic. You can also experiment by adding light and dark tints to your colors to make them stand out even more. When it comes to choosing the right brush for painting flowers, you should opt for one with soft bristles that won’t damage the wall’s surface.
Use a smaller-sized brush, such as a round or flat tip one, for painting petals and larger brushes with thicker bristles to make leaves and stems.
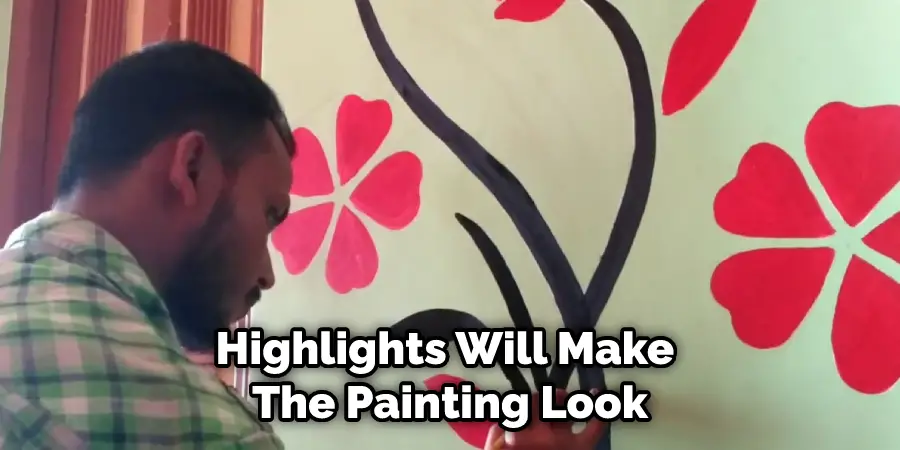
How Do You Add Shadows and Highlights to Make the Painting Look More Vivid and Realistic?
Adding shadows and highlights will make the painting look more lifelike when painting flowers on walls. To add shadows and highlights to a flower, begin by sketching out the shape of the flower with a pencil on your wall.
Once the basic outline is completed, use an angled brush to fill in some darker colors, such as brown or blue, to create shadows. Once the shadowed areas are in place, use a lighter color, such as yellow or white, to fill in the highlights. Make sure to blend these colors together with your brush, so they look seamless and natural.
When painting shadows and highlights, pay attention to the direction of light. How and where you place your shadows and highlights will determine how realistic the painting looks. For example, if you are creating a flower illuminated from the top-left corner, add more shadows on the bottom-right side of the flower. Also, be sure to leave some areas without any shading to create a more lifelike effect.
Conclusion
In conclusion, painting flowers on walls is a great way to add beauty and color to any space. Anyone can create a unique and stunning mural or accent piece with the right supplies and instructions. Remember to use high-quality paints for the best results, take your time when painting, and enjoy yourself!
If you need help getting started, explore art websites, take classes, or watch tutorials to learn more. With a little bit of creativity and effort, you’ll have beautiful flowers on your walls in no time. I hope this article has been beneficial for learning how to paint flowers on walls. Make Sure the precautionary measures are followed chronologically.
About
Angela is the chief editor of Indoorense. She began her career as an interior designer before applying her strategic and creative passion to lifestyle and home.
She has close to 15 years of experience in creative writing and online content strategy for housekeeping and cleaning,home decorations as well as other efforts.
She loves her job and has the privilege of working with an extraordinary team. She lives with her husband, two sons, and daughter in Petersburg. When she’s not busy working she spent time with her family.