
Have you ever tried to remove the lock nut from the bottom of a toilet tank and couldn’t get it off? It can be very frustrating if you don’t know how to do it. In this blog post, we will show you how to remove lock nut from bottom of toilet tank.
We will also show you how to replace it if it becomes damaged or worn out. So, if you’re having trouble removing the lock nut from your toilet tank, keep reading. We’ll show you how to do it like a pro.
Things You Will Need
- Adjustable wrench
- Basin wrench
- Screwdriver
- Putty knife
Step by Step Guide on How to Remove Lock Nut From Bottom of Toilet Tank
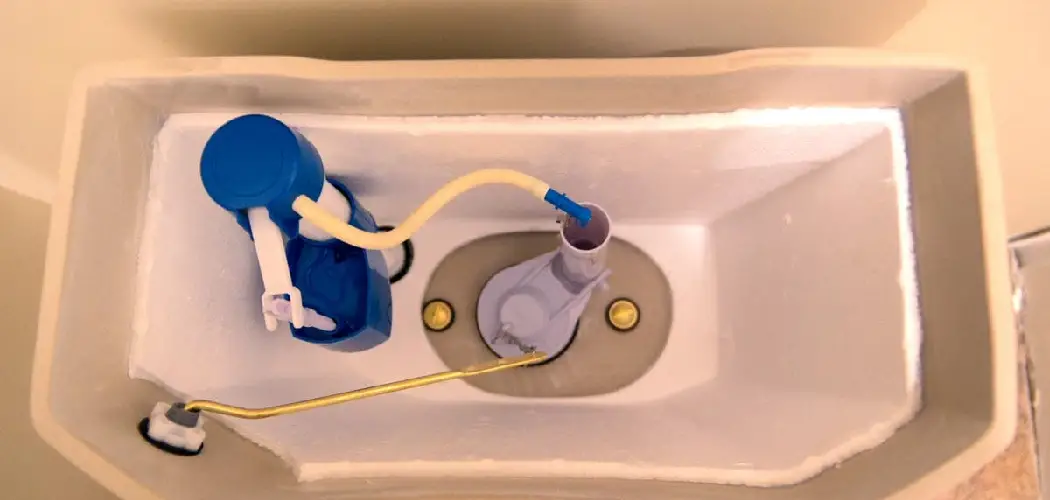
Step1. Locate the Lock Nut.
The lock nut is located at the bottom of the toilet tank, where the two bolts attaching the tank to the bowl protrude through. You will need a flashlight to see the lock nut clearly in most cases.
Step 2. Turn Off the Water Supply.
Before beginning any work, it is always important to turn off the water supply to avoid any accidents. Once the water is turned off, flush the toilet to empty the tank of any water.

Step 3. Disconnect the Fill Valve from the Tank.
There are two ways to do this: unscrewing the lock nut with a wrench or using a screwdriver to loosen the retaining clip that holds the fill valve in place. If you are having difficulty removing the lock nut, you can try heating it up with a hair dryer to loosen it.
Step 4. Remove the Lock Nut.
Once the fill valve is disconnected, the lock nut can be removed by turning it counterclockwise with a wrench. In some cases, the lock nut may be rusted or corroded and may need to be replaced.
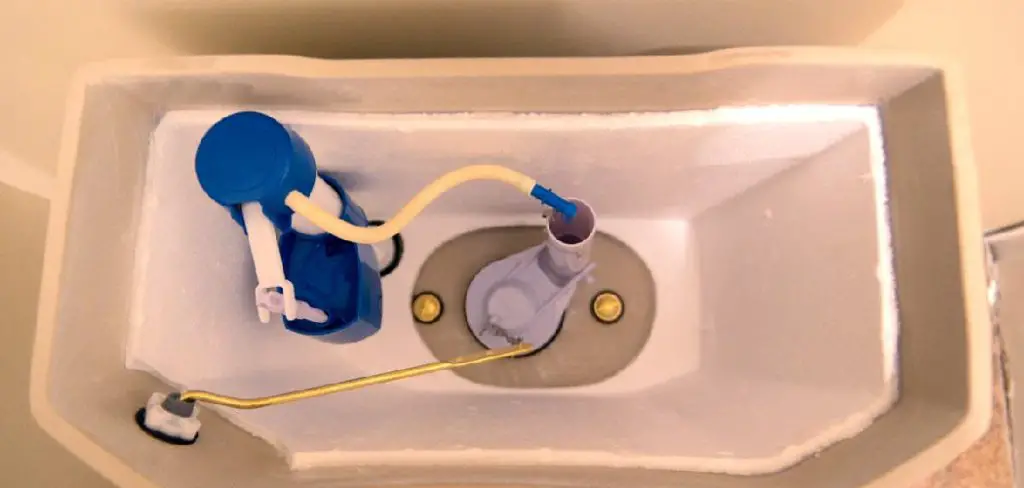
Step 5. Reconnect the Fill Valve.
Reattach the fill valve to the top of the tank. Make sure that the lock nut is tight. Reconnect the hose to the bottom of the fill valve (the inlet port). You may need to use pliers to tighten the hose onto the valve. Turn on the water supply at the shut-off valve and check for leaks.
Step 6. Turn on the Water Supply.
After the fill valve is reconnected, you can turn on the water supply and flush the toilet to check for any leaks. Check the connections at the tank and the base of the toilet to make sure they’re secure. If there are any leaks, you may need to replace the components that are causing the issue.
Step 7. Replace the Tank Lid.
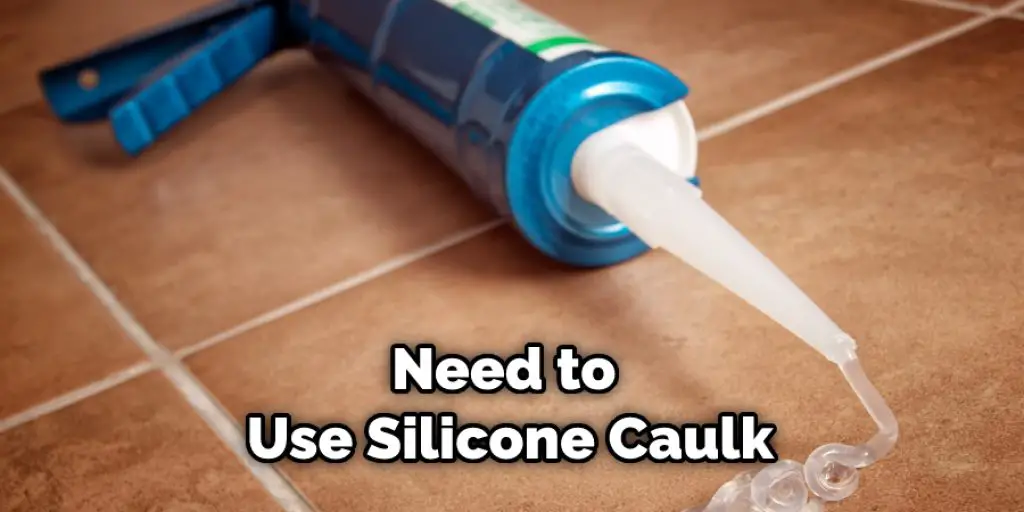
Once everything is reconnected and functioning properly, you can put the tank lid back on. Make sure that the lid is positioned correctly so that it doesn’t leak. You may need to use silicone caulk or plumbers putty to create a watertight seal.
If your toilet tank is leaking, it’s likely due to a bad seal around the tank bolts. The tank bolts are the large nuts that secure the tank to the bowl. Over time, these bolts can become loose, allowing water to seep out from between the tank and bowl. The lock nut – a smaller nut located under the tank bolt – can also become loose or damaged in some cases.
How to Loosen Plastic Lock Nuts From Bottom of Toilet Tank
To loosen plastic lock nuts from the bottom of your toilet tank, you will need:
- A pair of pliers
- A screwdriver (optional)
- Locate the lock nut on the underside of your toilet tank. It is usually a large, plastic nut that is screwed onto the bottom of the tank.
- Place the jaws of the pliers around the lock nut, and turn it counterclockwise to loosen it. If the lock nut is very tight, you may need to use a screwdriver to help pry it loose.
- Once the lock nut is loose, unscrew it by hand and remove it from the bottom of the toilet tank.
- Flush the toilet to check for leaks. If there are no leaks, the lock nut has been successfully removed.
- If there are leaks, try tightening the lock nut a bit more. If this does not stop the leaks, you may need to replace the entire flush valve assembly.
How Do You Tighten a Nylon Lock Nut?
If you’re wondering how to remove a nylon lock nut, the process is actually quite simple. All you need is a wrench that fits the locknut, and you can tighten or loosen the nut as needed.
First, make sure that the wrench you’re using is the correct size. If it’s too small, it won’t grip the nut properly, and you could end up stripping it. If it’s too large, it could damage the surrounding area. Once you have the right-sized wrench, place it on the nylon locknut and turn it in the direction you want to go.
For example, if you’re trying to loosen the nut, turn the wrench to the left. If you’re trying to tighten it, turn the wrench to the right. You may need to use a little bit of force, but be careful not to overdo it, or you could strip the nut. Once it’s loose or tight enough, remove the wrench, and you’re done!
Nylon lock nuts are a great way to keep things secure, but they can sometimes be difficult to remove. It’s easy to get the job done with a little patience and the right tools.
Some Tips and Suggestions on How to Remove Lock Nut From Bottom of Toilet Tank
- Firstly, make sure that you have turned the water off to the toilet tank. There is usually a valve located on the wall behind the toilet.
- Secondly, flush the toilet to empty out as much water from the tank as possible.
- Next, use a wrench or pliers to loosen and remove the lock nut from the bottom of the toilet tank.
- Finally, once the lock nut has been removed, you should be able to lift off the entire tank and access the internals.
Frequently Asked Question
What Is the Difference Between a Nut and a Lock Nut?
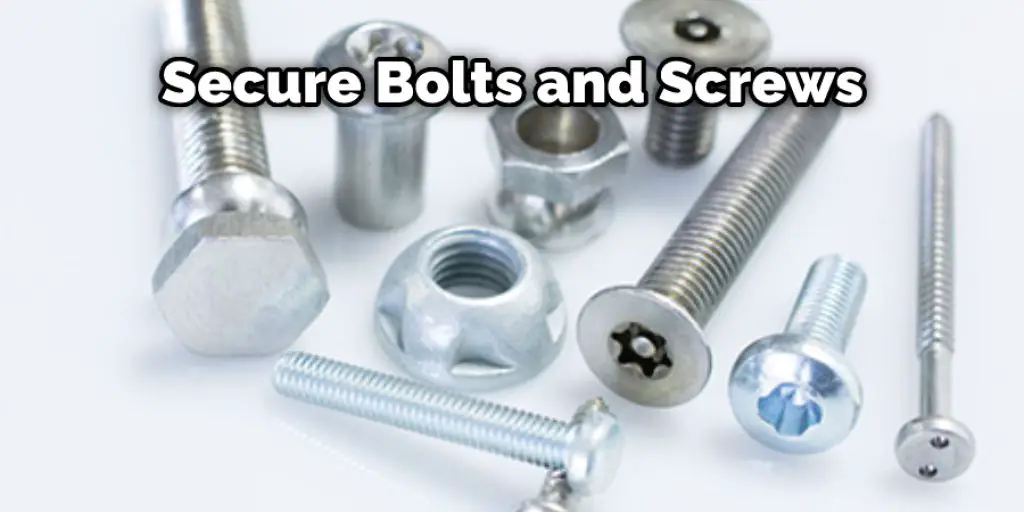
Nuts and lock nuts are both used to secure bolts and screws. The main difference between a nut and a lock nut is that a lock nut has a locking mechanism that helps prevent it from loosening. There are several different types of lock nuts, including those with nylon inserts, metal inserts, and star washers.
When choosing a lock nut, it is important to select one that is appropriate for the application. For example, if there is vibration present, then a lock nut with a nylon insert may be the best option. On the other hand, if corrosion is a concern, then a stainless steel lock nut may be the best choice.
Which Side of the Lock Nut Goes on First?
There are two ways to determine which side of the lock nut goes on first. The first way is to look at the washer. If the washer is beveled, then the beveled side goes against the tank. If the washer is flat, it does not matter which side goes against the tank. The second way to tell is by looking at the threads. The right-hand thread is for a regular toilet, and the left-hand thread is for a reverse flush toilet.
Which Way Does a Hex Nut Go on?
There are two ways to determine which way a hex nut goes on. The first way is to look at the washer. If the washer is beveled, then the beveled side goes against the tank. If the washer is flat, it does not matter which side goes against the tank. The second way to tell is by looking at the threads. The right-hand thread is for a regular toilet, and the left-hand thread is for a reverse flush toilet.
How Do You Remove a Lock Nut Without a Wrench?
If you don’t have a wrench that fits the locknut, you can try using a pair of pliers. Grip the locknut with the pliers and turn it in the direction you want it to go. If the locknut is too tight, you may need to use a hammer to tap the pliers in the direction you wish the locknut to turn.
Conclusion
The lock nut is the large, metal nut that sits at the bottom of your toilet tank and holds the tank in place. Most people have a difficult time removing this nut because it’s so tight and can be hard to reach. However, you can remove the locknut without any trouble with a few simple tools and some elbow grease. In today’s blog post, we’re going to show you how to remove lock nut from bottom of toilet tank.
There are a few different ways to remove a locknut, but the most common method is to use a wrench. Start by placing the wrench around the nut and turning it left or right until it’s loose enough to remove by hand. If the nut is too tight, you can try using a pair of pliers or a hammer to help loosen it. Once the nut is removed, you should be able to lift off the entire tank and access the internals.
If you’re having difficulty removing the locknut, make sure to turn off the water to the toilet tank and flush the toilet to empty out as much water as possible. This will make it easier to grip the nut with your tools. Thanks for reading, and good luck.
You Can Check It Out to Lock Water Spigot