
Summertime is the season for pool parties, barbecues, and soaking up the sun. While it’s easy to have fun in the sun, it’s also essential to stay safe. One way to do that is by ensuring your garden hoses are locked up when they’re not in use. Here in this article, I will show you how to lock water spigot so kids and animals can’t turn on the hose without your permission. Keep reading.
For many people, summer means spending time outdoors enjoying the warmer weather. Whether hosting a pool party or barbeque, swimming in the backyard, or relaxing in the sun, staying safe is always crucial. One way to help avoid accidents is by locking your garden hose spigot when it’s not in use. This will prevent children or animals from turning on the water and potentially flooding your yard or injuring themselves.
What is Water Spigot?
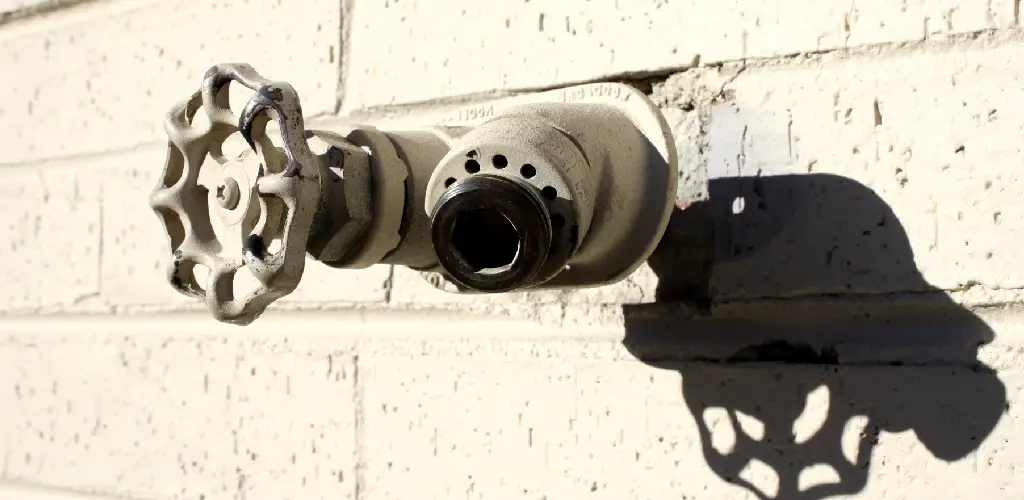
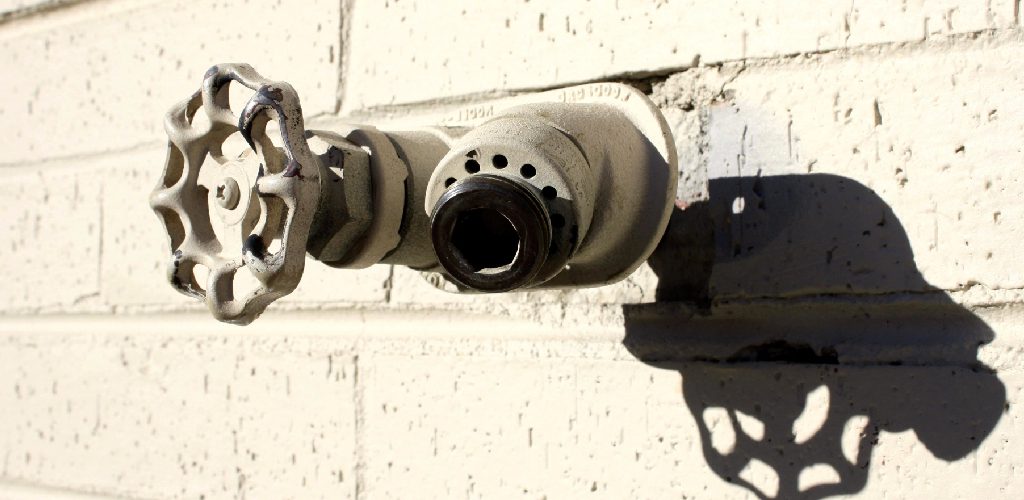
A water spigot, also known as a faucet or tap, is a valve that controls the release of water from a pipe. There are two types of water spigots: opened and closed by turning a knob or handle and those operated by a lever. Water spigots are used to regulate water flow in both residential and commercial buildings.
In homes, water spigots are typically located in the kitchen and bathroom and are used to control water flow from the sink, shower, or tub. In businesses, water spigots are often located near toilets and urinals and are used to control the flow of water for flushing. Water spigots can also be found outdoors, where they are used to control the flow of water from hoses or sprinklers.
Different Types of Water Spigots
There are many different water spigots, each with its advantages and disadvantages. Some of the most popular types include:
Standard Spigot: This is the most basic water spigot typically found in homes and businesses. They are easy to use and maintain but can be prone to leaks.
- Anti-Siphon Spigot: This type of water spigot is designed to prevent siphoning, which can occur when water is drawn from a container faster than it can be replenished. As a result, they are often used in areas where water pressure is an issue.
- Freeze-Proof Spigot: These water spigots are designed to prevent freezing, making them ideal for use in colder climates. They typically have a longer handle that is used to open and close the valve and a built-in heater.
- Automatic Spigot: These water spigots are designed to turn on and off automatically, based on a preset schedule or water pressure. They are often used in commercial applications, such as office buildings or restaurants.
When choosing a water spigot, it is essential to consider the specific needs of your home or business. For example, if you live in an area with high water pressure, an anti-siphon spigot may be the best option. Similarly, if you live in a climate where freezing is a concern, a freeze-proof spigot may be the best choice.
What You’ll Need
- A Phillips head screwdriver
- A hammer
- A chisel
- A drill
- 1⁄4 inch diameter hole saw
- Padlock and key
A Step by Step Guide on How to Lock Water Spigot
If you have a water lock spigot on your property that you need to lock, there are a few different ways that you can go about doing so. One way is to use a padlock and key. This will work well if the spigot is made of metal.
Another way is to install a locking mechanism onto the spigot itself. This may be a good option if the spigot is made of plastic or if you do not want to carry around a key. Either way, locking your water spigot will help to ensure that no one unauthorized has access to your water supply.
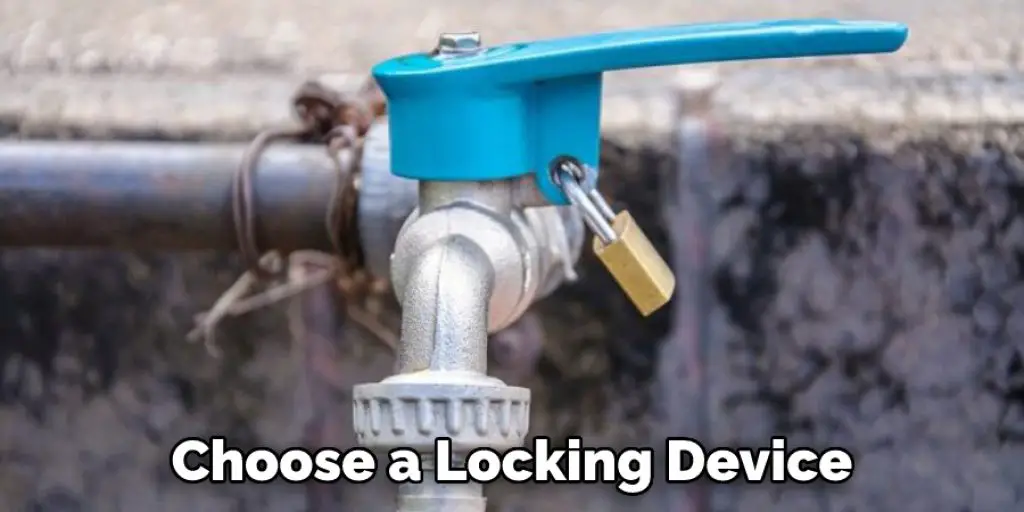
Step 1: Choose a Locking Device
The first step is to choose a locking device. Then, you can either use a padlock and key or install a locking spigot cover. If you decide to use a padlock and key, make sure that the shackle is made of stainless steel to not rust.
You Can Check It Out to Fix Chlorine Lock
Step 2: Purchase the Appropriate Locking Device
If you choose to use a padlock and key, you can purchase one at your local hardware store. If you choose to install a locking spigot cover, make sure that you buy one that is the appropriate size for your water spigot.
Step 3: Determine the Location of the Locking Device
The next step is to determine the location of the locking device. For example, if you are using a padlock and key, you will need to find a place to attach the padlock. This can be done by screwing it into the spigot or attaching it to a nearby object. If you are installing a locking spigot cover, you will need to determine where it will fit best on the spigot.
Step 4: Prepare the Spigot for Locking
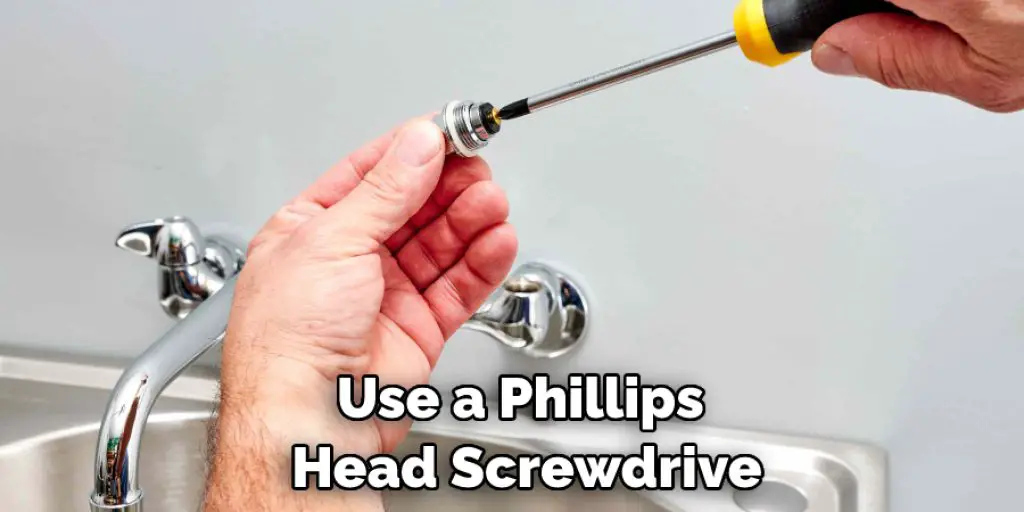
If you are going to be using a padlock and key, skip to Step 5. If you are using a locking spigot cover, begin by turning off the water supply to the spigot. Next, use a Phillips head screwdriver to remove the handle from the spigot. Once the handle is removed, you will see the stem.
Step 5: Install the Locking Spigot Cover
If you are using a locking spigot cover, place it over the stem of the spigot. Make sure that it is in the correct position, and then use a hammer to tap it into place. Once it is in place, use a drill to drill holes through the cover and into the stem. Finally, use a chisel to enlarge the holes to be big enough for the screws.
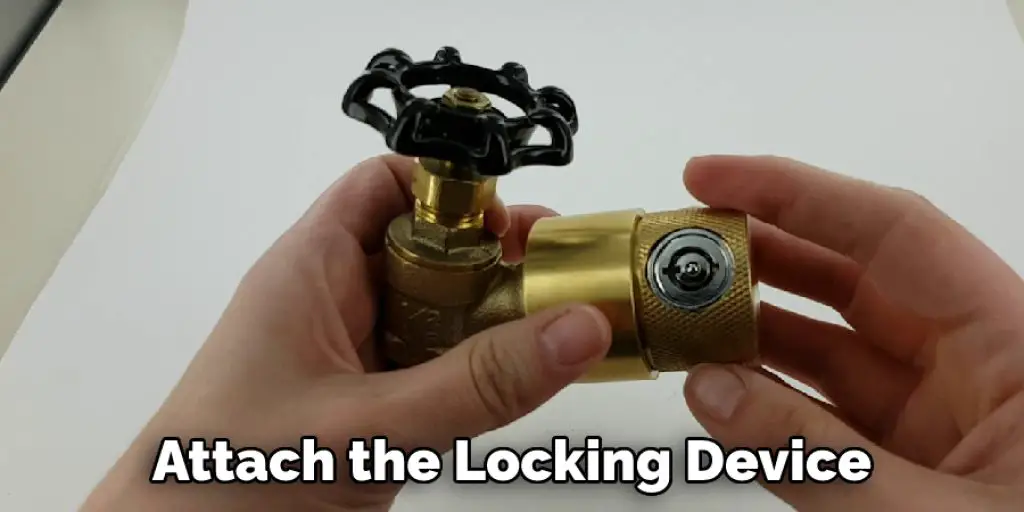
Step 6: Attach the Locking Device
If you are using a padlock and key, attach the padlock to the spigot or nearby object. Using a locking spigot cover, use screws to attach the cover to the stem. Ensure that the screws are tight so that the cover will not come off.
Step 7: Test the Locking Device
Once the locking device is in place, please turn on the water supply to the spigot and test it out. Ensure that the locking device is working correctly and that the spigot cannot be turned on without the key or combination.
Step 8: Install a Locking Mechanism Onto the Spigot Itself
Now that you have the area around the spigot secure, it’s time to take care of the spigot itself. The first step is to install a locking mechanism onto the spigot. This will help to prevent anyone from being able to turn on the water, even if they can get past your other security measures.
There are a few different types of locking mechanisms that you can choose from. The most common is a padlock. However, you could also use a specialized device that fits over the handle of the spigot and prevents it from being turned. Whichever type of lock you choose, make sure that it is weatherproof to continue to work even when it is exposed to the elements.
Step 9: Caulking the Spigot
Once the locking mechanism is in place, the next step is to caulk the spigot. This will help prevent water from leaking out around the base of the spigot. Apply a bead of caulk around the perimeter of the spigot and then smooth it out with your finger.
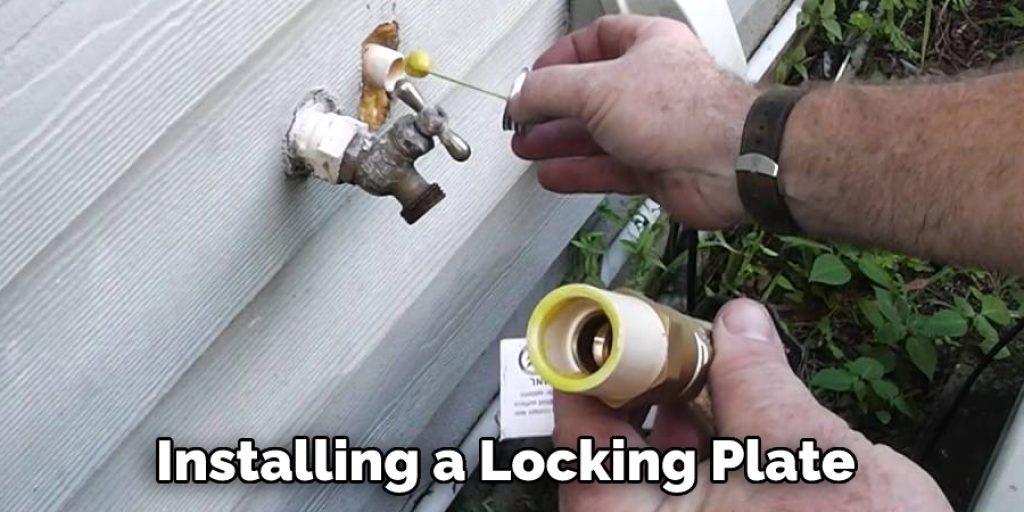
Step 10: Installing a Locking Plate
The final step is to install a locking plate over the spigot. This will provide an extra layer of protection and make it more difficult for someone to remove the locking mechanism. To install the locking plate, screw it into place using weatherproof screws.
Your water spigot should be securely locked now that you have followed all of these steps. This will help to prevent anyone from being able to turn on the water, even if they can get past your other security measures.
Tips and Warnings:
Tips:
- Make sure the area around the water spigot is clean and free of debris. This will help ensure a proper seal when the lock is in place.
- If you are using a padlock, be sure to choose one that is weatherproof and made from rust-resistant materials.
- It’s always a good idea to test the lock before leaving it in place for an extended period. Try opening and closing it a few times to ensure it’s working correctly.
Warnings:
- Never leave a water spigot unlocked and unsupervised. Doing so could result in property damage or even injuries if someone misused the tap.
- Be sure to remove the lock before using the water spigot. Trying to force it open could damage the lock, the spigot, or both.
Following these tips will help to ensure that your water spigot is locked correctly and securely.
Conclusion:
So, there you have it, how to lock water spigot! Everything you need to know about how to lock a water spigot. Now that you can adequately protect your home from potential water damage, put this knowledge into practice and keep your family safe and sound.
Michael has always been interested in security and safety. When he was younger, he loved reading books about espionage and crime. This led him to develop a fascination with surveillance systems and home security systems.
He has 8 years of expertise installing, fixing camera problems and door locks. He also gained knowledge by helping homeowners to stay safe and secure in their homes.
Over the years, Michael has gained a great deal of experience in this field. He is responsible for the content development on this blog.