

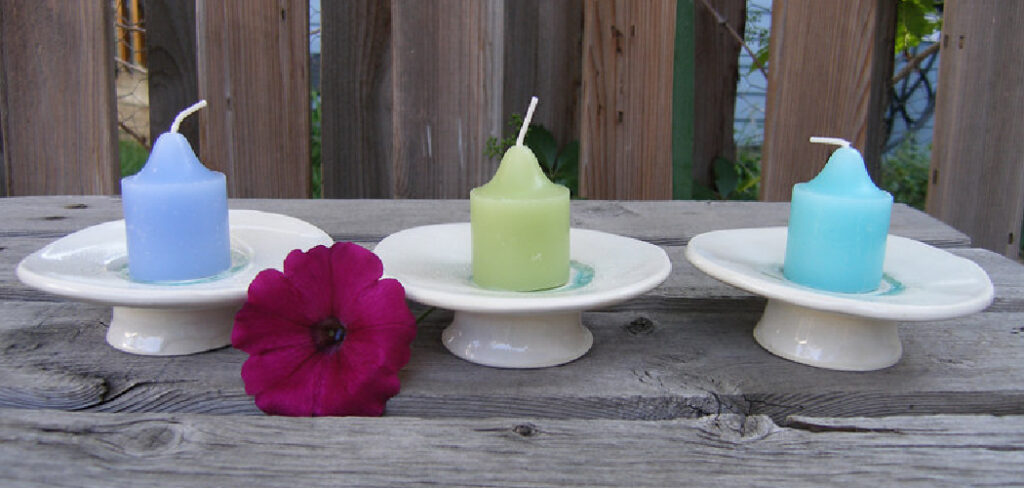
Candles are a perfect way to add ambiance to any room. They come in all shapes and sizes, and you can find the perfect one for any occasion. You can also make your own candles, which is really easy! In this tutorial, we’ll show you how to make clay candle holders and turn them into beautiful works of art. These holders are simple to make and look beautiful when displayed with candles. Let’s get started!
What Causes Clay to Crack?
There are a few things that can cause the clay to crack. The most common is drying too quickly. When clay dries too quickly, it shrinks and cracks. This can be caused by putting the clay in a too-dry environment or by working too quickly. Another common cause of cracking is insufficient clay body flexibility. This means that the clay isn’t pliable enough and cracks when bent or stretched.
Additionally, adding too much water to the clay can also cause it to crack. The other major cause of clay cracking is firing too fast. This happens when the clay is heated too quickly, causing it to expand and then contract too quickly.
This can cause the clay to crack or even shatter. Lastly, under or over-working the clay can also lead to cracking. This means that you’ve either worked the clay too little (not giving it enough time to rest) or too much (over-exerting it).
Why Do You Put a Hole in the Bottom of a Candle Holder?
There are a few reasons for this. The most important reason is to allow air to circulate. If there is no hole in the bottom, the candle will extinguish itself. The second reason is to allow any excess wax to drip out. When you light a candle, the heat from the flame melts the wax near the wick. This liquid wax is then drawn up the wick by capillary action.
If there is no hole in the bottom of the holder, the wax has nowhere to go and will build up in the holder. This can cause the holder to overflow or even catch fire.
Additionally, the hole allows you to clean out the holder easily. When the wax has solidified, you can turn the holder upside down and tap it to remove the excess wax. Another reason for the hole is to prevent the holder from becoming top-heavy.
The holder can tip over and cause a fire if it is too top-heavy. The other reason is to allow heat to dissipate. If the holder is too hot, it can cause the wax to melt and drip out. Finally, the hole allows you to put a small piece of clay inside the holder to help balance it.

10 Steps on How to Make Clay Candle Holders:
1. Gather Materials
The first step is to gather all of the materials you will need. For this project, you will need the following:
- Clay
- A rolling pin
- A sharp knife
- A pencil
- A circle cutter (optional)
Gather all of your materials before you begin. This will make the project go much smoother. If you don’t have a circle cutter, you can use a sharp knife to cut the clay into circles. Avoid using scissors, as they will not give you a clean cut.
2. Condition the Clay
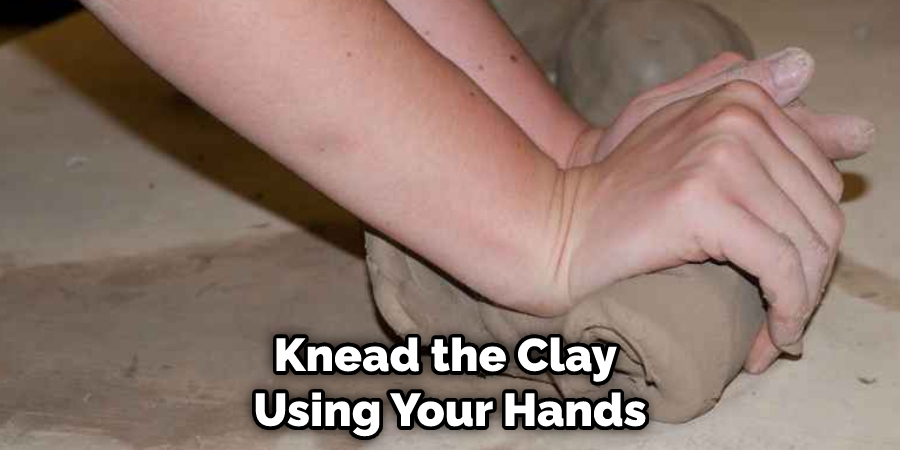
The next step is to condition the clay. This step is important because it makes the clay more pliable and easier to work with. To condition the clay, first, cut it into small pieces. Then, knead the clay using your hands until it is soft and pliable. If the clay is too dry, you can add a little bit of water.
Be careful not to add too much, as this will make the clay difficult to work with. If the clay is too wet, you can add a little bit of flour. Avoid using too much flour, making the clay difficult to work with.
3. Roll Out the Clay
Once the clay is conditioned, it’s time to roll it out. This is because it will make it easier to work with. To roll out the clay, first, flatten it into a disk. Then, use a rolling pin to roll it out until it is about 1/4 inch thick. If the clay is too thick, it will be difficult to work with. If the clay is too thin, it will be fragile and may break. Try to roll the clay out evenly to avoid these problems.
4. Cut Out the Circles
Now that the clay is rolled out, it’s time to cut out the circles. If you have a circle cutter, use it to cut out as many circles as you need. First, lightly dust the cutter with flour to prevent sticking. Then, press the cutter into the clay and twist it to cut out the circles. If you don’t have a circle cutter, you can use a sharp knife to cut out the circles.
First, trace the outline of the circles onto the clay with a pencil. Then, use a sharp knife to cut out the circles. Try to cut them as evenly as possible.
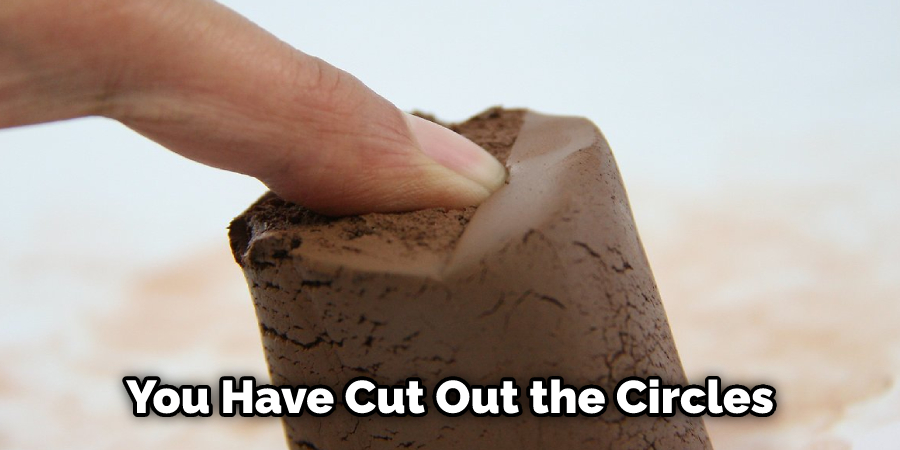
5. Make the Holes
Now that you have cut out the circles, making the holes is time. To do this, first, take your pencil and make an indentation in the center of each circle. If you want to be extra precise, you can use a compass to make the perfect circle. Once you have made the dent, begin slowly and carefully widening the hole with your pencil.
Remember, this is where the candle wick will go, so you want the hole to be big enough to accommodate it. However, if the hole is too big, the candle holder will be unstable. When you are satisfied with the size of the hole, set the pencil aside and grab your clay-cutting tool
6. Assemble the Pieces
Now that the pieces are cut out, it’s time to assemble them. This is because it will make it easier to work with. To assemble the pieces, first, take the base piece and add a layer of adhesive to it. Next, take the middle piece and add a layer of adhesive to it. Finally, take the top piece and add a layer of adhesive to it. Once all the pieces are assembled, let them dry for 24 hours. Avoid using too much adhesive, making the clay difficult to work with.
7. Smooth the Edges
The next step is to smooth the edges of the clay candle holder. To do this, first, wet your finger and run it along the edge of the clay. This will help to smooth out any rough edges. Next, use a soft cloth to buff the edge of the clay. This will help to give it a nice, smooth finish. If the edge of the clay is still rough, you can use a file to smooth it out.
8. Bake the Clay
The next step is to bake the clay. This is an important step because it will help to harden the clay and make it more durable. To bake the clay, preheat your oven to 300 degrees Fahrenheit. Next, line a baking sheet with parchment paper and place the clay candle holder on it. Bake the clay for 30 minutes. Remove the clay from the oven and let it cool completely.
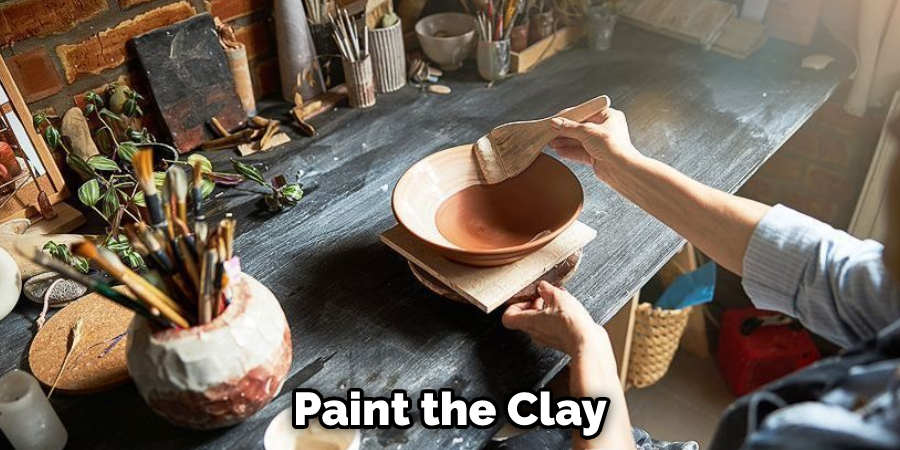
9. Paint the Clay
The final step is to paint the clay. This is an optional step, but it will help to give your candle holder a nice, finished look. To paint the clay, choose the color you want to use. Next, apply a layer of paint to the clay with a brush. Let the paint dry completely. Once the paint is dry, you can add a second layer if you want. When you are finished, you can add wax to the clay to protect it.
10. Enjoy Your Candle Holder!
You’ve now made your very own clay candle holder! This is a great way to add a personal touch to your home décor. These make great gifts, too. Be sure to keep them away from open flames, though. With a little bit of care, your candle holder will last for years to come.
You Can Chack It Out Make Chime Candles
Tips and Warnings on How to Make Clay Candle Holders
Tips:
- Start with a small block of oven-bake clay. You can find this type of clay at your local craft store.
- Use a sharp knife to cut the clay into desired shapes. If you want to make a holder for a tealight candle, you can use a cookie cutter in the shape of a circle.
- Be sure to make a hole in the center of each piece of clay. This is where the candle wick will go.
- Bake the clay in a preheated oven for 30 minutes.
Warnings:
- Do not use real candles in your clay candle holder. Use battery-operated candles instead.
- Do not place your clay candle holder near an open flame.
- Do not use water to clean your clay candle holder. Water can damage the clay.
- Do not place your clay candle holder in direct sunlight. The sun can fade the color of the clay.
Conclusion
So there you have it! Now you know how to make clay candle holders. This is a great project for both beginners and experienced crafters alike. Follow the tips and warnings above to ensure that your candle holder is safe and durable. Have fun!
You Can Chack It Out Make Bath and Body Works Candles