

Do you love surfing but need to figure out what to do with your board when you’re not using it? How can you store or display it in your home easily? Hanging a surfboard from the ceiling has become a popular way to show off and safely store boards, and it can be done surprisingly quickly!
This blog post covers all the tips and tricks for hanging a surfboard from the ceiling. We’ll start by outlining the materials and tools needed for a successful installation, then discuss our best practices for securely mounting the board without damaging it.
Finally, we’ll walk through taking down a disassembled board that can easily be transitioned back up on walls in another room or if moving homes. Keep reading and learn more about how to hang surfboard from ceiling!
What Will You Need?
Before getting started, gather the necessary materials and tools. You’ll need:
- A surfboard appropriate for wall hanging
- Mounting brackets designed for holding a surfboard from the ceiling
- Lag bolts, washers, and drywall anchors to secure the brackets into place
- A stud finder to locate a suitable joist in the ceiling
- A drill and screwdriver to assemble the brackets and drive in screws
- A level to ensure that everything is properly aligned
Once you’ve gathered your materials, it’s time to get started!
10 Easy Steps on How to Hang Surfboard From Ceiling
Step 1: Identify the Best Spot
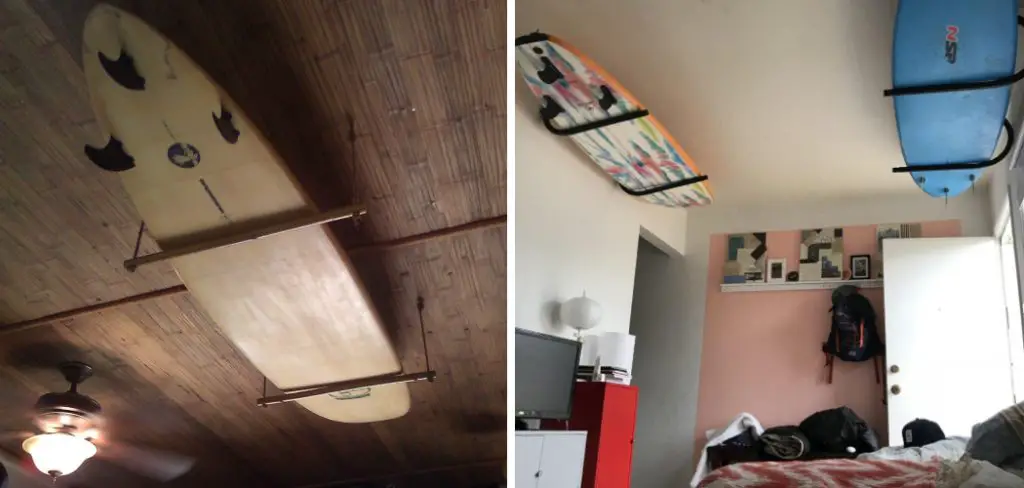
The first step in changing your surfboard from the ceiling is to identify the most suitable spot in your home. Choose a location that is not only visually appealing but also practical. This area should be spacious enough to accommodate the surfboard without bumping into anything and high enough to prevent accidents.
Also, consider the board’s weight and ensure the chosen spot is close to a ceiling beam or joist, as they provide the greatest support. Use your stud finder to confirm the presence of a joist in your chosen spot.
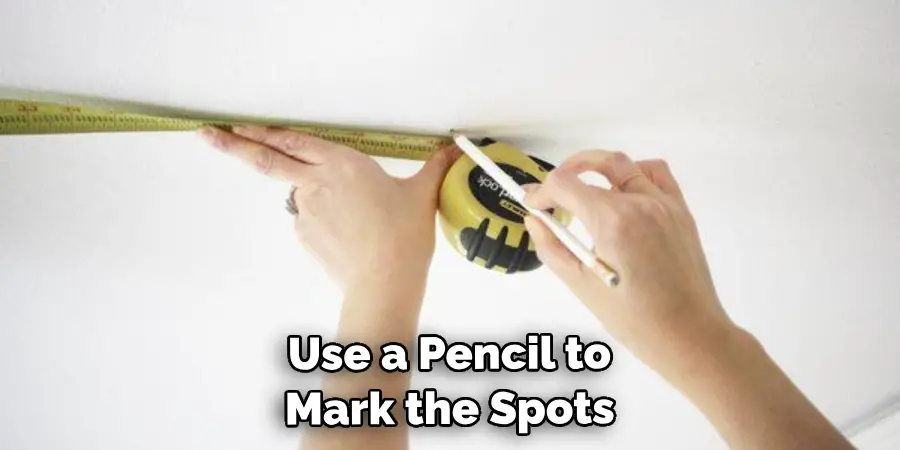
Step 2: Marking the Ceiling
After identifying the best spot, the next step is to mark the placement of your mounting brackets on the ceiling. Using your surfboard as a guide, determine the ideal spread of the brackets so they properly support the board. Then, use a pencil to mark the spots where you will attach the brackets to the ceiling. Ensure the marks align with your ceiling joist as located by your stud finder. It’s essential to be precise during this process, as these marks will guide your drilling.
Step 3: Install the Mounting Brackets
With your marks accurately positioned on the ceiling, it’s time to install the mounting brackets. Place the first bracket over the marked spot, ensuring the holes in the bracket align with your markings. Insert the lag bolts through the holes in the bracket, and secure the bracket into place using your drill. Repeat the process with the second bracket, ensuring it is level with the first one. Both brackets must be securely fastened and leveled to provide a stable base for your surfboard.
Step 4: Position the Surfboard
With the mounting brackets secured in place, now it’s time to position your surfboard on them. Start by lifting the board and slotting the fins, if any, into the appropriate grooves on the brackets. Make sure the board is centered and balanced between the brackets. You should have a friend help you with this task to ensure the board doesn’t slip. Step back and assess once you’re confident in the board’s positioning.
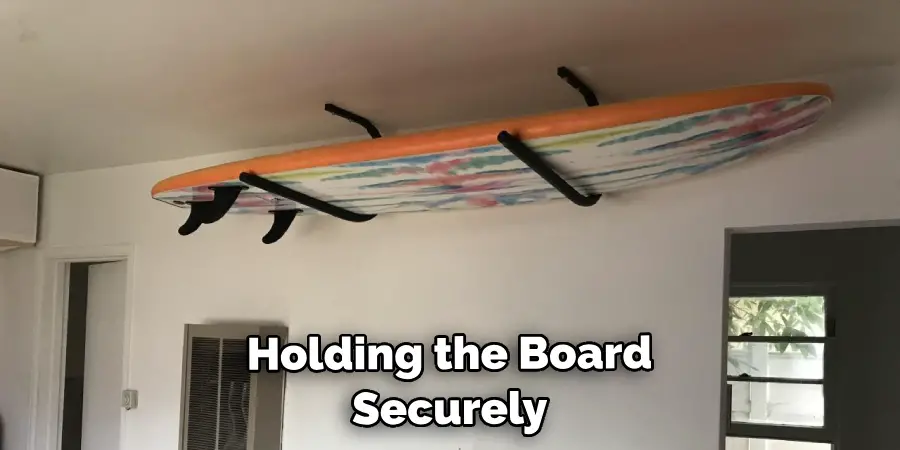
Step 5: Secure the Surfboard
Now that your surfboard is positioned, the next step is to secure it. Depending on the type of brackets you have, this step might involve different actions. Some brackets have a strap or clip that goes over the board to keep it in place. If this is the case, fasten this now, ensuring it’s not too tight to cause damage to the board.
If your brackets don’t have a fastening mechanism, consider using a bungee cord or similar object to add more security. The goal is to keep the board from shifting or falling when bumped or during an earthquake. Be assured that your surfboard is secure before leaving it hung.
Step 6: Double Check the Installation
After securing your surfboard, it’s essential to double-check the whole installation. Inspect the brackets to ensure they are tightly fastened and holding the board securely. Gently jiggle the board to test its stability.
Also, examine the board for any signs of stress or damage from the hanging process. If everything looks good and the board seems sturdy, you can feel confident that you have successfully hung your surfboard from the ceiling! Now, you can admire your handiwork and enjoy the added aesthetic to your space.
Step 7: Cleaning the Surfboard
It’s now time to clean your surfboard! After being hung from the ceiling, dust, and dirt will have collected on it. Begin by wiping down the board with a damp cloth to remove any surface grime. If there are stubborn stains, use a mild soap or cleaning solution designed for boards and wipe again. Once you’ve removed the dirt, dry it off with a clean cloth and your surfboard is ready to be enjoyed!
Step 8: Maintenance Tips
Once you have successfully hung your surfboard, there are a few maintenance tips to remember. Make sure to inspect the board regularly for any signs of wear or damage from prolonged hanging. Additionally, ensure that the brackets are tightly secured and the board is still level. Finally, a little cleaning now and then will help you maintain your surfboard in top condition for years to come.
Step 9: Taking Down the Surfboard
When it comes time to remove your surfboard from the ceiling, the first step is to remove any fastening straps or cords holding the board in place. Then, remove the lag bolts, washers, and anchors from the ceiling. Finally, slowly lift the board off its brackets, and you’re done!
Step 10: Storing Your Surfboard
Once your surfboard is down from the ceiling, it’s time to store it somewhere safe until you need it again. If you are not using the board soon, store it in a cool, dry place away from direct sunlight. Consider putting your surfboard in a protective bag if you plan on keeping it for an extended period.

Following these steps, you can hang and store your surfboard from the ceiling. It’s a great way to keep your board safe and out of harm’s way while making it accessible when needed. Proper installation and maintenance will make your surfboard ready to hit the waves immediately! Enjoy!
5 Additional Tips and Tricks
- Make sure to use sturdy hardware for hanging your board. Look for screw-in hooks and anchors that can hold up the weight of your surfboard, especially if you plan on suspending it from a higher ceiling.
- When mounting the hardware to the ceiling, try not to drill into any support beams or joists, as this could cause problems down the line.
- If you’re mounting the board to a wall, use heavier-duty anchors or toggle bolts to ensure that your board stays securely in place.
- Once you’ve mounted the hardware and suspended your surfboard from it, check every few weeks for signs of wear and tear. Replace any parts that look like they may be unstable over time.
- Lastly, remember to periodically inspect the area beneath your board for signs of leakage or water damage – a loose ceiling tile or an ill-fitting hook could cause this. Taking these precautions can help ensure you have a safe and secure way to hang your surfboard!
With these tips in mind, you should be able to hang your surfboard from the ceiling confidently! Remember always to use caution when suspending any materials from a ceiling – if something doesn’t feel right at any point, it’s best to take a second look before moving forward.
5 Things You Should Avoid
- Avoid using nails to hang your surfboard from the ceiling – they may not provide enough support for the board’s weight.
- Check the ceiling periodically for signs of water damage or wear and tear on any mounting hardware. Replace anything that looks unsafe or unreliable.
- Never attempt to hang a surfboard from a weakened beam or joist – doing this could cause structural damage to the ceiling.
- Only apply a little weight to the mounting hardware, as it may be unable to support it.
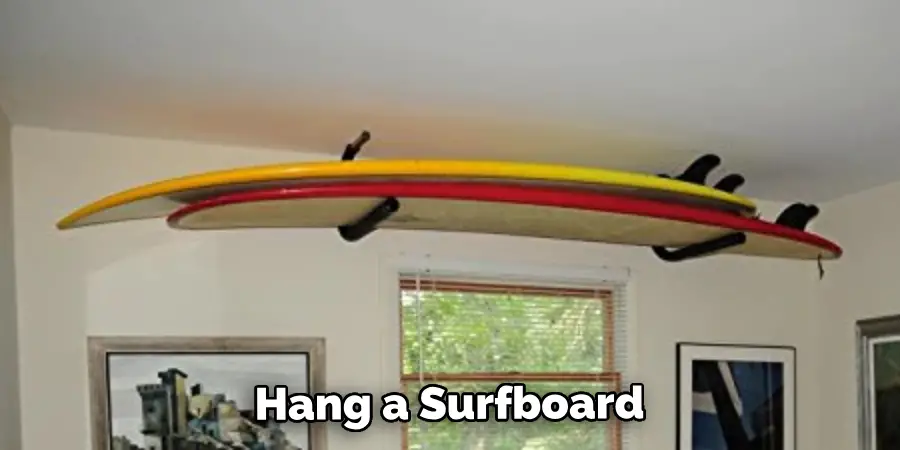
- Avoid hanging multiple surfboards side by side if they have different weights – this can put excessive pressure on one side of your wall or ceiling.
By following these tips, you can ensure that your surfboard is safely secured to the ceiling or wall without any risk of harm. Have fun catching waves!
Conclusion
Congratulations, now you have a secure and stylish way to hang your surfboard from the ceiling! Not only does it look great, but it also gives you peace of mind knowing that your precious board is safe. Along with saving space, this method further contributes to keeping your home organized.
Furthermore, having a piece of surfing history hanging in plain view can serve as an ongoing source of motivation on days when you’re just not feeling very inspired. Yet another rewarding aspect is that if done properly, this project can give any room in your home a unique touch and extra personality.
Hopefully, this guide has given you the information and tips on how to hang surfboard from ceiling. So don’t wait any longer- get up there and start hanging those boards with satisfaction, knowing you achieved this all yourself! Good Luck!
About
Angela is the chief editor of Indoorense. She began her career as an interior designer before applying her strategic and creative passion to lifestyle and home.
She has close to 15 years of experience in creative writing and online content strategy for housekeeping and cleaning,home decorations as well as other efforts.
She loves her job and has the privilege of working with an extraordinary team. She lives with her husband, two sons, and daughter in Petersburg. When she’s not busy working she spent time with her family.