
Are you tired of the look of your bathroom tiles but don’t want to deal with the time and cost of removing them?
When it comes to updating your bathroom, removing tiles can be daunting, costly, and time-consuming. Fortunately, there are several creative and efficient ways to refresh the look of your bathroom without removing the existing tiles. Covering bathroom tiles saves on demolition and disposal costs and allows for a faster renovation. Whether you are looking for temporary fixes or more permanent solutions, there are various methods that can suit different styles, budgets, and skill levels.
In this guide on how to cover bathroom tiles without removing them, we’ll explore some of the most common and effective techniques and discuss their pros and cons. So, let’s get started!
What Will You Need?
Before you start covering your bathroom tiles, there are a few items that you may need depending on the method you choose. Here is a list of some standard supplies that can come in handy for most tile coverings:
- Sponge or cloth
- Mild detergent or cleaner
- Sandpaper or sander
- Primer (if needed)
- Paint or decal sheets
- Sheet paneling or overlays
- Adhesive (if required)
- Measuring tape and leveler
- Cutting tools (scissors, utility knife, etc.)
- Caulk and caulk gun
It’s always best to read the instructions and gather all necessary materials before starting any project.
10 Easy Steps on How to Cover Bathroom Tiles Without Removing Them
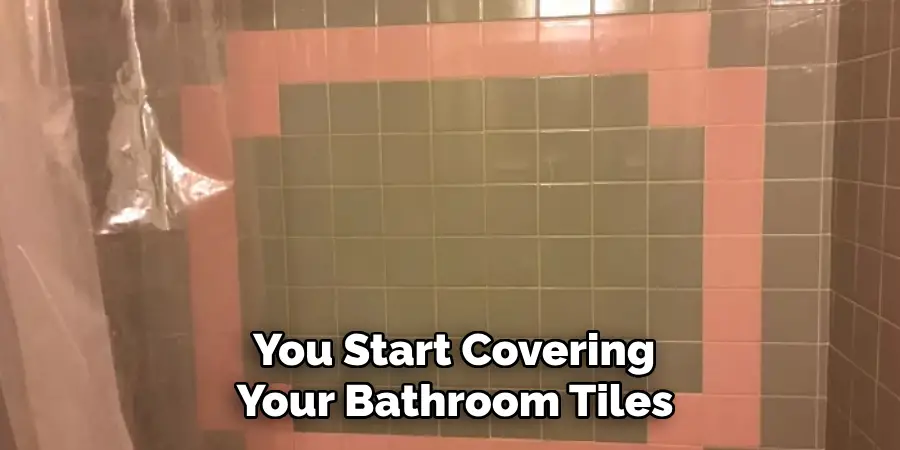
Step 1. Clean the Tile Surface Thoroughly:
Before embarking on your tile covering journey, the first and crucial step is cleaning the tile surface thoroughly. This ensures that any materials you apply will adhere properly and last longer. Start by using a sponge or cloth and a mild detergent or cleaner to remove dirt, grease, and soap residue from the tiles. Pay special attention to the grout lines, as they can harbor much grime. Rinse the tiles with clean water to remove any remaining cleaning solution, and let the surface dry completely.
Consider using a more robust cleaner or a vinegar-water solution for stubborn spots, but always test it on a small area first to ensure it doesn’t damage the tile finish. Once your tiles are clean and dry, you are laying the groundwork for a seamless application of your chosen covering method, whether paint, decals, or overlays.
Step 2. Sand the Tile Surface:
Once the tiles are clean and dry, the next step is to sand the surface lightly. This step is essential if you plan to paint or apply decals, as it helps create a rougher texture for better adhesion of materials. Use fine-grit sandpaper or a sander if you prefer to scuff the surface of the tiles gently. Be cautious not to sand too aggressively, which can damage the tiles. Focus on creating a slightly rough texture while maintaining the integrity of the tile surface.
After sanding, thoroughly wipe away any dust and debris with a damp cloth, ensuring the surface is clean and prepared for the application of primer or adhesive. Proper sanding lays the foundation for a long-lasting finish.
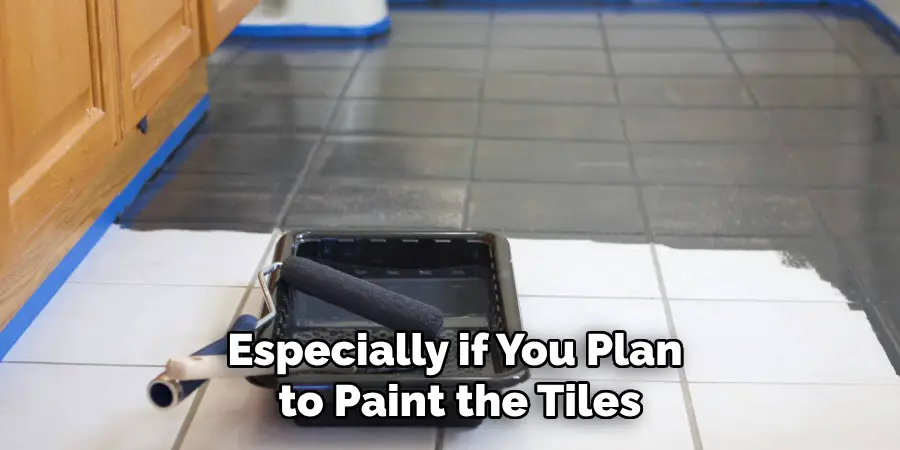
Step 3. Apply Primer:
Applying a primer is a critical step, especially if you plan to paint the tiles. Primer enhances the adhesion of the paint to the tiled surface, ensuring a smooth and durable finish. Choose a primer that is suitable for tiles and particular for the type of paint you intend to use. Use a brush or roller to apply an even coat of primer over the sanded tiles, following the manufacturer’s instructions. Allow the primer to dry completely, which might take several hours, depending on the product.
Once dry, the surface will be ready to apply your chosen covering material, setting the stage for a fresh and updated appearance in your bathroom.
Step 4. Measure and Cut the Covering Material
Before applying your chosen covering material, it’s necessary to measure and cut it to the appropriate size. This step requires precision to ensure a seamless and professional-looking finish. Use a measuring tape and a leveler to obtain accurate dimensions of the tile area you want to cover. Transfer these measurements onto your covering material, whether paint, decals, sheet paneling, or overlays. Use suitable cutting tools like scissors or a utility knife to cut the material to size, keeping in mind to leave a small margin for adjustments.
Careful measurement and cutting will help prevent mistakes and overlaps, ensuring that the material fits perfectly and enhances the overall appearance of your bathroom. Now, you are ready to adhere the material to your tiles.
Step 5. Adhere the Covering Material to the Tile
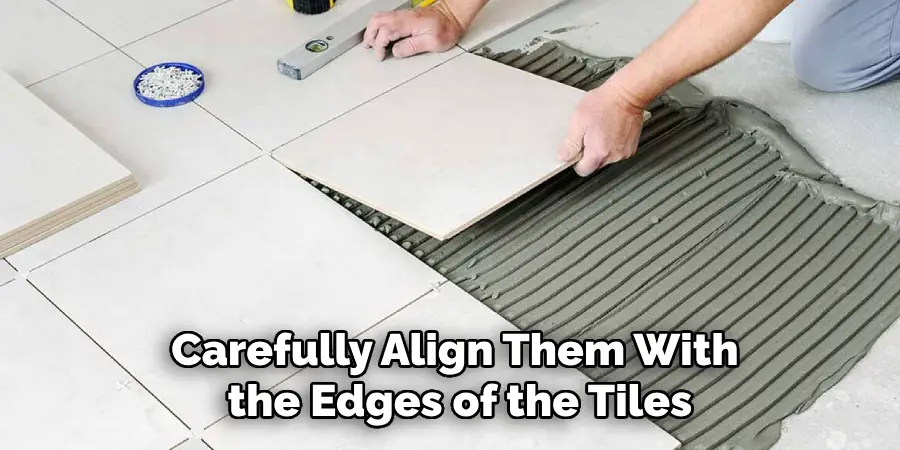
With the covering material cut to size, it’s time to adhere it to the tile surface. Begin by applying a suitable adhesive if your method requires it, ensuring even coverage to prevent bubbling or shifting. For decals or adhesive-backed materials, carefully align them with the edges of the tiles, starting from one corner. Slowly peel off the backing as you press the material firmly onto the tile, smoothing it out to eliminate air bubbles and wrinkles.
If using sheet paneling or overlays, position them according to your measured layouts and press them firmly in place. Occasionally, a mallet or roller can help smooth out the material to ensure a secure fit. Take your time with this step to provide an even and smooth finish, as this is what will ultimately create the refreshed look of your bathroom tiles.
Step 6. Seal the Edges and Grout Lines
Once the covering material is securely in place, the next step is to seal the edges and grout lines to protect against moisture and ensure a polished finish. Use a quality caulk in a color that matches or complements your chosen material to seal any visible seams or gaps at the edges. Apply the caulk using a caulk gun for precision, working slowly and smoothly along the edges to cover the grout lines and any exposed areas. Smooth the caulk with a damp finger or a caulking tool to ensure neat lines and an even surface.
As per the manufacturer’s instructions, allow the caulk to dry completely before exposing the area to moisture.
Step 7. Inspect and Touch Up
After sealing the edges and grout lines, carefully inspect the tile surface for any imperfections or areas that may require touch-ups. Examine the covering material for bubbles, wrinkles, or loose edges that might have occurred during the application process. Make adjustments by pressing firmly to re-adhere any loose sections or smoothing out imperfections if necessary. Additionally, check the caulk lines to ensure they are even and thoroughly sealed.
If you notice any gaps or insufficient coverage, apply more caulk as needed. For painted surfaces, touch up any missed spots or uneven areas with a small brush to ensure a uniform look. Taking the time to inspect and perfect your work will contribute to the overall aesthetics and longevity of your bathroom tile covering project.
Step 8. Finish with Protective Coating
Consider applying a protective coating to ensure the durability and longevity of your newly covered tiles. This final step safeguards the surface from moisture, scratches, and daily wear. Select a clear coat finish compatible with your chosen covering material, whether it be paint or other types of overlays. Use a high-quality brush or roller to apply the coating evenly across the entire surface, following the manufacturer’s guidelines on application techniques and drying times.
Ensure the layer is smooth and consistent to enhance your tiles’ durability and appearance. Allow the protective coating to cure completely before using your bathroom, ensuring it adheres appropriately and provides maximum protection.
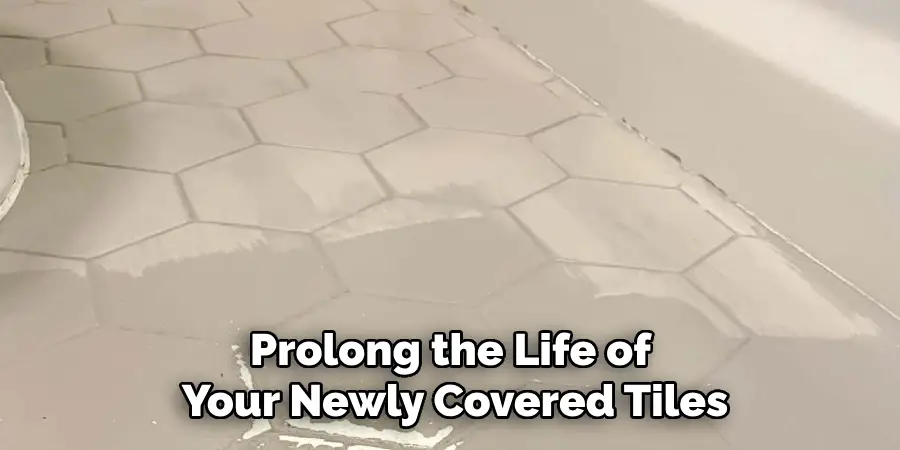
Step 9. Routine Maintenance
Establish a routine maintenance schedule to preserve the fresh appearance and prolong the life of your newly covered tiles. Regularly clean the tiles using a mild detergent and a soft cloth or sponge to remove dirt and grime without damaging the surface. Avoid harsh chemicals or abrasive cleaning tools, as these can compromise the protective coating and alter the finish. Inspect the edges and grout lines periodically for signs of wear or moisture intrusion, and reapply caulk or touch up any areas as necessary to maintain a watertight seal.
Step 10. Enjoy Your Refreshed Bathroom
With all the steps completed and your tiles looking as good as new, it’s time to enjoy the transformed ambiance of your bathroom. The effort to update the tiles through careful preparation, application, and maintenance ensures a revitalized space that brings comfort and satisfaction to your daily routine. Consider adding a few decorative elements or accessories that complement your new tile design to enhance the aesthetic.
Whether it’s during a relaxing bath or a quick morning routine, bask in the soothing and fresh atmosphere you’ve created. Enjoy your accomplishment and take pride in rejuvenating your bathroom with a modern and clean look.
By following these steps, you can easily update your bathroom tiles and give your space a whole new look without the hassle and expense of replacing them.
Conclusion
How to cover bathroom tiles without removing them is an effective way to refresh the appearance of your space while avoiding the time-consuming and potentially costly process of tile demolition.
By following a systematic approach, from measuring and cutting the covering materials to applying them securely and adding protective coatings, you can achieve a professional result that rejuvenates your bathroom. This method enhances the aesthetics and provides durability against everyday wear. Regular maintenance will ensure that the tiles continue to look their best for years.
This approach offers a practical solution for those seeking to update the look of their bathroom with minimal disruption and expense.
About
Angela is the chief editor of Indoorense. She began her career as an interior designer before applying her strategic and creative passion to lifestyle and home.
She has close to 15 years of experience in creative writing and online content strategy for housekeeping and cleaning,home decorations as well as other efforts.
She loves her job and has the privilege of working with an extraordinary team. She lives with her husband, two sons, and daughter in Petersburg. When she’s not busy working she spent time with her family.