
Are you trying to find the best way how to clean roomba bin? You’re not alone! Many people struggle to clean their Roomba bins but don’t worry.
In this blog post, we’ll discuss some tips and tricks for deep cleaning those handy robotic vacuum cleaners so you can keep them running efficiently–and save yourself a trip down to the store for a replacement bin. We’ll provide step-by-step guidance on how to safely remove dust, debris, and pet hair from inside the Roomba, as well as cover possible uses of parts that have been removed or replaced when putting it back together again–parts that could also be used to decorate other useful items like picture frames or flower pots in creative new ways.
With our help, you can have your beloved robot vac humming away in no time!
What are the Benefits of Cleaning Your Roomba Bin?
A clean Roomba bin has many advantages. For one, a clogged-up bin prevents the robot from properly capturing dirt and dust in its filters—meaning more vacuuming for you! Plus, if left uncleaned for too long, your Roomba’s parts could become damaged or even destroyed, forcing you to buy a replacement bin.
Cleaning your Roomba bin regularly also keeps it looking and smelling fresh. This will help spruce up your home’s look while keeping any nasty germs at bay. And finally, cleaning your Roomba bin can give you more insight into how well its filters are doing their job, so you can make any necessary changes to ensure the best performance.
Now that we’ve discussed the benefits of cleaning your Roomba bin let’s get into how it’s done.
What Will You Need?
Before you begin, make sure to get the necessary supplies. You will need the following:
- A vacuum cleaner
- Mild soap or washing detergent
- Soft bristled brush (or toothbrush)
- Cleaning cloth(s)
- A container for soaking parts in warm water and dishwashing liquid
Once you have gathered all your supplies, it’s time to start cleaning!
10 Easy Steps on How to Clean Roomba Bin
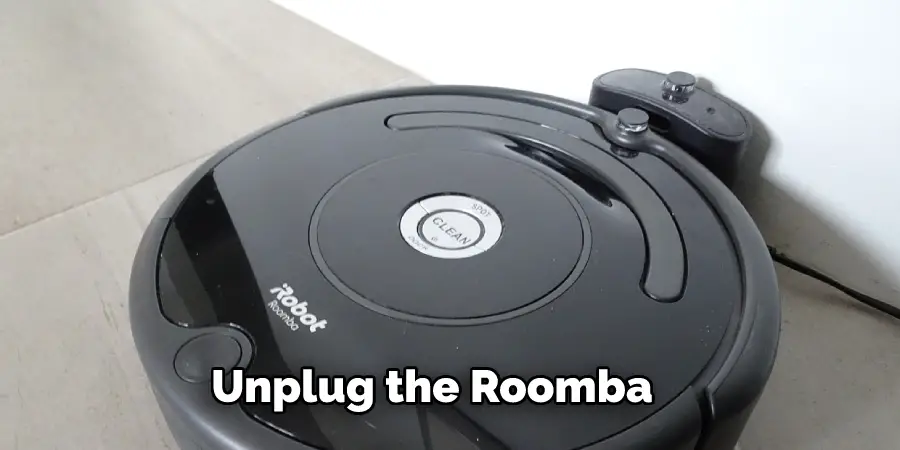
Step 1. Unplug the Roomba:
Before you start, make sure to unplug the Roomba from its power source. This will prevent any accidents while cleaning. If you have a battery-powered Roomba, make sure to remove the batteries before proceeding.
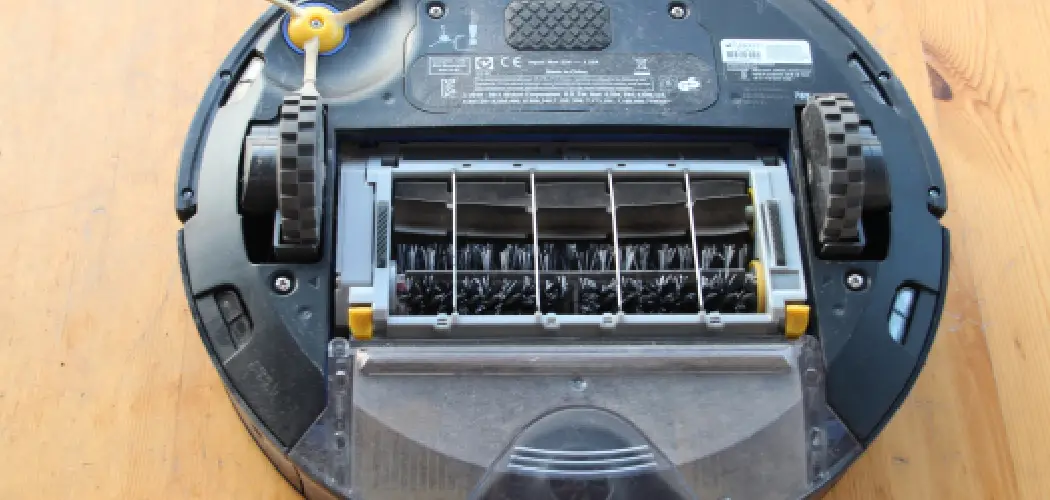
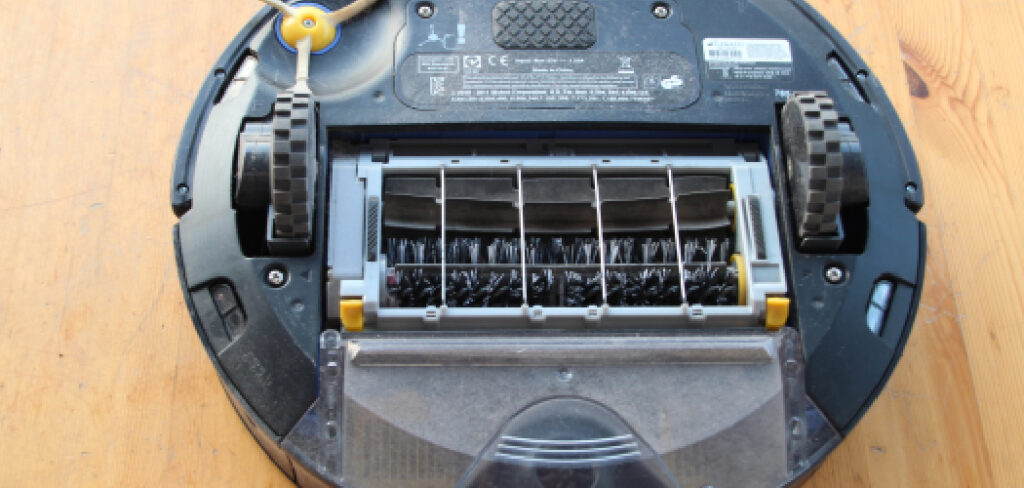
Step 2. Remove the Bin:
Carefully remove the bin from the Roomba. If it’s stuck, use a soft-bristled brush or toothbrush to move the dirt and dust out of the way gently. You can also use compressed air to blow out any caked-on dirt and debris.
Step 3. Soak Parts in Hot Water:
Fill a container with warm water and dishwashing liquid, then let all of the parts of your Roomba soak for at least 10 minutes or until all of the grime has come off. You can make use of an old toothbrush or soft-bristled brush to wipe away any excess dirt that may be stuck in certain areas.
Step 4. Dry:
Once you have finished soaking the parts, take a soft cloth to dry them off before reassembling them. Make sure that all of the parts are completely free from any soapy residue before proceeding with the next step. Use a vacuum cleaner with a brush attachment to remove any stubborn dirt or dust in hard-to-reach areas.
Step 5. Reassemble:
After drying off all of your Roomba parts, it’s time to put them back together. Carefully reattach each part to the Roomba and make sure that they are secure before turning it on. You can buy replacements at your local store or online if you have lost any parts.
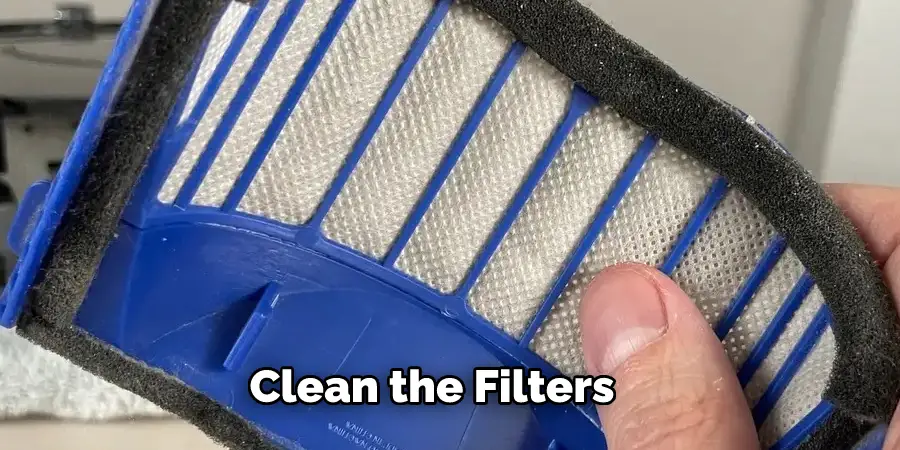
Step 6. Clean the Filters:
Carefully remove the filter from your Roomba and clean it with a vacuum cleaner or by tapping it on a hard surface. If necessary, you can also rinse it off with mild soap and warm water before allowing it to air dry. Don’t forget to replace the filter before you turn on your Roomba, as it is a crucial part of keeping your robot vacuum working properly.
Step 7. Clean Exterior:
Once you have finished cleaning the inside of your Roomba bin, focus on the exterior. You can use a damp cloth to wipe away any dust or dirt from the outside of the bin, ensuring that all its surfaces are debris-free. Be careful not to use too much moisture, as this could cause damage to your robot vacuum.
Step 8. Wipe Down Sensors:
Your Roomba has infrared sensors to navigate furniture and other obstacles in your home. Use a damp cloth or cotton swab to clean off any dust or dirt that may be blocking the sensors. This will help ensure that your Roomba is able to detect its surroundings properly
Step 9. Vacuum:
Use a vacuum cleaner with a brush attachment to remove any stubborn dirt from hard-to-reach areas in your Roomba bin and the surrounding area. Be sure to pay special attention to places like crevices, grooves, and cracks as these are common dust and debris buildup spots. Always remember to turn off your vacuum before moving it around or placing it back in storage.
Step 10. Replace Bin and Turn on Roomba:
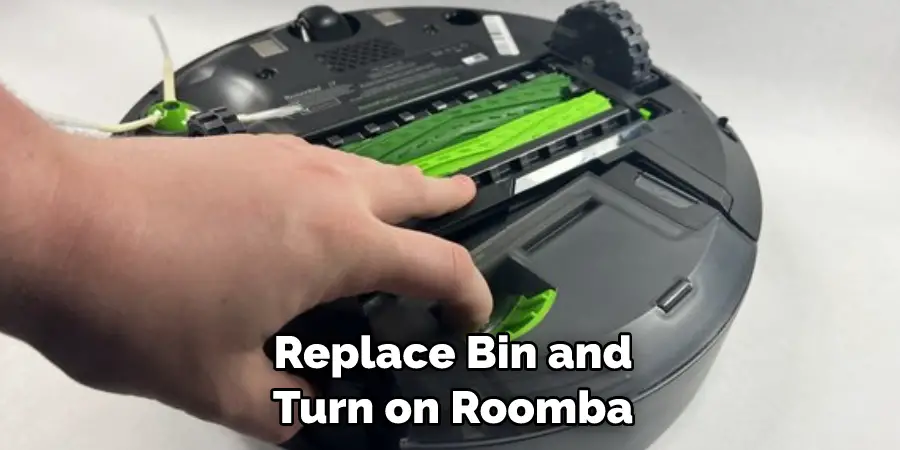
After you have finished cleaning your Roomba bin and its surroundings, it’s time to put everything back together again. Carefully reattach the bin onto your robot vacuum, then plug it back in or replace the batteries. Once you have done this, press the power button and enjoy a clean Roomba bin!
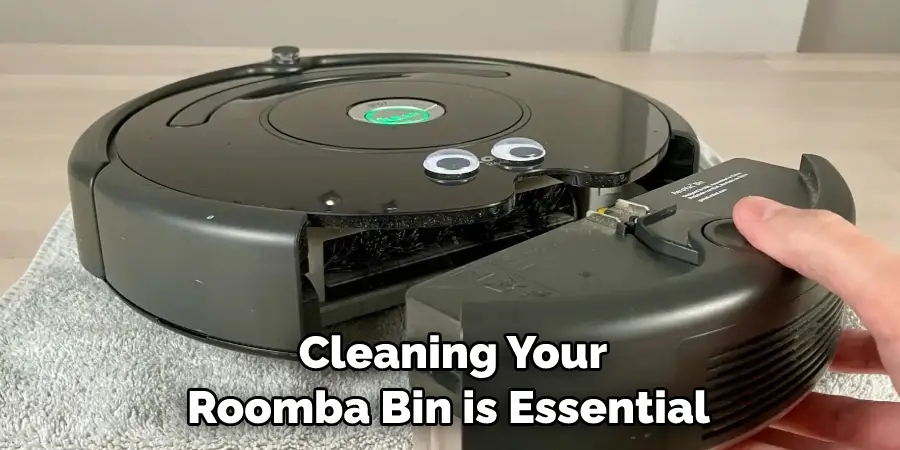
Cleaning your Roomba bin is essential to maintaining its performance and keeping your home tidy. With these simple steps, you can ensure that your robot vacuum is working as efficiently as possible and that all dirt and dust are removed from its interior. So grab some cleaning supplies and get to work – your Roomba will thank you for it!
5 Additional Tips and Tricks
1. In order to avoid clogging up your Roomba bin, you should vacuum regularly and empty the bin after each use.
2. Make sure to rinse out the filter of your Roomba bin with warm water every month or two, in order to keep it running cleanly and efficiently.
3. To get rid of tough stains on the walls of your Roomba bin, mix equal parts white vinegar and water in a spray bottle and spritz it onto the affected area.
4. If you have trouble getting pet fur or hair off your Roomba bin, use a lint roller before vacuuming it. This will make the job much easier!
5. For an extra clean look, use a damp cloth to wipe down the walls of your Roomba bin once in a while. This will help keep it looking fresh and free of dust and debris.
Following these simple tips and tricks is a great way to ensure your Roomba bin stays clean, properly functioning, and running efficiently!
5 Things You Should Avoid
1. Never use any harsh chemicals or abrasive materials when cleaning your Roomba bin.
2. Avoid using high-powered vacuums on your Roomba bin, as this may cause damage.
3. Do not submerge your Roomba bin in water – instead, only rinse out the filter with warm water and dry it off before putting it back into the bin.
4. Refrain from using a steam cleaner on the walls of your Roomba bin, as this can lead to warping or corrosion within the device.
5. Avoid pressing down too hard on the walls of your Roomba bin when wiping them down – doing so can cause damage or breakage over time.

Following these simple rules will help ensure that your Roomba bin is kept in peak condition for years to come!
Frequently Asked Questions
1. How Do You Know When Roomba Bin is Full?
You will know that your Roomba bin is full when the indicator light next to the handle turns red, and you can no longer see any debris inside. You should empty it out immediately to ensure optimal performance. If your Roomba bin is not emptied in time, then it could cause permanent damage to your device due to clogging or overfilling.
Regular cleaning and maintenance can keep your Roomba bin running smoothly and efficiently! Be sure to follow these tips and tricks for optimal results! Follow us for more updates on how you can optimize your Roomba experience! By following these simple tips and tricks, you can easily keep your Roomba bin clean, running smoothly, and functioning optimally!
2. Why is Your Roomba Dust Bin Always Full?
The most common reason why your Roomba dustbin is always full is that you are not emptying it regularly. It is important to empty the bin after each use if possible, as this will help prevent clogs and overfilling – both of which can cause permanent damage to your device. Additionally, make sure to clean out any debris or pet hair that may be stuck in the filter every few months in order to ensure maximum efficiency from your Roomba bin.
By following these simple tips and tricks, you can keep your Roomba bin running smoothly and efficiently for years to come!
3. How Often Do You Change Your Roomba Bag?
Your Roomba bag should be changed every 3-6 months, depending on the amount of debris and pet hair you are picking up. Additionally, if your Roomba bin starts to show signs of wear or damage, then it may be time to replace the entire bag. Be sure to check the manufacturer’s instructions for exact guidelines on how often you should replace your Roomba bag.
By following these simple tips, you can avoid clogs and keep your Roomba running smoothly and efficiently for years! Not only will this save you money in replacement parts, but it will also ensure that your Roomba is functioning optimally at all times.
By staying up-to-date on cleaning maintenance and replacing your Roomba bag regularly, you can ensure that your Roomba bin stays clean and efficient for years to come!
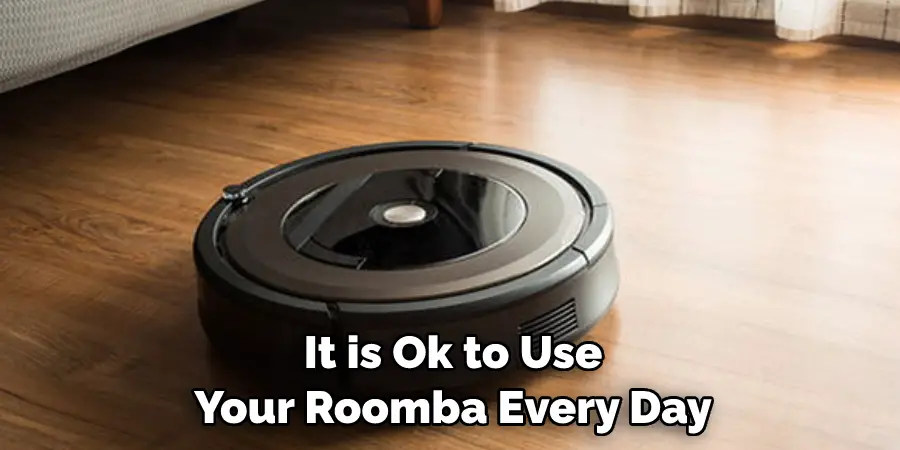
4. Is It Ok to Use Roomba Every Day?
Yes, it is ok to use your Roomba every day. However, you should empty the bin after each use and clean out any debris or pet hair that may be stuck in the filter every few months in order to ensure maximum efficiency from your device. Additionally, make sure to check for any signs of wear and tear on the bin so that you can replace it when necessary. Following these simple tips and tricks will help keep your Roomba bin running smoothly, efficiently, and optimally!
By following these easy steps, you can keep your Roomba bin running perfectly for years to come! And who knows – with regular maintenance and cleaning, perhaps one day you’ll be able to say that “My Roomba is like a member of the family!”
Conclusion
After reading through this blog post, you should be well equipped to clean and maintain your Roomba bin properly. Remember to take off the trap every two weeks, empty it often, and clean its perimeter with a soft cloth. Ensuring that your bin is free of debris will help optimize the performance of your Roomba vacuum cleaner. Be sure to check your manufacturer’s guidelines for any other maintenance tips specific to your model in order for your robot vacuum cleaning machine to keep running smoothly and efficiently.
You can now rest at ease knowing that you have correctly cared for your Roomba bin, so that it can keep getting the job done with little input from you! It is highly recommended that regular maintenance is done on all electronic devices so that they stay functional and in top working order. So make sure you follow these steps when tending to the needs of your Roomba bin!
Hopefully, the article on how to clean roomba bin has been enlightening and helpful in caring for your Roomba! If you have any questions or comments, please leave them below and we’ll do our best to answer them. Happy cleaning!