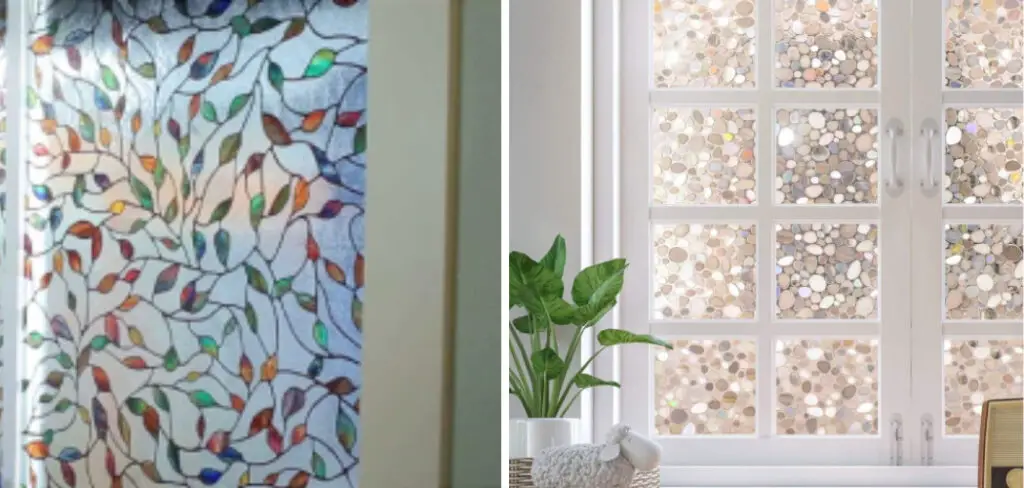
Are you looking for an easy and affordable way to spruce up your windows? If you like the look of stained glass but don’t want all the hassle or expense, decorative window film is a great solution! Window films are versatile pieces that come in a variety of designs and styles, making it easy to find one that fits in with any décor.

They can also be used to customize limited areas such as sidelights, skylights, or door panels. Read on for more information on how to apply decorative window film and make your home more beautiful than ever before!
Importance of Window Decor
Window decor plays an important role in giving a home or business a unique look and feel. Window film is one of the most popular window decorations, as it is easy to install and can be used to achieve a variety of effects.
Decorative window film can instantly add privacy and style to any room, making it perfect for use in both residential and commercial spaces. With a wide range of styles, colors, and textures available, decorative window film can be the perfect finishing touch to any design project. When properly installed, it can provide an airtight barrier that will last for years to come.
In addition to providing privacy and style, decorative window film is also beneficial in terms of energy efficiency. Window film helps to reflect the sun’s heat in summer and retain warmth in winter, reducing the need for air conditioning or heating. This can help to reduce energy costs over time. Many window films also feature built-in UV protection, which helps protect furniture and other items from fading due to sun exposure.
When it comes to choosing the right window film for your home or business, there are a few important things to consider. You’ll want to make sure that you select a product that is easy to install and fits your budget. As with all home improvement projects, it is important to take measurements before making any purchases. This can help you make sure that the window film you choose will fit perfectly and look its best.
Overview of Decorative Window Film
Decorative window film is a great way to add style and personality to any room. This thin, self-adhesive material is designed to be applied directly to the window pane, and comes in a variety of designs, from simple patterns and shapes to detailed images. It can also be used to protect furniture from UV rays or help control interior temperatures. Applying decorative window film requires some patience and careful attention, but the effort is worth it for a beautiful finished look.

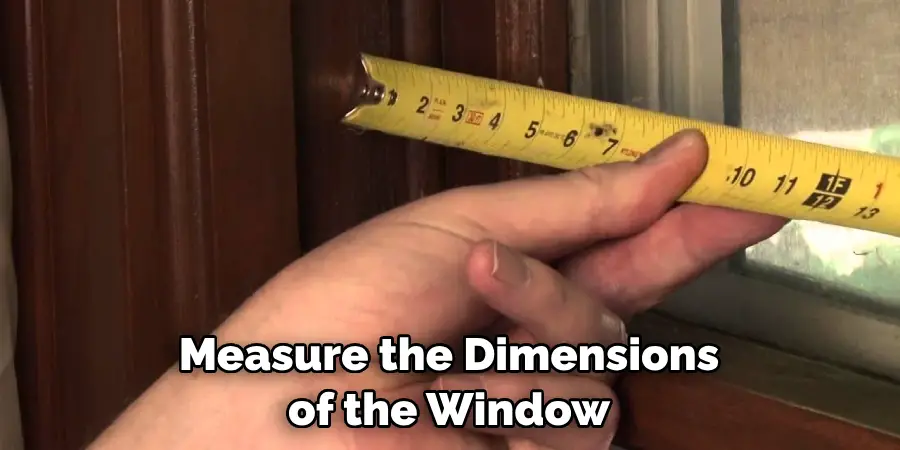
Before beginning, you should decide on the desired design, size, shape, and color of your window film. You can choose from pre-made designs or create something entirely custom to match your interior style. Once you have your design, clean the window thoroughly and make sure it is free of dirt and dust. This will ensure that your film adheres properly. Measure the exact dimensions of your window pane before purchasing the film to ensure a proper fit.
Once you have all your materials, begin by cutting the film into pieces slightly larger than each individual window pane. Peel off the backing from one side of each piece and slowly apply it to the glass, being careful not to trap any air bubbles or wrinkles which can disrupt its ability to adhere. Once all pieces are in place, use a squeegee to press firmly against the surface of the film and remove any trapped air bubbles or excess water.
10 Methods How to Apply Decorative Window Film
Method 1: Preparing the Surface
Before applying the decorative window film, it is essential to prepare the surface properly. Start by cleaning the window thoroughly using a glass cleaner and a lint-free cloth. Remove any dirt, dust, or grease that might hinder the film’s adhesion.
If you are using an adhesive-backed film, use rubbing alcohol and a lint-free cloth to remove any residue left by the cleaner. Once the window is clean and dry, measure the area to ensure that you have enough film to cover it. However, if your window is larger than the film, you will need to cut it to size.
Method 2: Measuring and Cutting
Measure the dimensions of the window accurately, allowing for a slight overlap. Using a ruler and a sharp utility knife, cut the decorative window film to the desired size. It is advisable to cut the film slightly larger than the window to ensure complete coverage.

Once the film is cut to size, peel away the backing paper. Make sure that the film adheres completely and smoothly to the window surface. Remove any air bubbles using a squeegee or similar tool and trim away any excess film with the utility knife.
Method 3: Creating a Soapy Solution
Fill a spray bottle with water and add a few drops of liquid soap. Shake the bottle gently to create a soapy solution. This solution will help in the application process by allowing you to reposition the film if needed.
Spray the soapy solution onto your window and spread it evenly with a squeegee. Make sure to cover the entire area where you will be applying the film.
Method 4: Applying the Film
Spray the soapy solution onto the cleaned window surface. Carefully peel off the protective backing from the window film, exposing the adhesive side. Align the film with the window, starting from one corner. Slowly press the film against the window, working your way across and removing any air bubbles with a squeegee.
Cut off any excess film with a razor blade or craft knife. Finally, remount the window hardware and trim to complete the installation of your decorative window film. It is important to note that applying decorative window film can be a bit tricky and time-consuming. If the instructions above seem overwhelming
Method 5: Smoothing Out Air Bubbles
To smooth out air bubbles trapped between the film and the window, use a squeegee or a plastic card. Start from the center of the film and gently push the bubbles towards the edges. Work methodically and be careful not to scratch the film.
If the temperature in the room is cold, using a hair dryer to warm up the adhesive can help. This will make it easier to move the air bubbles around. If you are having trouble getting to all the bubbles, use a cloth to gently push them away from the middle. If necessary,
Method 6: Trimming Excess Film
Once the film is applied and the air bubbles are removed, trim the excess film using a sharp utility knife. Hold the blade at a slight angle and follow the edge of the window frame for a clean and precise cut.

Make sure to keep the blade flat against the glass for an even cut. Be careful when using a utility knife, as the blade can be very sharp and cause injury if used improperly. Once the excess film is removed, you can sit back and enjoy your newly decorated windows!
Method 7: Creating Patterns and Designs
If you wish to create patterns or designs using multiple pieces of decorative window film, carefully align the edges to achieve a seamless look. Overlapping the edges slightly can help create a cohesive design. If you’re using multiple colors or shades, it’s best to place them either side-by-side, instead of overlapping. This will ensure the two colors don’t blend together.
Method 8: Adding Privacy and Frosted Effects
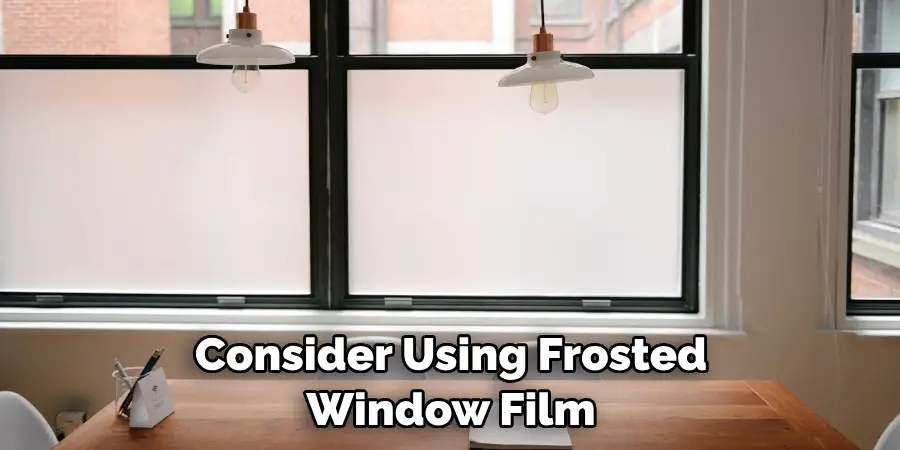
To enhance privacy or achieve a frosted effect, consider using frosted window film. This type of film allows light to pass through while obscuring the view. Apply it using the same techniques mentioned above, paying extra attention to smoothing out air bubbles for a flawless finish.

Method 9: Customizing with Cutouts
For a personalized touch, you can use a stencil and a sharp utility knife to create custom cutouts on the decorative window film. This method allows you to add intricate designs, monograms, or even a company logo.
Method 10: Replacing or Removing the Film
If you decide to change the design or remove the decorative window film altogether, it is relatively easy to do so. Simply peel off the film from one corner and slowly remove it from the window. To remove any adhesive residue, use a window cleaner and a non-abrasive cloth.
Conclusion
Decorative window film is an affordable yet stylish way to give any room in your home a makeover. With so many different designs, patterns, shades, and textures to choose from, it’s easy to find something that will fit any space.
Plus, with the appropriate tools and some patience, you can install decorative window film yourself at home without needing to hire a professional. Now that you know the basics of how to apply decorative window film, take the time to explore all the options available and consider adding this transformative accent to enhance or complement your current décor.
With a little effort and creativity, you can breathe new life into your home simply by installing decorative window film. So why wait – get started today on transforming your space with this affordable and impressive statement piece!

