

Are you having a hard time getting your Bissell vacuum to do its job? Are you sick of using the same worn-out belt again and again, only to find it breaks down in a matter of days? Replacing your vacuum belt isn’t as daunting as it may seem. With the right tools and techniques, replacing that old vacuum belt with a new one is easy!
In this blog post on how to replace vacuum belt bissell, I will provide an informative step-by-step guide on how to replace the belt on your Bissell Vacuum quickly and easily. By following my advice, you’ll be able to restore your vacuum cleaner’s full cleaning power in no time. Let’s get started!
What is Vacuum Belt Bissell?
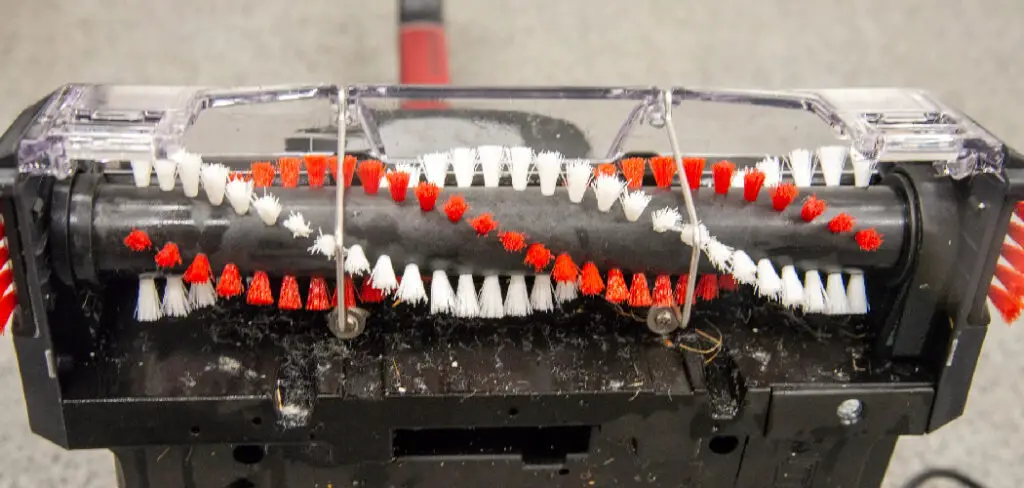
First and foremost, it’s important to have a good understanding of what vacuum belt bissell is before starting the process. The vacuum belt Bissell refers to the motor drive belt in your Bissell Vacuum Cleaner. It’s responsible for powering the carpet brush roll which helps loosen dirt and debris from carpets or other surface areas. Without a properly functioning belt, your Bissell Vacuum Cleaner won’t be able to perform its job correctly.
Necessary Tools
Given below are the tools required to replace vacuum beltsell:
Phillips Head driver
This is used to remove the screws that attach the Bissell Vacuum Cleaner’s bottom plate to the vacuum cleaner body.
Pliers
This tool helps loosen and release the old belt from its place.
New Belt
You’ll need a new belt of course! This can be purchased at most home improvement stores or online.
11 Step-by-Step Guide on How to Replace Vacuum Belt Bissell
Step 1: Disconnect the Bissell
Make sure to unplug the vacuum from its power source before beginning. If you don’t, an electric shock could occur. But keep the vacuum standing upright to avoid any liquid spills. It could damage the motor. It’s also a good idea to lay some newspapers or rags down in case of any accidental spills. If the vacuum has a bag, be sure to remove it.
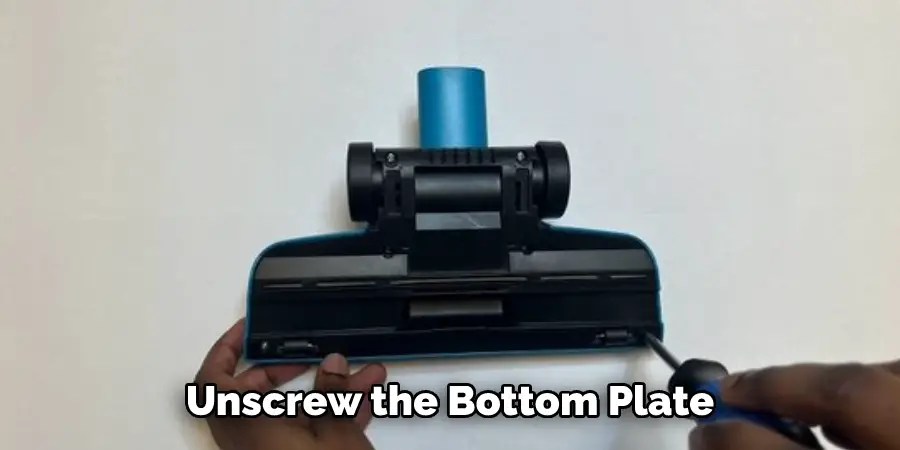
Step 2: Unscrew the Bottom Plate
Using your Phillips head driver, remove the screws that secure the bottom plate to the vacuum cleaner body. Then carefully pry it off to access the area beneath. If there’s any debris or pet hair caught in the fan, it’s a good idea to remove it now before proceeding. But be careful not to touch any other components, as this can cause damage.
Step 3: Remove the Old Belt From the Roller Brush
Using your pliers, carefully pull off the old belt from its place on the roller brush and discard it. But make sure to keep track of the direction in which you removed it, as this will be important when reinstalling the new belt. If you’re having trouble removing it, use a screwdriver to gently pry the belt from its place.
Step 4: Clean Out Any Debris or Dirt in There
Any dust and debris can get caught up in between components which can cause damage if not removed properly. So take some time to clean out any dirt or debris before continuing with the process. If the surface is excessively dirty, use a damp cloth to clean it. This will make sure that the new belt has a clean surface to grip onto without slipping.
Step 5: Place the New Belt Onto the Roller Brush
Carefully slip the new belt onto its place on the roller brush making sure that it’s properly seated. If it isn’t properly seated, it can cause damage to the components. So take your time and make sure that the belt is securely in place. It can be helpful to use a flathead screwdriver to gently press down on the belt and make sure it’s seated properly.
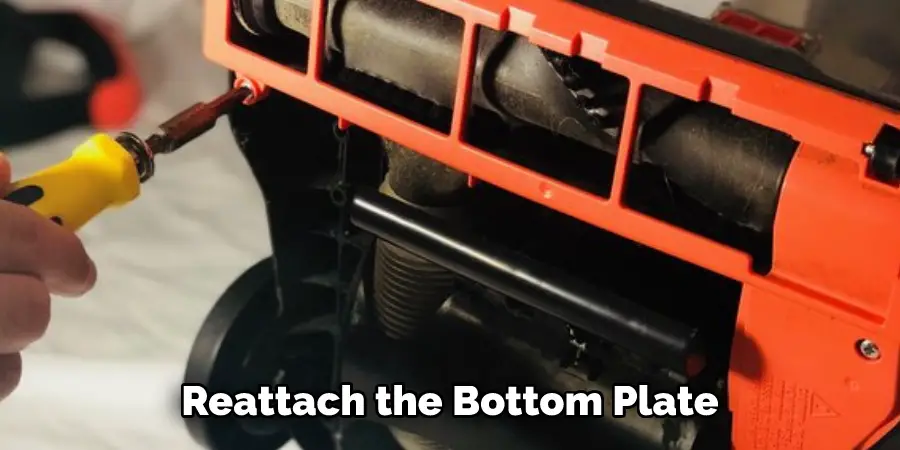
Step 6: Reattach the Bottom Plate
Put the screws back into place and make sure that they’re secure, but be careful not to over tighten them as this can cause damage to the vacuum cleaner body. It’s also important to make sure that the bottom plate is properly seated and flush with the vacuum cleaner body. If it isn’t, the vacuum cleaner won’t work correctly.
Step 7: Test it Out
Once everything is back in its place, plug the Bissell Vacuum Cleaner back in and turn it on for a quick test run to make sure everything is working correctly. If it’s running smoothly, you did a great job! This means that the new belt was properly installed and you can proceed with regular vacuuming. But if it’s still not working correctly, double check that the belt is properly installed and try again.
Step 8: Vacuum an Area
Once the test run is complete, it’s time to finally vacuum an area. This will help identify any potential issues and ensure that the belt replacement was successful. If the vacuum is working correctly, then you’re all done! But if it isn’t, you may need to conduct further troubleshooting. It may be that the belt wasn’t properly installed or the bottom plate isn’t securely in place.
Step 9: Clean up
Before storing your Bissell Vacuum Cleaner away, be sure to clean up any mess you may have made while replacing the belt. This includes wiping down the outside of the vacuum cleaner and disposing of all used tools and materials properly. Make sure to keep all tools in a safe place for future use.
Step 10: Put Everything Back in Place
Once done, put all components back into their rightful places on the Bissell Vacuum Cleaner before plugging it back in for storage. Make sure to keep this machine out of reach of children as it can be a hazard. If you find yourself needing to re-replace the belt, be sure to follow this guide and the safety precautions provided.
Step 11: Enjoy Your Clean Home!
Congratulations on completing the task of replacing the vacuum belt Bissell! You’re now ready to enjoy a cleaner and healthier home thanks to you and your Bissell Vacuum Cleaner. Take pride in knowing that you were able to complete this job all by yourself. With proper maintenance, your Bissell Vacuum Cleaner will continue to provide you with many years of great service. Enjoy!
This is how one replaces Vacuum Belt Bissell with ease. So next time if you’re ever in need of replacing the belt, now you know what steps are involved. Follow them closely and you will have your vacuum back at its full potential in no time.
Do You Need to Use Professionals?
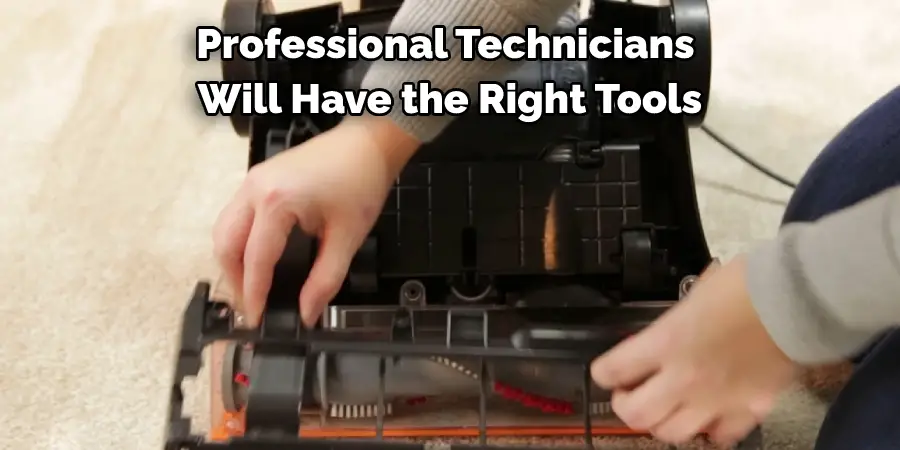
Replacing the Vacuum belt Bissell is something that most homeowners can do on their own. But if you take any chances with your safety or are unsure of what steps to follow, then it would be wise to seek out professional help. Professional technicians will have the right tools and know-how to get the job done correctly and quickly so that you don’t end up wasting time and money. So before attempting this job yourself, consider hiring a professional for peace of mind.
Frequently Asked Questions:
Q: How Do I Know My Vacuum Belt Bissell Needs to Be Replaced?
A: If your vacuum is making strange noises or not cleaning up as it used to, then it may be time to replace the belt. Also, check for any visible signs of wear and tear on the belt as this could indicate that a replacement is needed.
Q: How Often Should I Replace My Vacuum Belt?
A: It’s recommended to replace your vacuum belt every 12-18 months. This will help keep your vacuum running at its optimal level and prevent any potential problems from occurring.
Q: Where Can I Buy a Replacement Vacuum Belt Bissell?
A: You can purchase the correct model of vacuum belt online or in most home improvement stores. Make sure you know the exact model number so you can get the right one for your particular machine.
Q: Is Replacing the Vacuum Belt Difficult?
A: Not at all! As long as you follow the steps outlined in this article, you should have no problem replacing your vacuum belt. Just be sure to take safety precautions and use the right tools for the job.
Conclusion
In conclusion, replacing the belt on your Bissell vacuum cleaner is not a difficult task once you understand the process. With the help of this article on how to replace vacuum belt bissell, you can easily perform this repair yourself in order to continue using your machine with greater effectiveness. Be sure to read the instruction manual thoroughly from start to finish before attempting any repairs.
The toolkit that comes with your vacuum will provide the necessary items for replacing the belt but take note that extra parts or replacements may be necessary depending on how long your vacuum has been used. Most importantly, though, enjoy having a cleaner house. This simple maintenance tip should help ensure that dirt and debris won’t stick around too long now and provide more peace of mind in knowing that you can tackle whatever cleaning projects come up.
About
Angela is the chief editor of Indoorense. She began her career as an interior designer before applying her strategic and creative passion to lifestyle and home.
She has close to 15 years of experience in creative writing and online content strategy for housekeeping and cleaning,home decorations as well as other efforts.
She loves her job and has the privilege of working with an extraordinary team. She lives with her husband, two sons, and daughter in Petersburg. When she’s not busy working she spent time with her family.