

A clean HVLP spray gun is essential for achieving good results with your paint job. Cleaning and maintaining your spray gun regularly will help to ensure optimal performance, longer life of the equipment, and a better finish on your paint job. If you don’t take the time to clean your HVLP spray gun properly, it can end up clogged with residue and other particles, affecting the accuracy of your paint job.
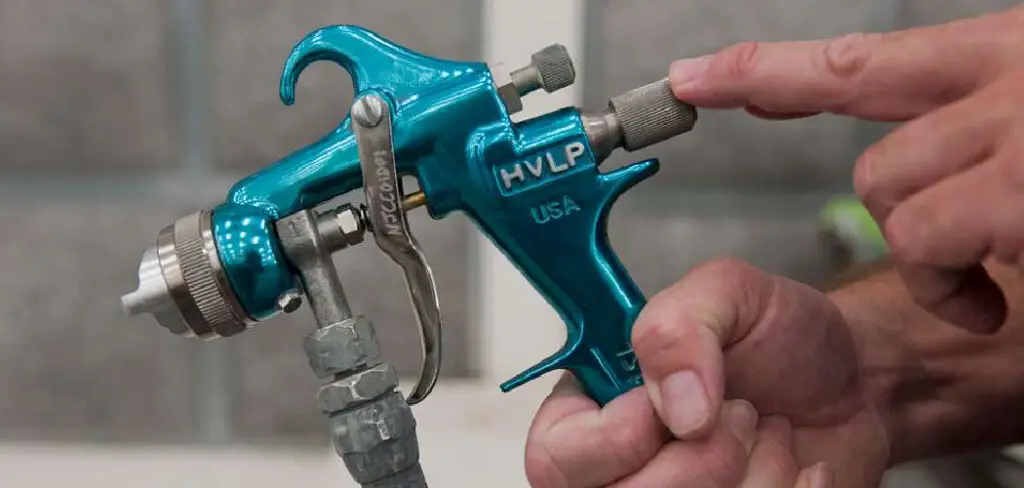
The main advantage of using an HVLP (High Volume, Low Pressure) spray gun for painting is that it uses less paint, resulting in a more uniform finish. This type of spray gun also produces less overspray than traditional air-powered spray guns, which makes it ideal for smaller projects or even hobbyists who need to do their work without the mess. You can find step-by-step instructions on how to clean hvlp spray gun in this blog article.
Materials You Will Need
- Hvlp Spray Gun
- Mineral Spirits
- Clean Towels or Rags
- Water
- Protective Gear (gloves, safety glasses, mask)
- Screwdriver/Allen Wrench/Socket Wrench Set
- Grease Removing Soap or Detergent
- Brush with Soft Bristles (toothbrush or similar)
- Solvent Tank
- Cotton Swabs
- Compressed Air
- Cleaning Brush or Toothpick (to clear small areas of clogged paint)
Cleaning your Hvlp spray gun is essential to maintain proper performance and longevity. The process can be broken down into three easy steps: disassembling, cleaning, and reassembling the spray gun.
Step by Step Processes for How to Clean Hvlp Spray Gun
Step 1: Inspect the Air Cap
Disassemble the HVLP spray gun to access and inspect the air cap. Check inside for any debris or paint clogs and remove them with a cleaning brush. Fill a bucket with warm soapy water to create your cleaning solution. For more effective results, add a few drops of liquid dish detergent.
Step 2: Soak the Gun Parts
Immerse all the gun parts in the cleaning solution and let it soak for about 30 minutes to loosen any paint residue or dirt. This will make it easier to scrub off later. Take a soft brush and gently scrub the gun components to remove any dirt, paint clogs, or other residue. Clean off all the interior and exterior surfaces of the air cap with a soft brush as well.
Step 3: Rinse the Parts
Remove each component from the cleaning solution and rinse it thoroughly in running water. Make sure you get rid of all traces of soap and residue. Wet a clean cloth with mineral spirits and wipe down the needle and nozzle tip until all paint residue is gone. Use Q-tips for hard-to-reach areas inside the air cap. Dry them off after wiping them.

Step 4: Reassemble the Gun
Once all the parts have been cleaned and dried, reassemble the HVLP spray gun. Fill the cup with paint again and close it tightly. Connect any hoses if necessary. After refilling, test the spray pattern of your gun to see if it meets your expectations. If the pattern is too thin or thick, adjust it to achieve the desired spray pattern.
Step 5: Clean Up
When you’ve finished using your HVLP spray gun, clean the area and dispose of any waste materials properly. Wash your hands with soap and water after handling paints or solvents.
These steps will help you maintain your HVLP spray gun and achieve great results.
Tips for How to Clean Hvlp Spray Gun
- Wear safety goggles and protective clothing when cleaning the spray gun. Debris can fly out of the gun during maintenance, so protecting your eyes and skin from exposure is important.
- Ensure all parts of the spray gun are disconnected from a power source before you begin cleaning. This will help prevent any potential electric shock or other risks.
- Clean your spray gun outdoors. This will prevent any gasses, paint particles, or other debris from entering your home, potentially causing health hazards.
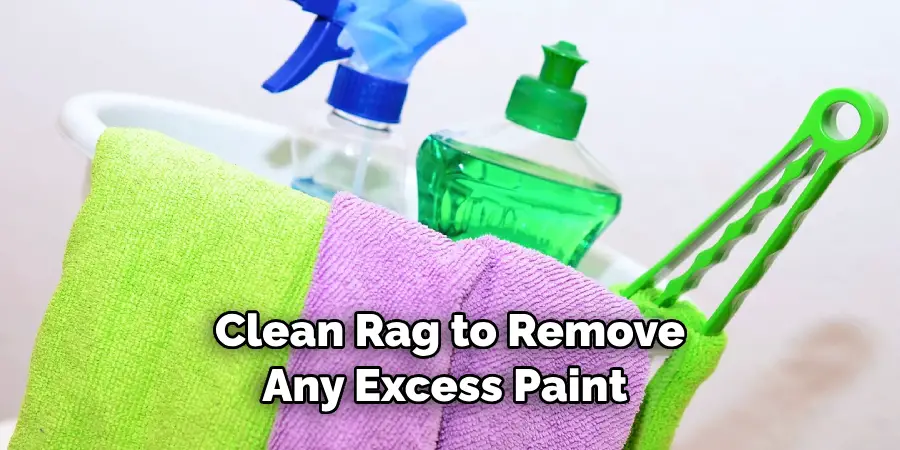
- Use a clean rag to remove any excess paint from the nozzle and surrounding parts of the gun before you begin spraying solvent into it. This will help make sure that all of the paint has been removed.
- When cleaning with solvents, ensure you are in a well-ventilated area and take safety precautions, such as wearing gloves and using proper ventilation equipment to reduce your exposure to chemicals from the solvent.
- Always refer to the manufacturer’s instructions when cleaning the HVLP spray gun for any specific directions or safety precautions.
Following these tips will help ensure that you are cleaning your HVLP spray gun in the safest possible way. Taking safety seriously and following best practices are key to a successful spray painting project.
How Often Should Hvlp Spray Guns Be Cleaned?
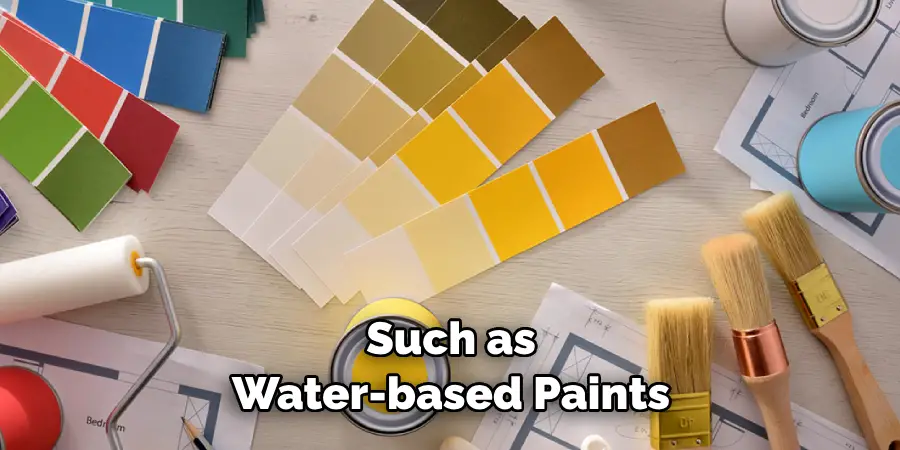
How often you should clean your Hvlp spray gun depends on the type of material you are spraying, as well as the frequency and duration of use. For most common uses, it is recommended that a user clean their Hvlp spray gun after every use. This will help to ensure optimal performance and prevent clogging or build-up in the tip or nozzle. If you spray a water-based material, such as latex paint or primer, cleaning the gun may be necessary more frequently than using an oil-based product.
In addition to regular cleaning after each use, it is also important to do a deeper cleaning after extended use. This ensures that all of the accumulated build-ups from previous uses are removed, which can help to improve the performance and longevity of your Hvlp spray gun. Depending on how frequently and with what materials you use your Hvlp spray gun, this deep cleaning should be done every few weeks or months.
Are There Any Common Mistakes to Avoid When Cleaning a Hvlp Spray Gun?
When cleaning your Hvlp spray gun, it’s important to be mindful of some common mistakes. Here are a few tips to keep in mind to avoid any mishaps while you’re cleaning:
- Ensure that all the Hvlp spray gun components have been removed and cleaned properly before reassembling. All surfaces should be free of any built-up residue or dirt.
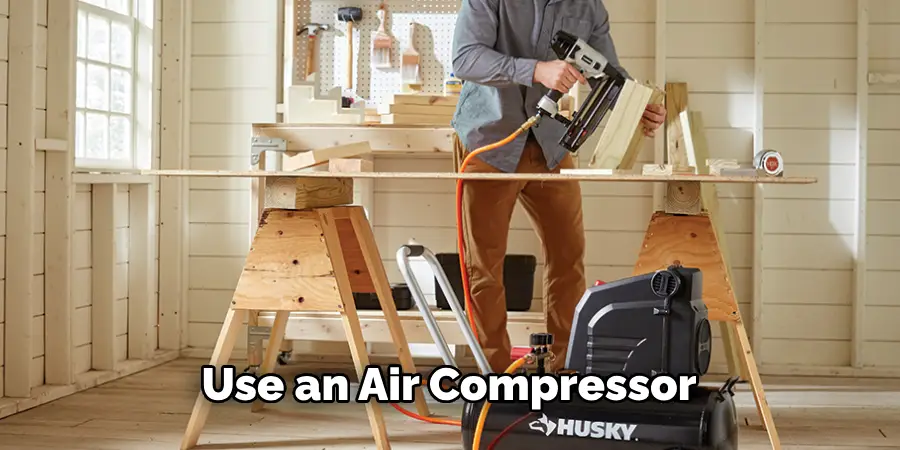
- Don’t use a brush to clean the air cap or nozzle – this may cause damage and make it difficult to use again for spraying. Instead, use an air compressor with a blower attachment to remove dust particles from the surface.
- Avoid using harsh chemicals on your Hvlp spray gun. These can damage the surface of the spray gun and make it difficult to use again.
- Ensure the surfaces are completely dry before reassembling your Hvlp spray gun. Any moisture left in the system may cause clogging or other problems with your equipment when you use it again.
These tips will help you ensure your Hvlp spray gun is cleaned properly and ready to use again. With proper maintenance, your Hvlp spray gun will provide you with years of reliable performance.
Is It Important to Flush the Hvlp Spray Gun After Each Use?
Yes. It is important to flush the Hvlp spray gun after each use. This will help ensure the gun remains in good condition and keep it from clogging with paint or other material. If not properly maintained, a clogged Hvlp spray gun can affect the quality of your work. After each use, the best way to clean an Hvlp spray gun is to flush it with water and mild detergent. You can create your cleaning solution by mixing one part of white vinegar with four parts of warm water.
Once the solution is ready, attach the gun to a compressed air source and turn on the air compressor. Then, press the trigger of the gun while aiming at a bucket or container filled with the cleaning solution. This will help dislodge any paint or material trapped in the gun and flush it away. After flushing, disconnect the air source and dismantle the Hvlp spray gun to inspect it for any residue or buildup. If any is detected, use a brush to gently scrub off the residue before reassembling the gun and allowing it to air dry.
Are Some Paints or Finishes More Difficult to Clean From an Hvlp Than Others?
Some paints or finishes can be more difficult to clean from an Hvlp spray gun than others. This is largely due to the properties of the material being sprayed. Certain materials, such as water-based paints and thinned lacquers, may be easier to clean with regular cleaning practices, while oil-based paints and thick glosses require a more thorough cleaning process. It is important to read the product label for specific instructions on how to clean each type of material.
More aggressive cleaning practices must be used for oil-based paints and thick glosses. These include using a harder brushing action with an abrasive pad or brush and soaking the gun’s parts in a cleaner for several hours. Solvents may be used to break down the material and allow for easier removal. It is important to ensure that all solvents used are compatible with the specific paint or finish being sprayed.
What is the Best Way to Store an Hvlp Gun for Future Use?
When you are done using your HVLP gun, it’s important to store it for future use properly. Here are some tips on how best to do so:
- Make sure all the components are clean and dry before storage. Cleaning the gun after every use will ensure no paint or other residue accumulates in hard-to-reach areas.
- Put a few drops of oil on the internal parts and move components to keep them in working condition.
- A gun should be stored with the nozzle facing up, so no liquid can enter it while it is inactive.
- Cover your HVLP gun with an appropriate storage container to keep out dust and dirt.
- Finally, it’s a good idea to disconnect the gun from any air source and store it in a cool, dry place away from direct sunlight.
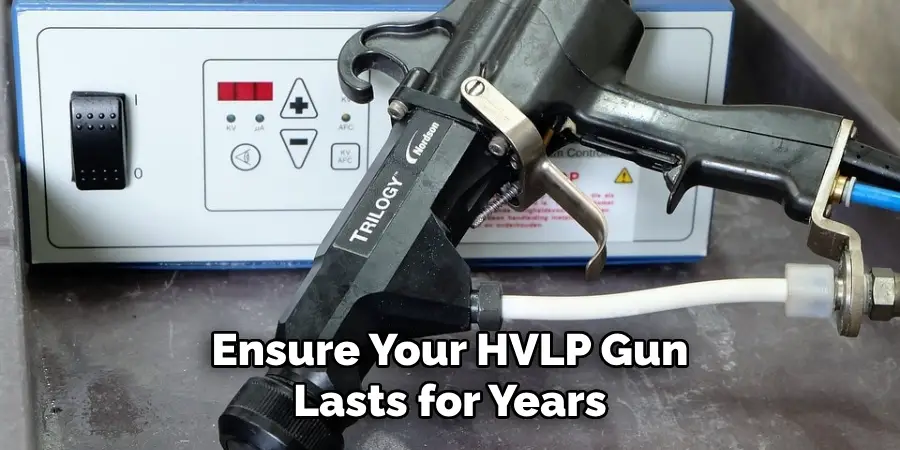
Following these steps will ensure your HVLP gun lasts for years and is in good working condition when it’s time to use it again.
Conclusion
In conclusion, cleaning your HVLP spray gun correctly and regularly ensures its longevity and performance. Cleaning involves disassembling, soaking, rinsing, drying, lubricating, and re-assembling the device. Taking apart parts such as cup liners, nozzles, and air caps should be done carefully to avoid damage to the gun. It’s important to use a specific type of solvent for degreasing and cleaning the parts, as well as soap and water.
After reassembling the gun, spraying a few test shots to check that everything is working correctly before using it again is important. Following these steps regularly will ensure that your HVLP spray gun remains in perfect condition for a long time. Reading this post has helped you learn how to clean hvlp spray gun. Make sure the safety precautions are carried out in the order listed.
About
Angela is the chief editor of Indoorense. She began her career as an interior designer before applying her strategic and creative passion to lifestyle and home.
She has close to 15 years of experience in creative writing and online content strategy for housekeeping and cleaning,home decorations as well as other efforts.
She loves her job and has the privilege of working with an extraordinary team. She lives with her husband, two sons, and daughter in Petersburg. When she’s not busy working she spent time with her family.