

Cut-outs are a great way to add interest and texture to any wall space. They provide an opportunity for creative self-expression! If you’re looking for ideas on how to decorate wall cut outs, then this post is here to help. From fabric designs and doodles, to paint techniques or ornamentation – there are plenty of options that you can use.
Whether it’s small areas in your home such as entryways or large spaces like living rooms, proper planning can turn your wall cut outs into breathtaking works of art that draw attention and enhance the look and feel of your space. Let’s explore some tips on using different techniques and materials when decorating wall cut outs so they become the ultimate feature in your home!
The Significance of Wall Cut Out Decoration in Interior Design
Wall cut outs have become increasingly popular in interior design, and for good reason. They serve many aesthetic purposes, adding visual interest to a space while also making it feel larger and more inviting. Wall cut outs can create unique focal points by highlighting certain shapes or patterns within the room.
Furthermore, they can act as an easy way to add texture or colour to a bland wall, and can be used to create interesting depth and movement when placed strategically. The possibilities of what can be done with wall cut outs are virtually endless, and when used correctly, they can truly elevate the look of a room.
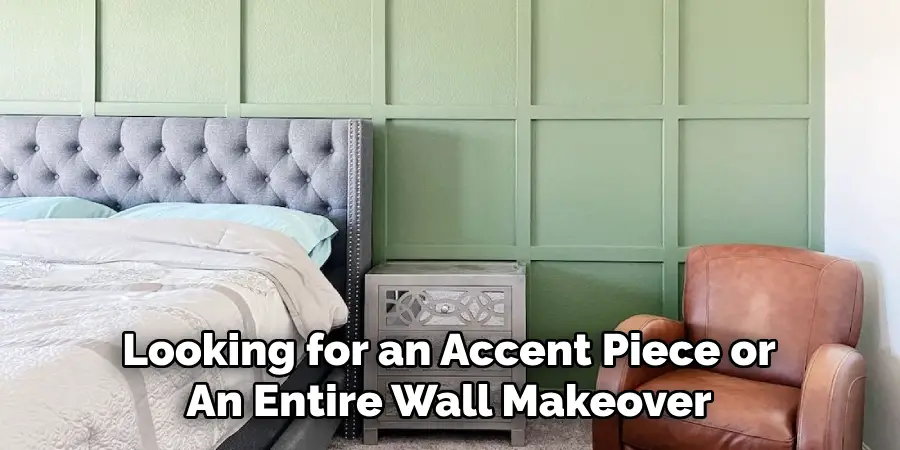
Whether you’re looking for an accent piece or an entire wall makeover, decorating with wall cut outs is an easy way to elevate the look of your space. With careful consideration, you can create a stunning visual display that adds character and beauty to any room.
When it comes to wall cut out decoration, there are a few elements to consider before beginning your project. First, decide on which type of cut outs you’d like to use; geometric shapes such as circles or hexagons, or more natural shapes like leaves and flowers?
Next, consider the size of the cut outs; will they be big enough to make an impact in the space, or small enough to blend in with other elements? Finally, think about which colors and materials you’d like to use; wood for a rustic look, metal for an industrial feel, or acrylic for a contemporary vibe.
Definition and Purpose of Wall Cut Outs
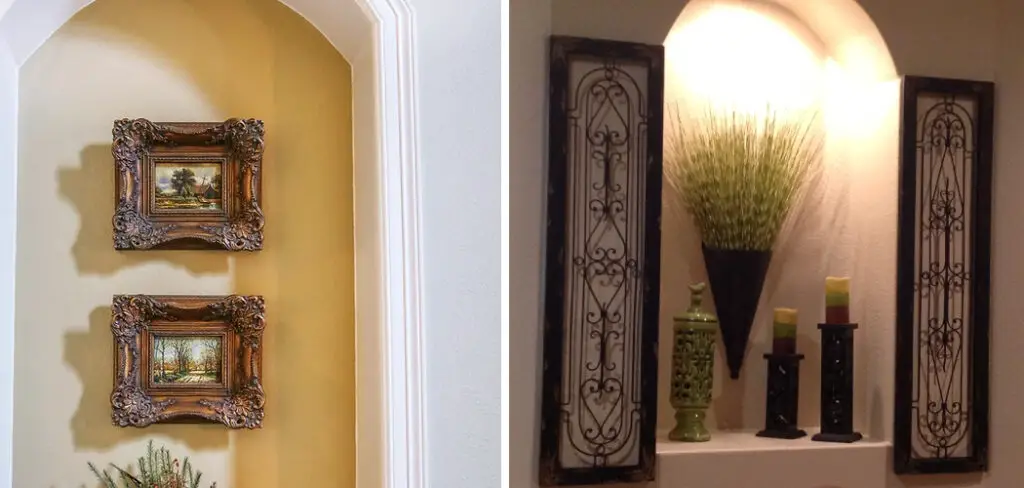
Wall cut outs are an artistic and creative way to add visual interest to a space. These dimensional pieces of wall art can be used in any room, from a living room to a bedroom or even a kitchen. They are available in all types of sizes and shapes, allowing them to fit into almost any decorating scheme.
Wall cut outs are often made from wood, fabric, metal or some other light material which makes them easy to install and hang on the wall. They create an interesting focal point for any space and can also be used as decorative accents that bring life and energy into the area.
The purpose of wall cut outs is to introduce texture, color, dimension, and style into any design plan. With their versatile designs they can be used to add a touch of whimsy to any room. By playing with the size, shape and texture of wall cut outs you can create a unique look that is sure to impress visitors and guests alike. They are also an affordable way to add some character and personality into a space without breaking the bank.
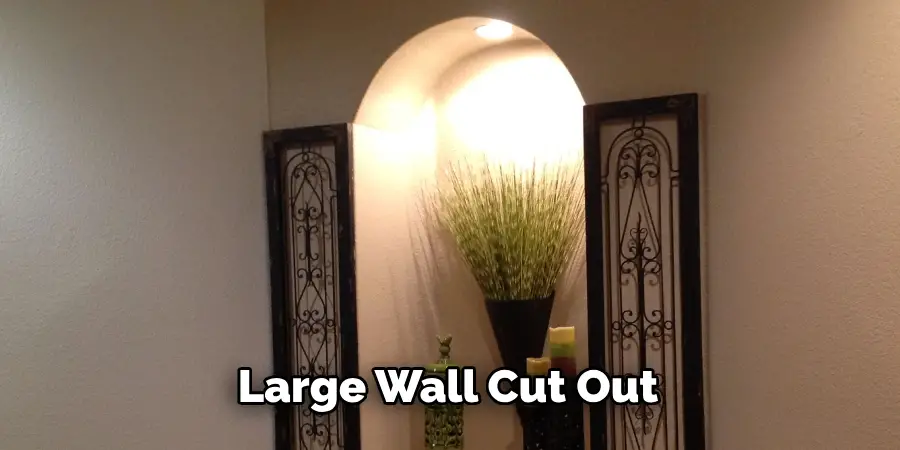
Wall cut outs are an easy and effective way to bring life into dull or boring walls. With their interesting shapes and eye-catching colors they will enhance any interior design scheme. Whether you choose one large wall cut out or several smaller pieces, these decorations will transform your home into something special for years to come. So if you’re looking for an inexpensive way to dress up your walls then consider using wall cut outs as part of your decorating plan.
10 Steps How to Decorate Wall Cut Out
Step 1: Plan and Design
Before diving into the world of wall cut out decoration, take some time to plan and design your desired look. Consider the overall theme and style of your room, as well as the size and shape of the cutouts you envision. Create a rough sketch or use design software to visualize your ideas and ensure they align with your aesthetic vision.
Step 2: Choose the Right Location
Selecting the perfect location for your wall cut out is crucial. Look for areas that will draw attention or create a focal point in the room. Common choices include living room walls, hallway spaces, or even bedroom accents. Evaluate the natural lighting in the chosen area, as it can significantly impact the visual appeal of the cutouts.
Step 3: Select the Cutout Shape
The shape of your cutouts plays a significant role in the overall design. Determine whether you prefer geometric patterns, intricate designs, or custom shapes that reflect your personality.
Keep in mind that the shape should complement the existing elements in the room and contribute to a harmonious aesthetic. However, if you’re feeling adventurous, a cutout shape can also be a creative way to introduce an unexpected element into the décor.
Step 4: Measure and Mark
Accurate measurements are crucial for a flawless installation. Measure the dimensions of the wall and mark the desired locations for the cutouts. Use a level and pencil to ensure precise markings, guaranteeing a professional-looking result.
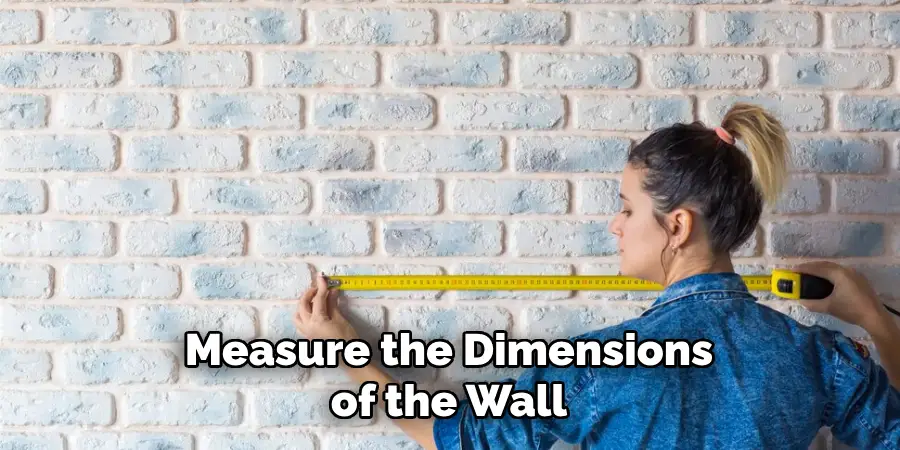
If needed, use a ruler to draw straight lines and even edges. To ensure the wall cutouts are perfectly level, use a level when measuring and marking. Make sure you measure the wall carefully to avoid mistakes.
Step 5: Cut and Prepare
Once you have your measurements and markings in place, it’s time to cut and prepare the wall for the cutouts. Use a high-quality jigsaw or appropriate cutting tool to create the desired shapes. Ensure you follow safety precautions and wear protective gear during this process. Smooth the edges of the cutouts with sandpaper to achieve a clean and polished finish. Though it may take some extra effort, the end results will be worth the effort.
Step 6: Prime and Paint
To create a cohesive and visually pleasing look, prime and paint the wall before installing the cutouts. Choose colors that complement your existing color scheme or opt for contrasting shades to make a bold statement.
Ensure the paint is evenly applied, allowing for seamless integration of the cutouts into the overall design. Once the wall has been painted, follow up by adding one or two coats of high-quality sealant. This will protect your artwork and bond it firmly to the wall.
Step 7: Install the Cutouts
With the wall prepared and painted, it’s time to install the cutouts. Carefully position each cutout according to your markings, ensuring they fit snugly into the wall. Use strong adhesive or screws, depending on the weight and material of the cutouts.
Double-check the alignment and levelness to maintain a visually appealing result. Finally, add a finishing touch by surrounding the cutouts with a decorative frame. Whether you opt for an ornate wood frame or a simple metal one, it will help the cutouts stand out and bring the look together.
Step 8: Enhance with Lighting
To further enhance the visual impact of your wall cut out decoration, consider incorporating lighting elements. Install small LED lights or spotlights behind or around the cutouts to create captivating light patterns and shadows. This additional layer of illumination adds depth and intrigue to your design.
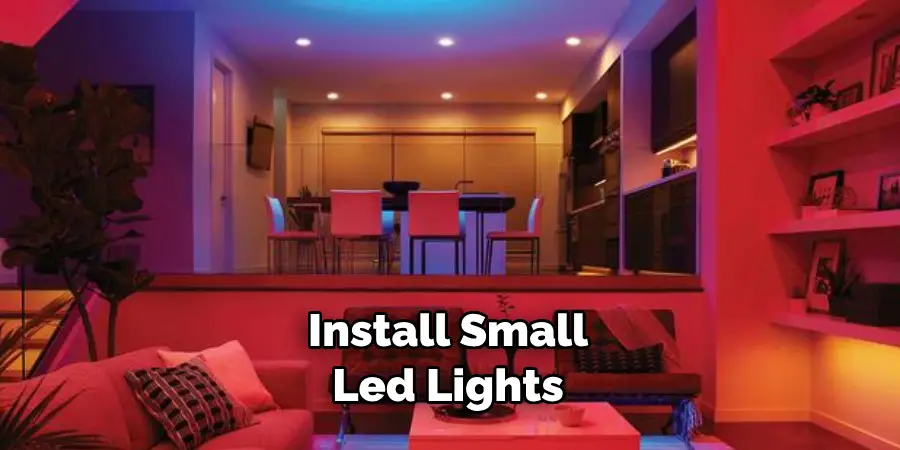
You can also hang fairy lights, string lights, or rope lights directly on the cutout to create a shimmering effect. Additionally, integrating battery-powered lights into your design makes it easy to change up the look whenever you like, and without having to run any wires. Be sure to use certified lights and adhere to all safety guidelines when working with electricity.
Step 9: Decorate the Cutouts
Now that the cutouts are installed, it’s time to add the finishing touches. Decorate the cutouts with additional elements such as wallpaper, fabric, or textured materials to bring them to life. Experiment with different textures and patterns to create a unique and eye-catching display.
Alternatively, you can paint the cutouts with different colors and patterns to match your existing décor. Additionally, you can add additional elements such as lights, mirrors, and even shelves to complete the look.
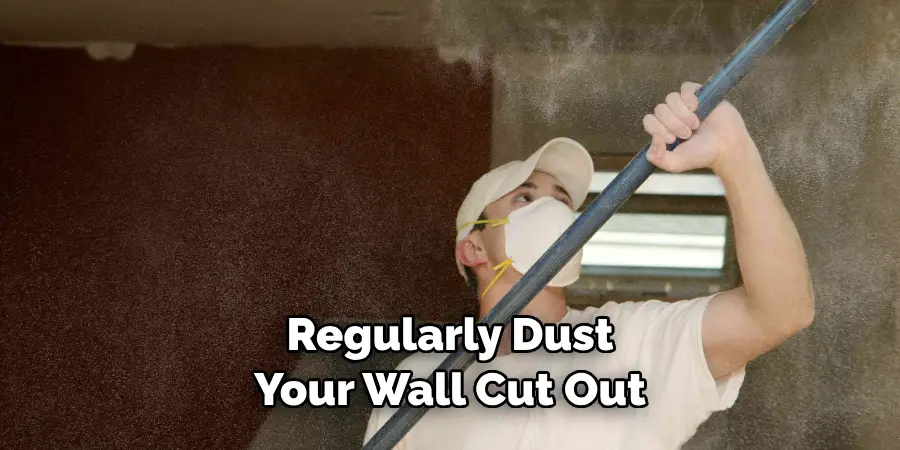
Step 10: Showcase and Enjoy
Congratulations! You have successfully decorated your wall cut out. Now it’s time to step back and admire your creation. Showcase your newly decorated wall to friends and family, and take pride in the personalized and artistic space you have created. It’s time to enjoy your new wall décor and bask in the compliments you will receive. To keep it looking as good as new, make sure to regularly dust your wall cut out and touch up any areas that need a bit of extra love.
Some Common Mistakes to Avoid When Decorating Wall Cut Out
1. Not Taking Measurements –
Make sure to take the proper measurements of your wall cut-out before you begin decorating. This will ensure that any artwork, shelves, or other decor you choose to use will fit comfortably in the space.
2. Ignoring the Wall’s Material –
The material of your wall can influence the type of decorations and materials you use for your cut out. Make sure to check what types of products are safe to use on particular walls before purchasing items to hang or place inside the cut out.
3. Going Overboard with Color –
While using bright colors can really liven up a room, it’s important not to go overboard when decorating a wall cut out. Too many bright colors can be overwhelming and end up detracting from the look of the room instead of enhancing it. To avoid this, opt for neutral tones that can be balanced out with pops of vibrant colors.
4. Not Thinking About Light –
Lighting can be a key factor in making sure your wall cut out looks its best. Depending on the time of day, you may need brighter or dimmer lighting for the space. Make sure to consider where all-natural and artificial light sources are located before deciding how to decorate the area so that it can be properly illuminated throughout the day.
Conclusion
Decorating wall cut outs is a creative and fun way to bring personality to any space. Whether you opt for a more traditional look with wall paper or a modern style with paint, the possibilities of decorative applications are virtually endless. Wall cut outs can be used in any room to spruce up an otherwise blank wall and give it some personality.
So what are you waiting for? Take on the challenge of designing your own wall cut out – you’re bound to love the end result! Do you now feel more inspired after reading this article on how to decorate wall cut outs? Share your newfound skills with family and friends, or let us know about your creation in the comments section below!
About
Angela is the chief editor of Indoorense. She began her career as an interior designer before applying her strategic and creative passion to lifestyle and home.
She has close to 15 years of experience in creative writing and online content strategy for housekeeping and cleaning,home decorations as well as other efforts.
She loves her job and has the privilege of working with an extraordinary team. She lives with her husband, two sons, and daughter in Petersburg. When she’s not busy working she spent time with her family.