
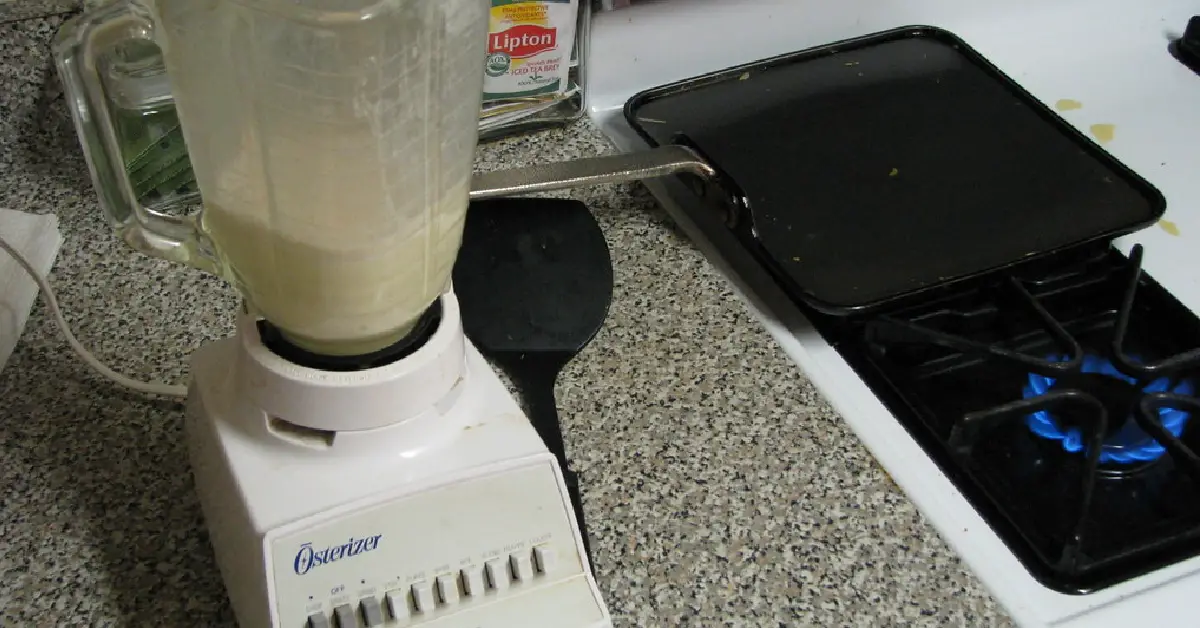
Hamilton Beach Blender is a type of blender used to create smooth and delicious blended drinks. It is one of the most popular blenders on the market and is known for its quality and durability. Hamilton Beach Blender is available in both countertop and handheld models, so you can choose the one that best suits your needs. The blender comes with a powerful motor that can easily handle even the toughest ingredients. It also has a variety of settings that allow you to create the perfect blended drink every time. So whether you want to make a smoothie, milkshake, or even a Margarita, Hamilton Beach Blender has the power and versatility to get the job done.

Do you need to assemble your Hamilton Beach blender? It cannot be very clear if you’ve never done it before, but it will be a breeze with this guide. We’ll walk you through each step so that your new blender is up and running in no time.
If you are looking for an easy-to-use Hamilton Beach blender, this guide is for you. In just a few simple steps, you can have your new blender up and running in no time at all. Plus, with so many great features available on the Hamilton Beach blender, it’s easy to see why this appliance is one of the most popular options today. So, what are you waiting for? Read on to learn how to assemble a hamilton beach blender.
Step by Step How to Assemble Hamilton Beach Blender:
1. Reading the Instruction Manual.
Start by reading the instruction manual that came with your blender. This will give you a good overview of all the parts and how they fit together. It’s important to familiarize yourself with the Hamilton Beach blender before you begin assembly.
2. Placing the Base on a Flat Surface.
Once you have all the parts to your Hamilton Beach blender, it’s time to start assembling it. First, find a flat surface on which to work. This will make the assembly process much easier. Next, take the base of the blender and place it upside down on a flat surface. If the base has any stickers on it, be sure to remove them before proceeding.
3. Adding the Pitcher.
Now take the pitcher and line up the tabs on the bottom of the pitcher with the slots in the base. There are only two ways that the pitcher can fit onto the base, so it should be easy to line up correctly. Once the tabs are lined up, push down on the pitcher until it clicks into place.
You Can Check It Out to Take Apart a Waring Immersion Blender

4. Adding the Lid
Now that the pitcher is attached, you can add the lid. First, make sure that the rubber gasket is placed on the lid. Then, fit the lid onto the pitcher, aligning the tabs on the lid with the slots on the pitcher. Finally, twist the lid to the left to lock it in place. If the lid is not fitting properly, make sure that the rubber gasket is in place and try again.
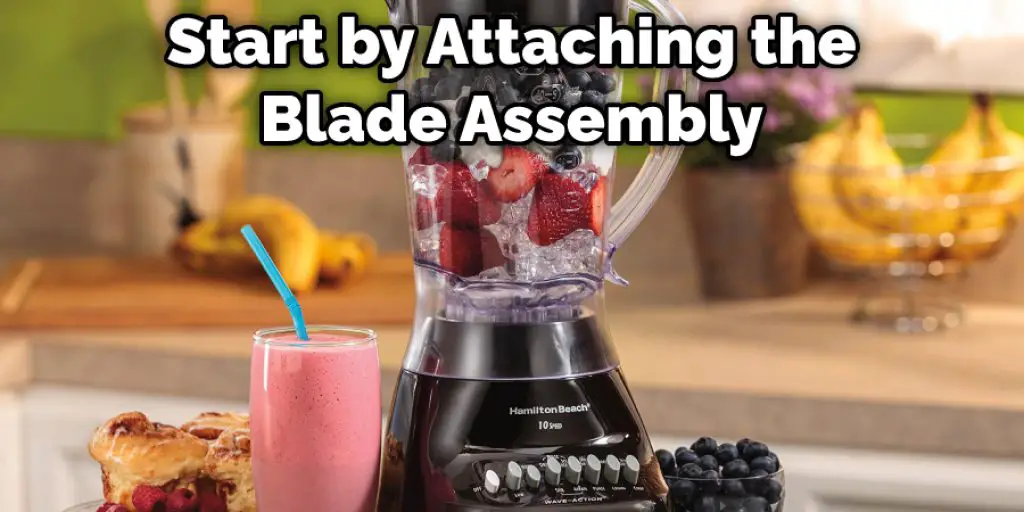
5. Attaching the Blade Assembly
The next step is to attach the blade assembly to the bottom of the pitcher. First, make sure that the red dot on the bottom of the blade assembly is lined up with the red dot on the bottom of the pitcher. Once they are lined up, twist the blade assembly to the right until it is tight. If the red dots are not lined up, the blade assembly will not fit properly and could cause injury.
6. Adding the Motor Base
Now it’s time to add the motor base to the blender. First, find the two tabs on the bottom of the motor base. These will fit into the slots on the bottom of the blender base. Next, line up the holes on the motor base with the posts on the bottom of the blender base. Now, take the screws that came with your Hamilton Beach blender and screw them into the holes on the motor base. Be sure to do this step carefully to don’t strip the holes. Finally, add the blender jar to the motor base and screw on the lid. You’re now ready to start blending!
You Can Check It Out to Assemble a Cuisinart Blender
How to Use Your Hamilton Beach Blender:
Now that you have your new Hamilton Beach blender, it’s time to learn how to use it. Here are some simple tips to get you started. First, if you are using the blender for the first time, be sure to wash all of the parts that will come into contact with food or beverages. This includes the pitcher, blade assembly, and lid. Once everything is washed, you can begin assembling your blender. Start by attaching the blade assembly to the bottom of the pitcher.
Next, add whatever ingredients you want to blend. Be sure not to fill the pitcher more than halfway to avoid spillage. Finally, place the lid on the blender and twist it clockwise until it is secure. To start blending, press down on the lid until the blades start spinning. You can then let go, and the blender will continue to blend on its own. If you need to stop the blender for any reason, press the “Off” button.
If you want to pulse the blender, press the “Pulse” button. And that’s all there is to using your Hamilton Beach blender. Now that you know how to use your Hamilton Beach blender get out there and start making some delicious smoothies, soups, and sauces. Experiment with different ingredients to find new flavor combinations that you love.
Tips and Warnings on How to Assemble Hamilton Beach Blender:
Tips:
- Read all the instructions for your Hamilton Beach blender before beginning assembly. This will ensure that you have all the necessary parts and understand the entire process.
- If you have trouble lining up the parts during assembly, try using a small amount of cooking oil on the threads to make them easier to screw together.
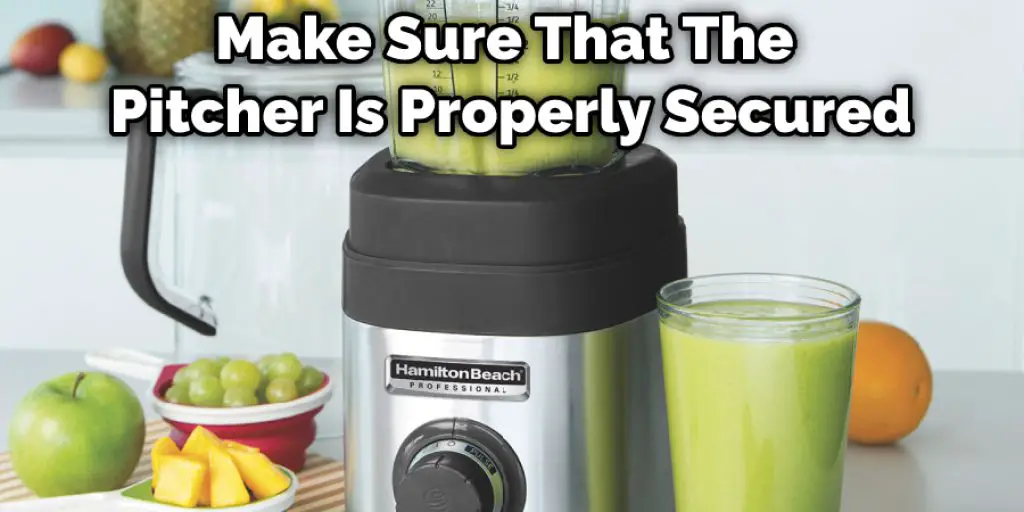
- Make sure that the blender is properly secured on a counter or other surface before using it. This will help prevent accidents.
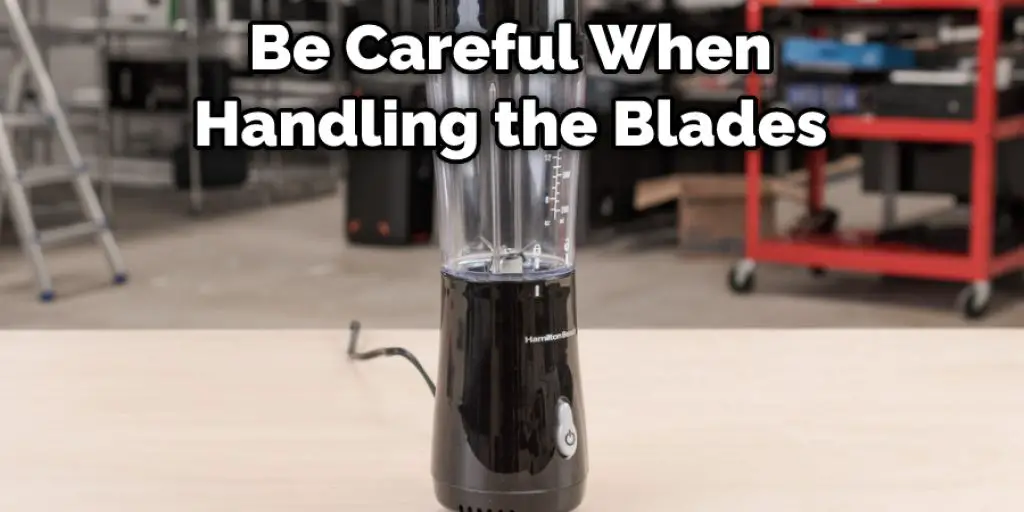
- Be careful when handling the blades during assembly and use. They are very sharp and can cause injury if not handled properly.
Warnings:
- Be careful when handling the blades of the blender. They are very sharp and can cause injury.
- Always secure the blender on a counter or other surface before using it. This will help prevent accidents.
- Do not operate the blender without all of the parts properly assembled. This could result in injury.
- Do not use the blender if any of the parts are damaged. This could also result in injury.
- Keep the blender out of reach of children to prevent accidents.
Frequently Asked Questions
Why Is My Hamilton Beach Blender Not Working?
A few things could be causing your Hamilton Beach blender not to work. The most common issues are that the blender is not plugged in, the power switch is not turned on, or there is a problem with the blade assembly. If your blender is plugged in and the power switch is turned on, but the blender still isn’t working, there may be a problem with the blade assembly.
The first thing you should do is check if the blade is tightened properly. If it is not, then tighten it and try blending again. If the blade is tightened properly and the blender still isn’t working, then the next thing you should check is the coupler. The coupler is what connects the blade to the motor. If the coupler is stripped or damaged, then it will need to be replaced.
Once you’ve checked the blade and coupler, if the blender still isn’t working, then there may be an issue with the motor. The best way to test the motor is to use a multimeter. If the motor is not receiving power, then it will need to be replaced. If you have followed all of these troubleshooting steps and your blender still isn’t working, then it is best to contact Hamilton Beach for further assistance.
Why Does My Blender Get Stuck?
Suppose your blender gets stuck while in use; a few possible explanations are provided. The most common reason is that the blades are not properly aligned. To fix this, turn off the blender and remove the pitcher. Then, align the blades to point in the same direction.
Another possible reason is that the gasket, or seal, between the blade assembly and the pitcher, is not properly seated. This can happen if the gasket becomes twisted or dislodged during use. To fix this, remove the gasket and realign it to flush with the pitcher’s opening. Finally, make sure that the pitcher is properly secured to the blender’s base.
Conclusion
This article has provided you with a step-by-step guide on How to Assemble Hamilton Beach Blender. Be sure to read all the instructions with your blender before beginning assembly. Hamilton Beach blender is an excellent tool for your kitchen. With just a few simple steps, you can have it up and running. This blender will do the trick, whether you’re blending up a smoothie for breakfast or mixing a batch of margaritas for happy hour. So what are you waiting for? Get blending. If you have any questions about How to Assemble Hamilton Beach Blender, please leave a comment below, and we will be happy to help.