

The Instant Pot is an electric pressure cooker that has taken the internet storm in recent years. This appliance can do everything from cooking rice to making yogurt, and users everywhere swear by its abilities. However, one feature of the Instant Pot that not many people know about is the delay start function. This function allows you to set a time for your dish to start cooking, and then it will automatically begin at that time. In this article, I’ll show you how to use delay start on instant pot. Stay tuned!
We all know how frustrating it is to come home to a dish that isn’t quite ready. Whether you’ve been delayed at work or got caught up in traffic, there’s nothing worse than coming home to an unfinished meal. This is where the delay start function comes in handy. By setting a time for your Instant Pot to begin cooking, you can ensure that your food will be ready and waiting for you when you finally make it home.
What Is Instant Pot Delay Start?
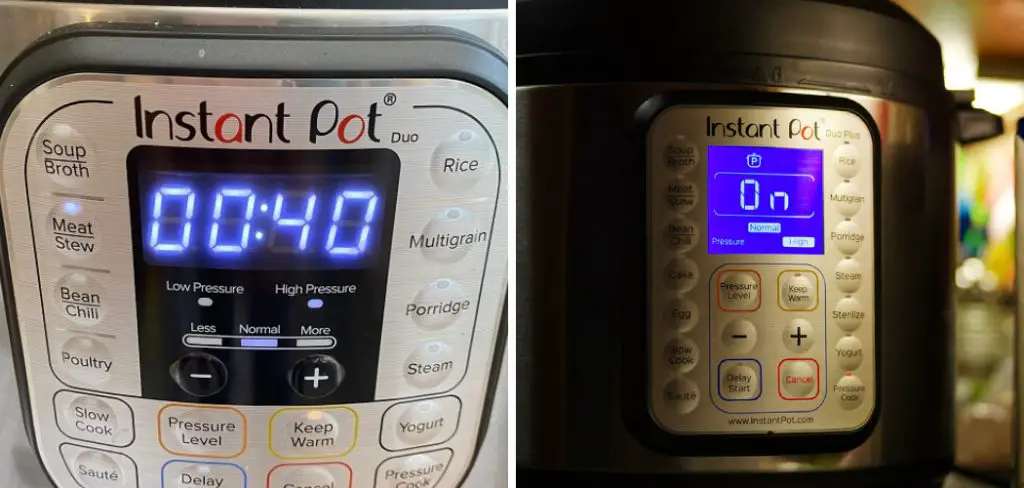
The Instant Pot Delay Start is a feature that allows you to delay the cooking process by up to 24 hours. This is useful if you want to set the pot to start cooking while you are away from home or asleep. To use the Delay Start / Timer, select the desired cooking time and then press the “Delay” button. The pot will then begin counting down from the time chosen. Once the cooking time has elapsed, the pot will automatically begin cooking the food. The Delay Start / Timer is a convenient way to make sure that your food is cooked fresh and hot, even if you cannot be around to start the cooking process yourself.
Why Would You Use Delay Start?
There are two main reasons you might want to use the Delay Start function on your Instant Pot. The first is if you’re going to have your food ready at a specific time. For example, if you’re planning on serving dinner at 6:00 pm, you can set the Instant Pot to start cooking at 4:00 pm to be ready on time.

The second reason you might want to use Delay Start is if you’re going to cook a meal that takes longer than the maximum cook time of the Instant Pot. For example, if you’re cooking a stew that takes 2 hours to cook on the stove, you can set the Instant Pot to start cooking 1 hour before the maximum cook time expires. Then, even though it took longer than the Instant Pot’s full cook time, your stew will be cooked through.
If you’re using Delay Start, you’ll need to factor in the time it takes for the Instant Pot to come to pressure. For example, if you’re cooking a stew that takes 2 hours to cook on the stove, and it takes 15 minutes for the Instant Pot to come to pressure, you’ll need to set the Instant Pot to start cooking at 3:45 pm to have it ready at the 6:00 pm.
Is the Delay Start Safe to Use?
The delay start is a feature on some Instant Pot models that allows you to delay the cooking time by up to 24 hours. This can be useful if you want to have your meal ready at a specific time, but it’s essential to understand how the feature works and use it safely.
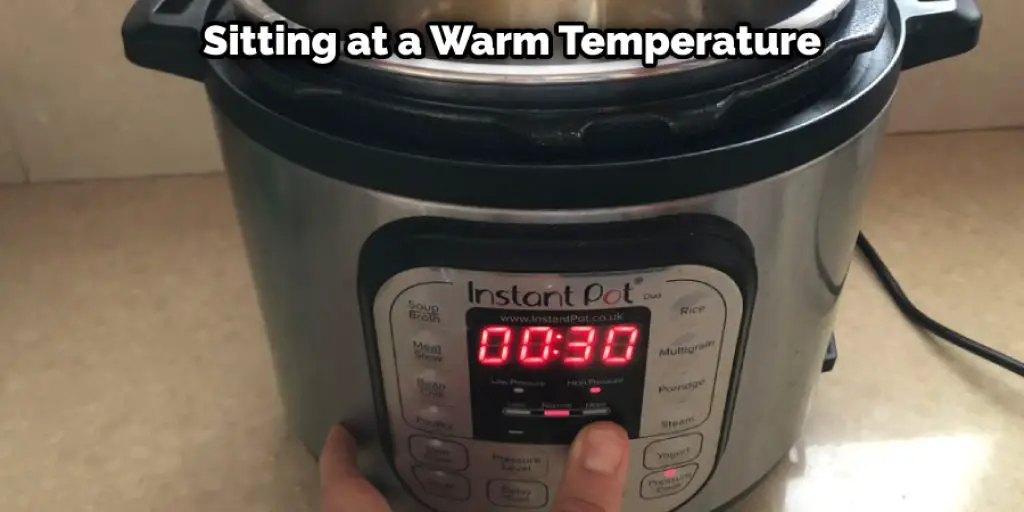
The Instant Pot will begin heating up immediately when you use the delay start feature. However, the cooking process will not start until the specified time has passed. This means that your food will be sitting at a warm temperature for several hours before it is cooked.
It’s important to understand that bacteria can grow rapidly at warm temperatures, so there is a potential safety risk involved with using the delay start feature. However, as long as you take some simple precautions, the risk can be minimized.
A Step by Step Guide on How to Use Delay Start on Instant Pot
Step 1: Before You Start
To use the delay start feature on your Instant Pot, you will need to have the following items:
- An Instant Pot
- A power outlet
- The food or liquid that you want to cook
- A timer (optional)
Step 2: Set Up Your Instant Pot
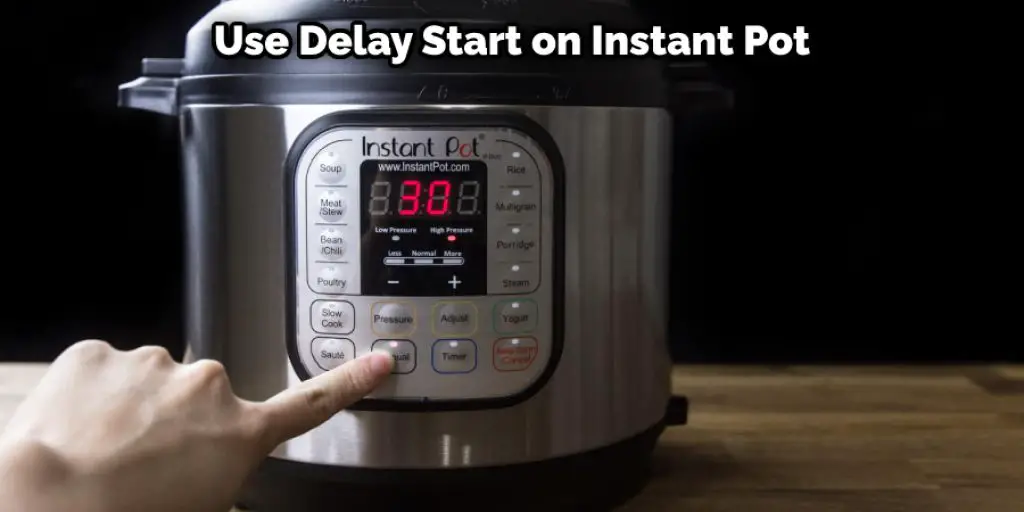
First, you will need to set up your Instant Pot. First, ensure that the inner pot is appropriately in place and securely closed the lid. Then, plug in your Instant Pot and press the “Delay Start” button. The default setting for the delay start is two hours, but you can change this by pressing the “+” or “-” buttons. Next, press the ” Start ” button. Next, press the ” Start ” button. Finally, press the ” Start ” button once you have set the desired amount of time, press the “Start” button.
Step 3: Add Your Food or Liquid
Next, you will need to add your food or liquid to the inner pot. Be sure not to fill the pot more than two-thirds full, as this can result in pressure build-up and cause the lid to pop off. Once you have added your ingredients, close the lid and ensure that the valve is set to “Sealing”.
Step 4: Wait for the Instant Pot to Finish Cooking
Once the Instant Pot has finished cooking, it will beep and automatically switch to “Keep Warm” mode. At this point, you can either let the food sit in the pot or release the pressure by moving the valve to “Venting”. If you choose to release the pressure, be careful of the hot steam that will come out of the pot.
Step 5: Enjoy Your Meal!
After following these steps, you should now have a delicious meal ready to enjoy! If you have any leftovers, be sure to store them in an airtight container in the fridge. Thanks for using the delay start feature on your Instant Pot! These steps will help in v.
Tips and Warnings
Tips:
- If you’re using the delay start feature, make sure to add enough water to the pot. The minimum amount of water is 1 cup (250 ml).
- Be aware that the food will continue to cook even after the timer runs out. So if you’re using delay, start to cook something like rice, and make sure to check it before it overcooks.
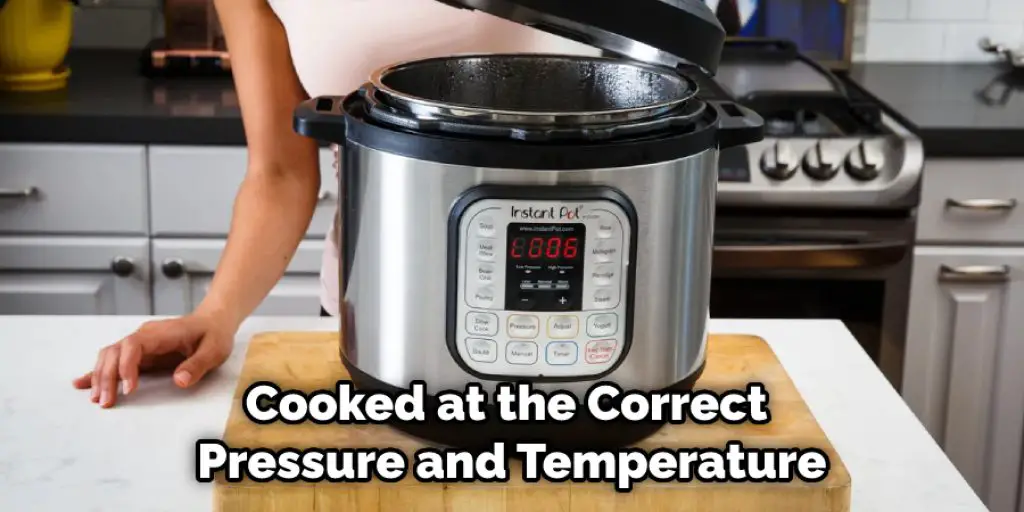
- When using delay start, it’s best to use the manual or pressure cook setting. This ensures that the food will be cooked at the correct pressure and temperature.
- Make sure the lid is sealed correctly before using delay start. A loose or unsealed lid can cause the pot to build up too much pressure, which can be dangerous.
Warnings:
- Do not use the delay. Instead, start with the slow cook setting. Slow cooking requires a lower temperature, so using a delayed start could cause the food to overcook.
- Do not use the delay. Instead, start with the yogurt setting. The yogurt setting requires a specific temperature range that will be ruined if the pot is left on for too long.
- Do not use the delay start with any recipes that call for quick release. The quick release needs to be done immediately after cooking, so using a delayed start will result in undercooked food.
By following these tips, you’ll be able to get the most out of your Instant Pot and make delicious, healthy meals with ease!
The Benefits of Using Delay Start on the Instant Pot
One of the best features of the Instant Pot is the delay start function. This allows you to set a specific time for the pot to begin cooking, so your meal will be ready when you are. This can be extremely helpful if you have a busy schedule or want to make sure dinner is prepared at a particular time. There are several benefits to using delay start on your Instant Pot.
- You can ensure that your meal will be ready when you want it.
- It can help you save time by allowing the pot to do all the work.
- It can help you plan and make sure dinner is ready when you need it.
- Delay start is also great for cooking large meals that take longer.
If you are looking for a way to make your life easier and save time, using delay start on your Instant Pot is a great option. It can help you plan and make sure dinner is ready when you need it. So, if you have a busy schedule or want to make sure your meal is prepared at a specific time, then using delay start is a great choice.
Conclusion
The delay start is an excellent feature on the Instant Pot that can be used in various ways. By understanding how delay start works, you can create meals ahead of time and have them ready to cook when you need them. We hope this article on how to use delay start on instant pot has helped you learn more about this convenient cooking feature.
You May Also Read: How to Set Timer on Black and Decker Coffee Maker