

Are you concerned about how tight your sink faucet is? Do you turn the faucet handle, and it just doesn’t seem to want to budge? You’re not alone. A loose sink faucet can be a real pain, but there are some things that you can do to tighten it up.

This blog post will show you how to tighten sink faucet using a few simple tools. We’ll also give you tips on how to avoid loosening it in the future. Supplied information may vary from sink to sink so it is best practice to consult your owner’s manual if the steps below do not work for your specific model. So, if you’re having problems with your sink faucet, read this post!
What Causes Sink Faucet to Get Loose?
Over time, everyday use of your sink faucet can cause the components to loosen. This is particularly true for the connection between the handle and the base, as this is where most of the force is exerted when turning on and off the water.
In addition, metal fatigue can also play a role in causing these parts to loosen over time. Finally, it can also happen that the nuts and bolts that hold everything together can also loosen over time, which will also cause the handle to become loose.
Fortunately, it is relatively easy to tighten a loose sink faucet. With a few simple tools, you can usually fix the problem in just a few minutes.
What You’ll Need
- Adjustable wrench
- Screwdriver (if necessary)
- Pliers (if necessary)
- Teflon tape (if necessary)
Instructions: How to Tighten Sink Faucet
Step 1: Turn Off the Water Supply to Your Sink.
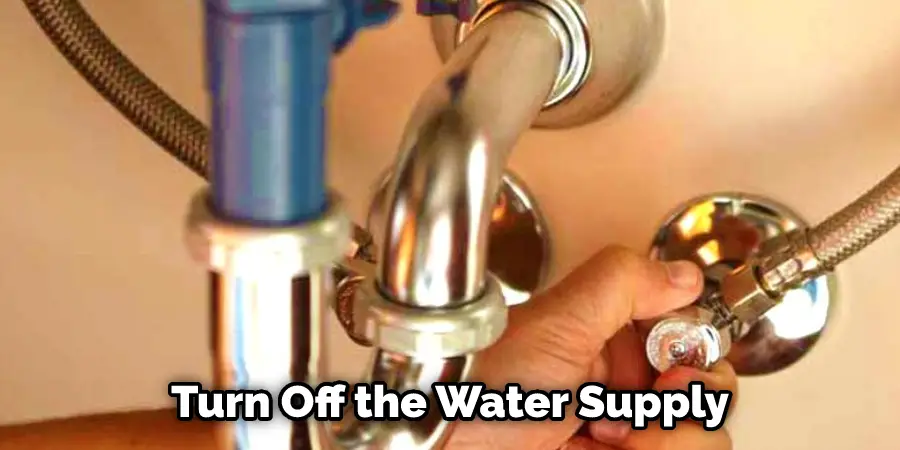
Start by turning off the water supply to your sink. This is usually done by turning a knob or lever under the sink. Next, check if the water has been shut off by turning on the faucet. You can proceed to the next step if no water is coming out. Once the water is turned off, open up the faucet to release any remaining water pressure in the lines.
Step 2: Examine the Connection Between the Handle and Base.
The first thing you’ll want to do is take a look at the connection between the handle and base. In most cases, this is where the problem lies. You’ll want to replace the parts if they’re damaged or corrupted. If the problem isn’t with the connection, then you’ll need to move on to the next step. Make sure the connection is secure before moving on.
Step 3: Remove the Handle.
To tighten the sink faucet, you’ll need to remove the handle. This is usually done by unscrewing a set screw on the underside of the handle. Once the screw is removed, you should be able to pull the handle off. If you can’t remove the handle, it may be frozen. In this case, you’ll need to use a screwdriver to pry it off.
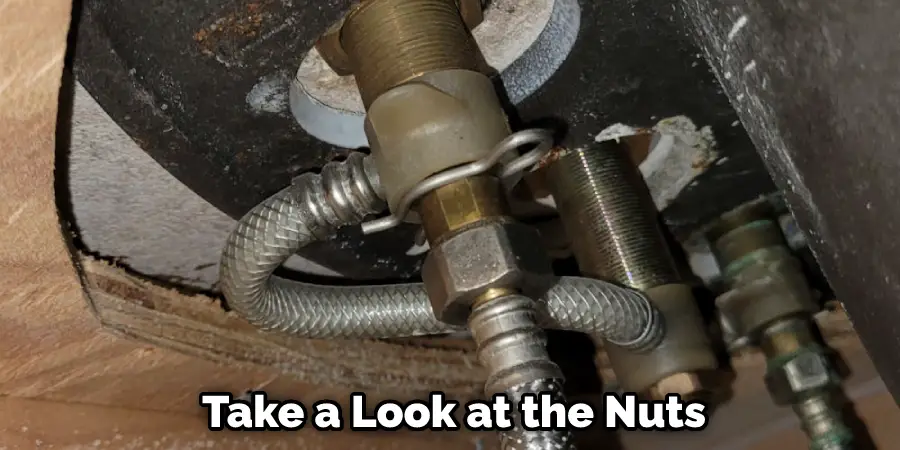
Step 4: Slide Under the Sink and Locate the Nuts
Now it’s time to take a look at the nuts that hold everything together. There are usually two of them, one on each side of the sink. A decorative plate may hide them if you can’t see them. In this case, you’ll need to remove the plate to access the nuts.
Step 5: Remove the Bonnet Nut.
The next step is to remove the bonnet nut. This is the nut that’s located on the underside of the sink. You’ll need to use an adjustable wrench to loosen it. Once it’s loose, you should be able to remove it by hand. When removing the bonnet nut, ensure you don’t lose the washer underneath it.
Step 6: Tighten the Slip Joint Nut.
The slip joint nut is located on the supply line that leads to the faucet. You’ll need to use an adjustable wrench to loosen it. Once it’s loose, you should be able to remove it by hand. When removing the slip joint nut, ensure you don’t lose the washer underneath it.
Step 7: Replace the Supply Tube Nuts.
After you’ve removed the slip joint nut, you’ll need to replace the supply tube nuts. These are the nuts that secure the supply line to the faucet. You’ll need to use an adjustable wrench to loosen them. Once they’re loose, you should be able to remove them by hand. When removing the old nuts, be careful not to damage the supply line.
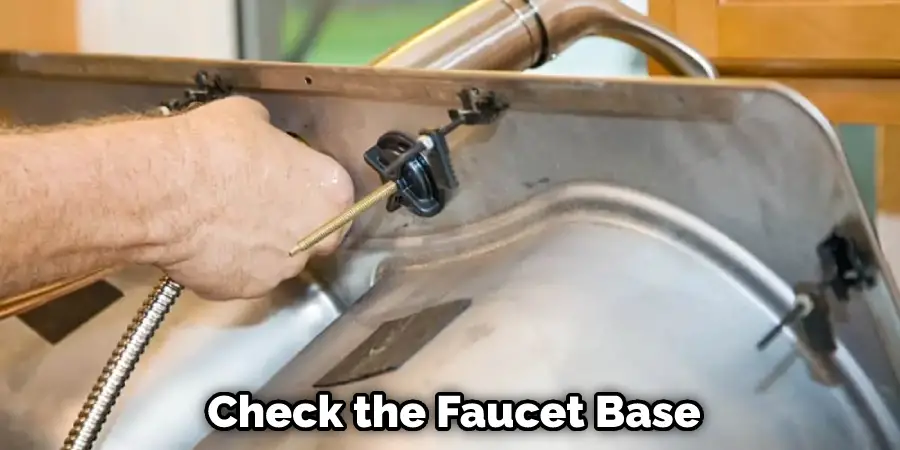
Step 8: Check the Faucet Base.
The next step is to check the faucet base. This is the part of the faucet that’s located under the sink. You’ll need to use a wrench to tighten it if it’s loose. You also need to physically check the faucet base to see if it’s loose. When doing this, check to see if there are any cracks or damage to the base. If there is, then you’ll need to replace it.
Step 9: Reattach the Water Supply Lines.
Once you’ve tightened the faucet base, the next step is to reattach the water supply lines. Make sure that you do this carefully so that you don’t cause any damage to the lines. Tighten the connection by hand first, and then use a wrench to finish tightening it. Be careful not to over-tighten the connection, as this can damage the supply lines. Once the water supply lines are back in place, turn on the water at the shutoff valves and check for any leaks.
Step 10: Check for Any Leaks.
The final step is to check for any leaks. To do this, turn on the water at the shutoff valves and turn on the faucet. Next, check the sink and the faucet’s base for leaks. If you see any, then you’ll need to tighten the connection until the leak stops. Once you’ve fixed the leaks, turn off the water and replace the decorative plate.
Note: If you’re having trouble tightening your sink faucet, then follow these steps to get it done. These instructions will show you how to tighten the sink faucet by removing the handle and replacing the nuts that hold everything together. Keep in mind that these instructions are for a standard sink faucet. If your faucet is different, you may need to adjust the steps accordingly.
Some Helpful Tips and Advice
- Always turn the water supply off before beginning any work on the sink faucet.
- Examine the sink faucet to determine what type it is. Different types of sink faucets require different methods of tightening.
- Use a wrench to loosen and remove the old packing nut from the faucet.
- Wrap the new packing nut onto the faucet and tighten it with a wrench.
- Check that the new packing nut is tight by turning on the water supply and testing the sink faucet.
- If there are still leaks, you may need to replace the O-rings on the faucet. To do this, remove the handle of the sink faucet and unscrew the O-ring. Then, replace it with a new one and screw it back.
- Test the sink faucet again to make sure that there are no more leaks.
- Tighten all screws on the sink faucet, using a wrench if necessary.
How To Tighten The Faucet Handle?
If your faucet is leaking or dripping, it may be because the handle is loose. You can fix this problem by tightening the set screw that holds the handle in place.
- Locate the set screw. This will be on the underside of the handle and may be hidden by a small cap or plug.
- Use a screwdriver to tighten the set screw. Turn it clockwise until it is snug, but do not over-tighten it as this could strip the threads or break the handle.
- Test the faucet by turning it on and off. If it still leaks, there may be a problem with the washer or another part of the faucet. You may need to disassemble the faucet to make repairs.
- Make sure the set screw is tight before using the faucet. This will prevent the handle from coming loose and causing leaks in the future.
- If you have any questions or problems, please consult a plumber or other qualified professional for assistance.
Conclusion
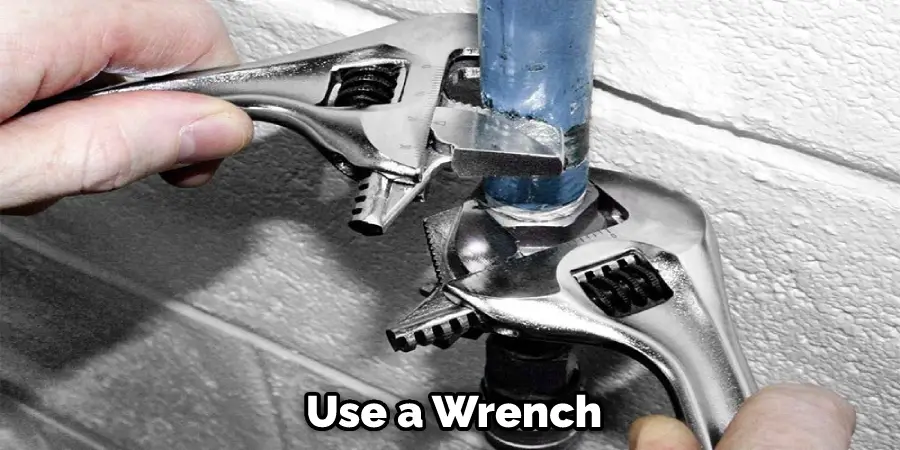
If you have a leaky sink faucet, it is important to take care of the problem as soon as possible. Not only does a leaky faucet waste water and money, but it can also damage your sink and plumbing. Although tightening the faucet with a screwdriver is one way to fix it, it may sometimes be that it doesn’t work. In those cases, you can try using a wrench.
If you don’t feel comfortable doing either of those things or if the faucet still isn’t working properly after trying both methods, you can call a plumber to come and take a look at it for you. We hope this guide on how to tighten sink faucet has been helpful. If you have any questions or tips, please feel free to leave them in the comments below. Thank you for reading!