

Testing your ceiling fan capacitor ensures it operates correctly and safely. A bad or malfunctioning ceiling fan capacitor can cause the fan to become unresponsive, make loud noises, vibrate abnormally, or even fail. By testing the capacitance of the ceiling fan capacitor, you can quickly determine if it needs to be replaced or repaired.
Testing a ceiling fan capacitor can help you determine if the capacitor has gone bad and needs to be replaced. If your ceiling fan stops working, then this could be due to a faulty capacitor. A capacitor is an electrical component that stores energy and helps control the speed of the motor in your ceiling fan. In this blog post, You will learn how to test a ceiling fan capacitor.
Step-by-step Instructions for How to Test a Ceiling Fan Capacitor
Step 1: Inspect Your Ceiling Fan’s Capacitor
Before you begin testing your ceiling fan’s capacitor, make sure that it is in good condition. Look for any signs of damage or corrosion. If the capacitor appears damaged, replace it with a new one.
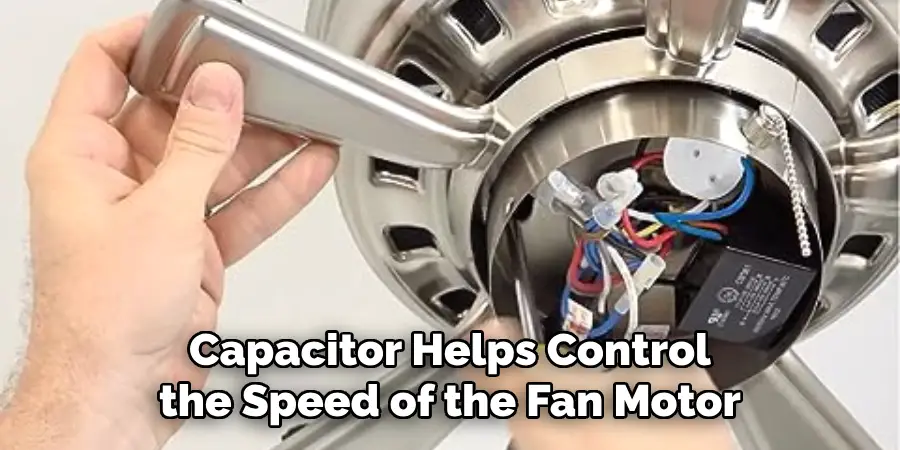
Step 2: Gather the Necessary Tools and Supplies
You will need tools and supplies to test your ceiling fan’s capacitor, such as a multimeter, wire cutters/strippers, needle-nose pliers, and safety glasses.
Before you begin testing your ceiling fan’s capacitor, make sure that the power source is disconnected. Unscrew your ceiling fan’s faceplate and locate the capacitor’s connection wire. Disconnect this wire from its terminal and safely store it away.
Step 3: Set Your Multimeter to “Capacitance” Mode
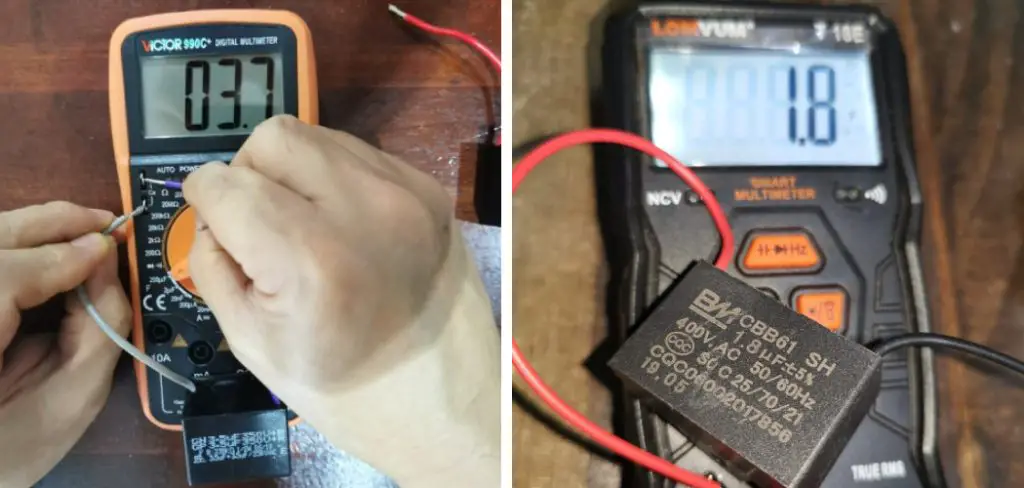
Next, you must set your multimeter to “capacitance” mode. You can do this by pressing the “HOLD,” “READ,” or “MEASURE/CAP” buttons. Once your multimeter is set to the correct mode, you will be ready to begin testing. Take your multimeter’s probes and touch one of the capacitor terminals. The terminals should be labeled “C” or “+/-.” If there are three terminals, make sure that you use the correct ones.
Step 4: Check Your Multimeter’s Readings
Once the probes touch both terminals, check the reading on your multimeter. You should see a number that is either positive or negative. The number should also be within the capacitor’s specified range. Write down your results so you can refer back to them later. Make sure that you record both the positive and negative readings.
Step 5: Test the Capacitor at Different Temperatures
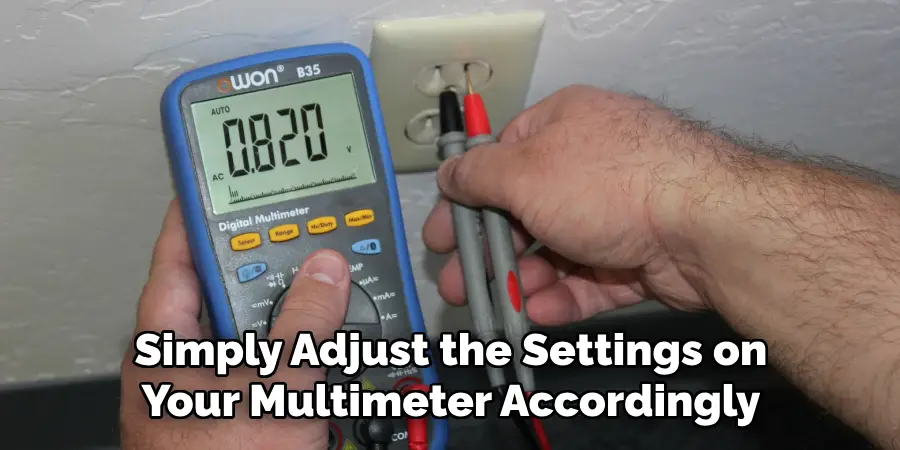
Different temperatures can affect how a capacitor works, so you must repeat steps 5-7 at different temperatures. To test your capacitor at different temperatures, simply adjust the settings on your multimeter accordingly.
Once you have tested your capacitor at different temperatures, compare your results to determine if there is any difference in performance. If the readings are significantly different, this could indicate an issue with your capacitor, which should be replaced.
Step 6: Replace Your Capacitor if Necessary
If the tests indicate that your capacitor is not functioning properly, you should replace it with a new one. Follow the manufacturer’s instructions for installation and ensure that all connections are secure before restoring power to the ceiling fan.
With these steps, you can accurately test and diagnose issues with your ceiling fan’s capacitor.
Safety Tips for How to Test a Ceiling Fan Capacitor
- Before testing or working on the ceiling fan capacitor, always turn off the power at the fuse box and check if it has been shut down completely using a voltage tester.
- Wearing protective gear such as insulated gloves, long-sleeved shirts, and safety glasses is important when handling capacitors as they can store an electric charge.
- Capacitors have two terminals which usually come in the form of a metal screw or nut and should never be touched with your bare hands.
- Use terminals specifically designed for testing capacitors, as these provide better insulation, making it safer to work with them.
- When taking readings from the capacitor, always hold the leads together to prevent sparks from appearing.
- Finally, after testing and replacing a capacitor, always remember to test for continuity with an ohmmeter before restoring power to the ceiling fan. This will help ensure that it is functioning properly.
By following these safety tips, you can rest assured that you are testing your ceiling fan capacitor safely and correctly. Ensuring the capacitor is functioning properly is important, as it can help prevent any safety issues or damage to your ceiling fan in the long run.
How Long Does It Take to Complete the Testing Process for a Ceiling Fan Capacitor?
The testing process of a ceiling fan capacitor is simple and should be manageable. Depending on the capacitance meter you are using, the entire process may only take a few minutes to around 30 minutes. Furthermore, if your ceiling fan capacitor is faulty or has other issues, it will be easier to identify them through testing. Doing so can improve the overall performance of your ceiling fan and make it much more reliable.
What Are Some of the Potential Signs of a Failing Ceiling Fan Capacitor?
If the fan motor is running slowly or making noise, it might be a sign that it must be tested. Another potential sign of failing capacitors will be if the ceiling fan turns on without you controlling it with a switch. Testing your ceiling fan capacitor and replacing it if needed can help restore its function. To test for a faulty ceiling fan capacitor, you must gain access to the wiring inside your fan.
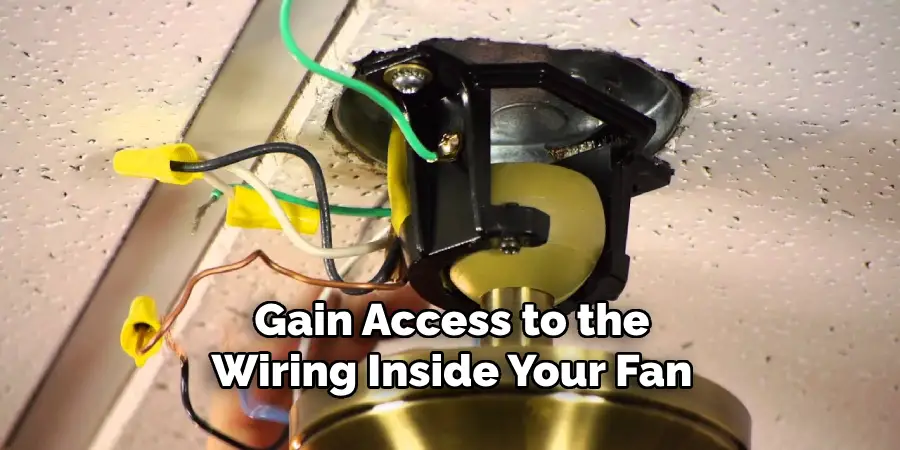
This might require removing screws from the base of the fan and pulling it away from the mounting bracket. Once you can access the wire connections, you can identify which wires are connected to the capacitor.
You can then use a multimeter device or voltage tester to measure the voltage on each capacitor’s leads. If it is not operating under its rated specifications, you must replace the fan’s capacitor.
Is it possible for You to Test Your Ceiling Fan Capacitor without professional help?
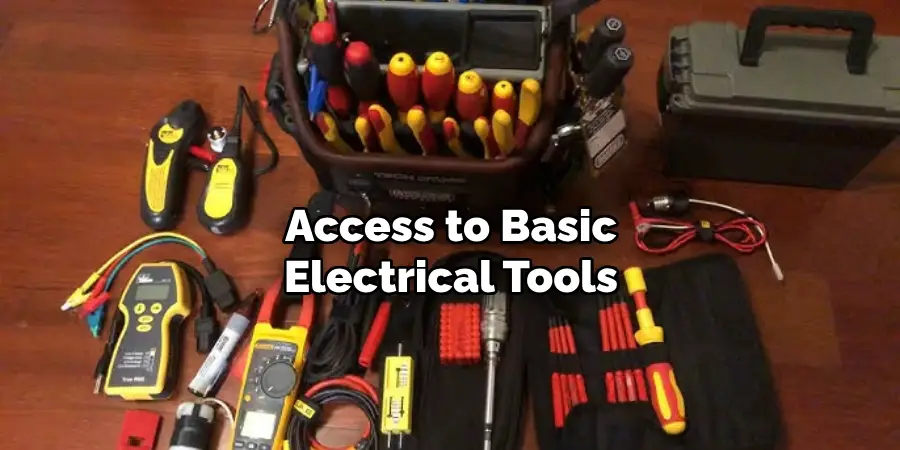
It is possible to test a ceiling fan capacitor without professional help. Most ceiling fans have a simple wiring system that allows you to check the capacitors for short circuits or other issues easily. You will need access to basic electrical tools such as a multimeter, an electric drill, and wire strippers.
To begin testing your ceiling fan capacitor, remove the fan from the wall or ceiling and locate the capacitor. The capacitor is usually mounted in a metal box with several wires. Unplug all of these wires before proceeding.
Then, using your multimeter, set it to ohm readings and connect it to each terminal on the capacitor. If you get a reading of more than 0.5 ohms, the capacitor will likely be functioning properly.
If you get a lower or higher reading, this indicates a potential issue with the capacitor, and it may need replacing. You can also check for any possible short circuits in the wiring system by connecting each terminal on the capacitor to the neutral line and taking an ohm reading with the multimeter.
How Often Should You Test Your Ceiling Fan Capacitor for Optimal Performance?
Assuming your ceiling fan is operating properly, testing the capacitor every six months is typically recommended. This ensures that it continues to work properly and won’t cause any problems with the performance of your fan. If the fan isn’t running as expected or has started making odd noises, testing should be done immediately.
For those unfamiliar, a ceiling fan capacitor is an electrical component that helps control the fan’s speed. It’s responsible for ensuring that the motor spins at the right speed and frequency and can be found inside your fan’s housing.
The best way to test your ceiling fan capacitor is by using a multimeter. This device measures the voltage in an electrical circuit and can help you determine whether or not your fan capacitor is working correctly. First, turn off the power to the fan and unplug it from any wall outlets.
What Kind of Damage Can Occur if Your Ceiling Fan Capacitor Isn’t Tested Regularly?
If your ceiling fan capacitor is not tested regularly, it can cause serious damage to the fan and other components. The capacitor helps control the speed of the fan motor. If it’s not in good working order, it could cause a short circuit or other problems that could lead to dangerous electrical situations. If you don’t test your ceiling fan capacitor regularly, it can cause the fan to vibrate excessively or even cease working.
Conclusion
In conclusion, testing a ceiling fan capacitor requires careful attention to detail to ensure the job is done safely and correctly. To test a ceiling fan capacitor, you will need to purchase a multimeter with the correct settings, turn off the power, remove the capacitor from the fan motor, connect alligator clips or probes to your multimeter, and then measure its capacitance after setting the multimeter to the correct scale.
Once you have obtained your readings, compare them to the manufacturer’s specifications to determine whether or not your capacitor is working correctly. Reading this post has helped you learn how to test a ceiling fan capacitor. Make sure the safety precautions are carried out in the order listed.
Rick is a handyman who grew up helping his dad with his business. He learned a lot from him about how to fix things, and also about how to work hard and take care of business. These days, Rick is still into fixing things- only now, he’s doing it for a living.
Rick is always looking for new ways to help people grow and develop. That’s why he started contributing to this blog: to share all his experience and knowledge so that he can help people who are interested in DIY repair.