
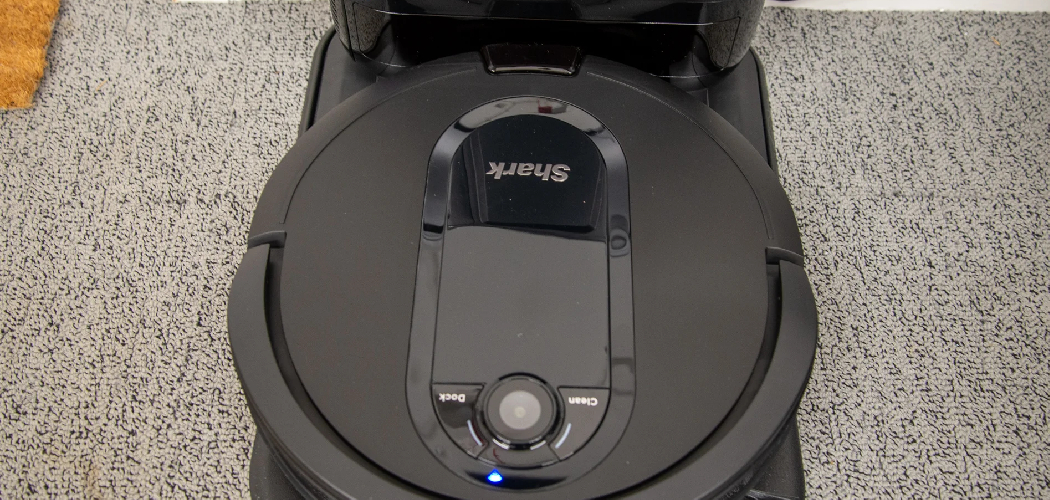
Are you frustrated with the way your Shark Robot Vacuum is behaving? Has it only been going in circles or beeping when its power level gets too low? It is important to know how to reset my shark robot vacuum.
Resetting your vacuum can turn it back into the efficient cleaning machine that you know and love. In this blog post we’ll guide you through all of the steps for resetting a Shark Robot Vacuum, so make sure to read on if your vacuum needs a little TLC.
Tools You Will Need
- A Phillips head screwdriver
- A soft cloth
Top 7 Steps Guide on How to Reset My Shark Robot Vacuum
Step 1: Unplug the Vacuum From the Power Source
This is an important step to ensure that your device does not get damaged during the resetting process.
Resetting your Shark Robot Vacuum can be a great way to ensure you’re getting the maximum effectiveness from your device. However, before you start the process, you must unplug the vacuum from its power source.
Failing to do this puts your device at risk of suffering damage during the reset process and potentially invalidating warranties or causing irreparable harm. Make sure you take that extra step and unplug the vacuum before resetting it!
Step 2: Turn the Vacuum Over and Locate the Screws
These screws will need to be removed to access the reset button.
Unscrewing a few screws can be the key to unlocking a new level of power for your Shark Robot vacuum! If you’re having trouble with this handy cleaner, take a look under its hood by flipping it over and searching the underside.
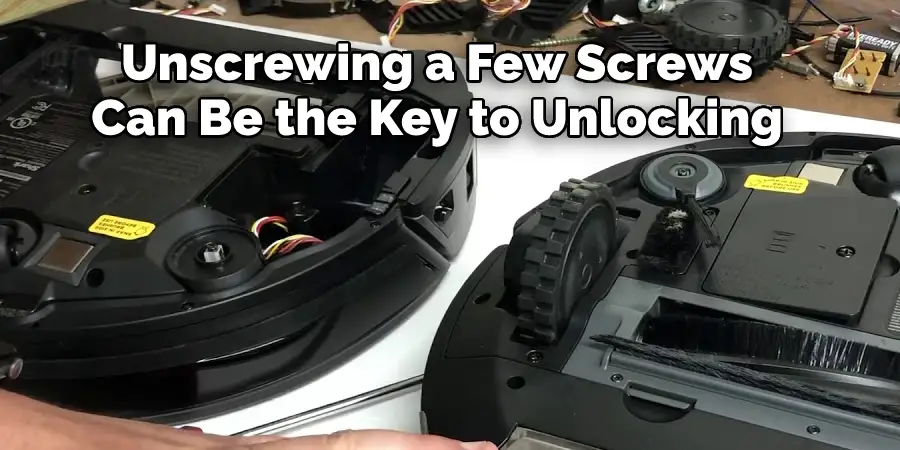
Doing so should expose the screws that need to be removed to access the reset button. Resetting your vacuum can help restore it to peak efficiency, allowing you to give your home an even deeper clean. So don’t hesitate – explore beneath the machine and get ready to hit restart!
Step 3: Set Them Aside
Resetting a Shark Robot Vacuum doesn’t have to be a confusing process. The first step is to carefully remove the screws using a Phillips head screwdriver and then set them aside.
Be sure to make note of where the screws were initially placed, as this will come in handy when it’s time to reassemble the vacuum. After doing so, you will be well on your way to resetting your Shark Robot Vacuum in no time.
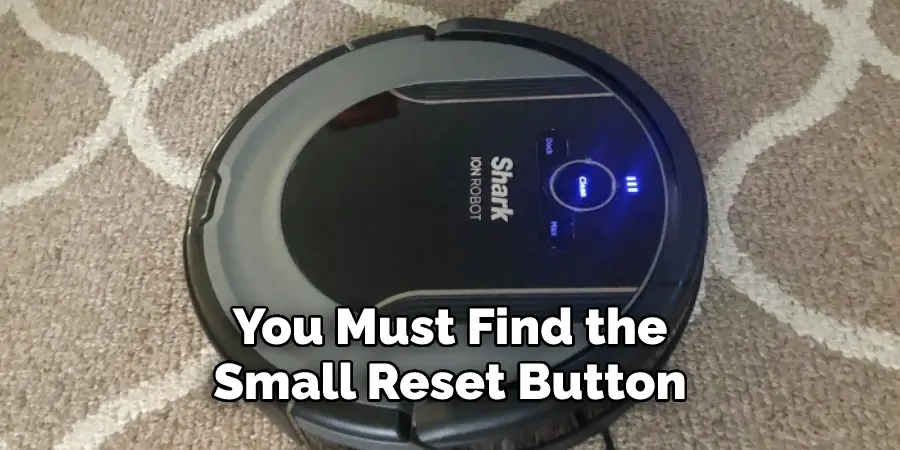
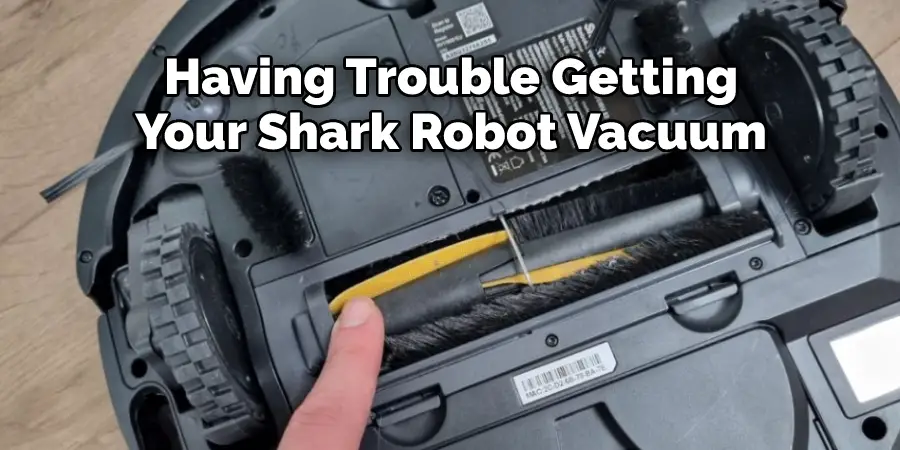
Step 4: Able to See a Small Red Button
This is the reset button.
Removing the screws may seem like a daunting task but it is essential if you want to locate the reset button of your Shark Robot Vacuum. Once you have unscrewed each screw, carefully lift the underside panel and search for a small red button near the middle of the vacuum.
This little red button will display an array of information once pressed, so proceed with caution! You must take your time when pressing down this reset button as even a slight hesitation can cause failure in resetting your robot vacuum to its original settings.
The reset button provides an easy and direct way to restore all settings, allowing you one less hassle when utilizing your Shark Robot Vacuum.
Step 5: Carefully Press the Reset Button
You should hear a click that indicates that the reset has been successful.
Resetting your Shark Robot Vacuum is a simple process if it has stopped functioning properly. First, you must find the small reset button, which is typically located on the bottom or side of the device. Gently press the reset button with your finger and listen for a click that signals it has been successful.
Once you hear this click, your Shark Robot Vacuum should reset itself and be ready to start cleaning again! If this process doesn’t work, please refer to your instruction manual for further instructions.
Step 6: Replace the Screws
After spending hours on household cleaning, the last thing you want to deal with is a malfunctioning Shark Robot Vacuum. To reset the appliance and get it running again, start by unplugging the vacuum from its power source.
Use a Phillips-head screwdriver to remove the screws from the back of the vacuum and open it up from the top with care. Look inside and make sure all components are properly connected―taking extra precautions if any cables have become loose.
To finish putting your device back together, carefully close up the casing and securely replace each screw that you had previously removed. Finally, plug your vacuum back into its power source and watch as it springs to life once again!
Step 7: Turn on Your Shark Robot Vacuum
Resetting your Shark Robot Vacuum is a breeze, simply turn it on to get started! The unit will cycle through its startup process and begin functioning normally within a few minutes. If you find that your Shark Robot Vacuum isn’t working properly, resetting it may be the solution.
Doing this easy step can restore the vacuum’s full capabilities and ensure it’s running at peak performance. Plus, thanks to its powerful suction and advanced navigation technology, your home will be spick-and-span in no time!
And that’s it! You’ve successfully reset your Shark Robot Vacuum. We hope this guide has been helpful and that you can now get back to enjoying the convenience of a robotic vacuum cleaner. If you’re still having issues, make sure you reach out to customer service for more assistance with resolving the issue. Happy cleaning!
Unlock the Full Potential of Your Shark Robot Vacuum with a Simple Reset
If you’re having trouble getting your Shark robot vacuum to work properly, consider performing a reset. This simple procedure can sometimes be the perfect solution for unclogging motors, restoring connectivity, and generally improving their performance.
It’s easy enough that anyone can do it – just locate the power button on the device and hold it down for at least 20 seconds to restart. You should notice an immediate difference in how your vacuum operates, so don’t forget this quick trick next time you experience any issues with your Shark robotic vacuum!
Get Back to Cleaning Quicker with this Step-by-Step Guide
Are you ready to get your Shark Robot Vacuum up and running quickly? Follow this step-by-step guide to reset your vacuum! Firstly, ensure that your main power switch is ‘on’ and then press the power bottom on the bot. Next, if using a mobile app and Wi-Fi connection, the setup is straightforward; simply open the app and follow the guided instructions.
If you don’t have a Wi-Fi connection, you can use Polaroid Mode instead by pressing both of the buttons found beneath its frame. To complete the reset process and allow it to start automatic cleaning, push down on its dock for two seconds until it beeps. In no time at all, your Shark Robot Vacuum will soon be back in action keeping your home clean!
Don’t Let Malfunctions Stop You from Enjoying Life
If your Shark Robot Vacuum has malfunctioned, don’t worry – resetting it can be easy and take less than a minute! All you need to do is press the reset button on the back of your vacuum, located near the power switch. Doing so will return the vacuum to its factory defaults and allow you to start using it again quickly and easily. If your Shark Robot Vacuum has an especially stubborn malfunction, there are still several other helpful ways to try and reset it.
You may find that turning the vacuum off for sixty seconds before starting it up again helps resolve any ongoing issues. Additionally, if you haven’t already done so, emptying all dust bins in your vacuum can help as well. Don’t let a malfunction rob you of precious vacuuming time – learn how to reset your Shark Robot Vacuum today!
Frequently Asked Questions
How Frequently Should I Perform Resets on My Shark Robot Vacuum?
Your Shark Robot Vacuum is a high-tech and intelligent piece of cleaning equipment, but the occasional reset may be required to keep it operating at its best. Generally, resetting your robot vacuum should be done once every month or two to ensure that any software settings are correct and that it is running optimally.
To perform the reset, make sure your robot vacuum is powered off and unplugged from its power source. Then press and hold both the “Clean” button and the “Spot” button together until you hear a double beep, which indicates that your robot vacuum has been reset. After this process has been completed, you can successfully use your Shark Robot Vacuum to efficiently clean your home.
How Does Emptying Dust Bins Help With the Reset Process of My Shark Robot Vacuum?
Emptying the dust bin of your Shark Robot Vacuum is an essential part of completing its Reset process. To reset your vacuum, it’s important to turn off the power, empty the dust bin, and carefully check the filter for any blockages, hair, or dirt.

Doing so helps maximize the performance in picking up dirt and debris while ensuring that the vacuuming process runs effectively over time. If you don’t regularly empty your robot vacuum dust bin, it could harm its performance over time – so make sure to clean out this area and check for any blockages in between vacuuming cycles!
Conclusion
If your Shark robot vacuum isn’t working as it should, don’t worry. You should carefully determine how to reset my shark robot vacuum. There are a few simple steps you can take to reset it and get it up and running again in no time. Follow the instructions in this blog post and you’ll have your Shark robot vacuum back to normal in no time at all.
Rick is a handyman who grew up helping his dad with his business. He learned a lot from him about how to fix things, and also about how to work hard and take care of business. These days, Rick is still into fixing things- only now, he’s doing it for a living.
Rick is always looking for new ways to help people grow and develop. That’s why he started contributing to this blog: to share all his experience and knowledge so that he can help people who are interested in DIY repair.