
Are your floors not as clean as they should be? It could be a sign that you need to replace the belt on your Kirby vacuum cleaner. It is important to know how to replace kirby vacuum belt. Replacing a belt isn’t hard and doesn’t take more than an hour but it will make sure the dirt on your carpets is gone for good!
In this blog post, we’ll cover the basics of how to replace a Kirby vacuum belt, from choosing the right type of belt for your model to properly installing it yourself. Let’s get started – after all, there’s nothing better than stepping onto freshly-cleaned carpets!
Tools You Will Need:
- A screwdriver or nut driver
- New Kirby vacuum belt
- Vacuum cleaner brush attachment (optional)
4 Steps Guide on How to Replace Kirby Vacuum Belt
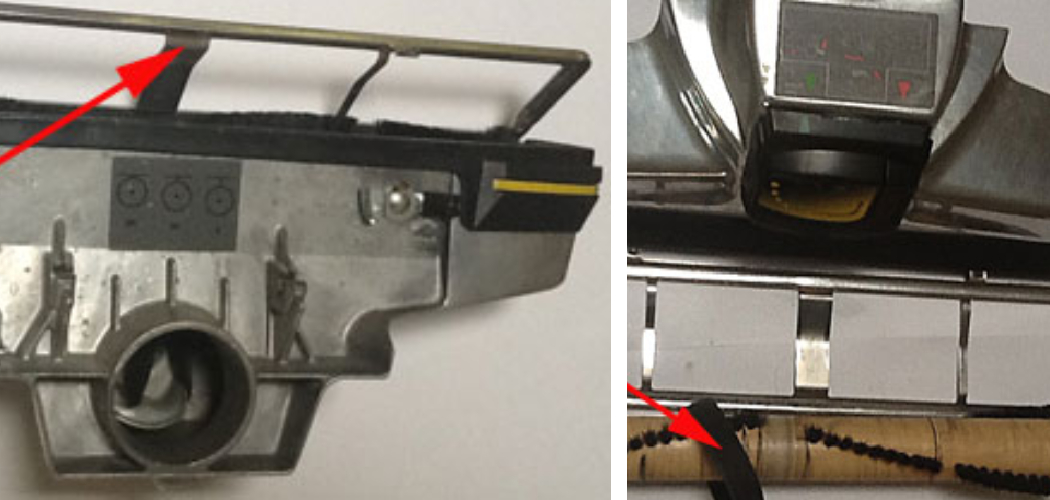
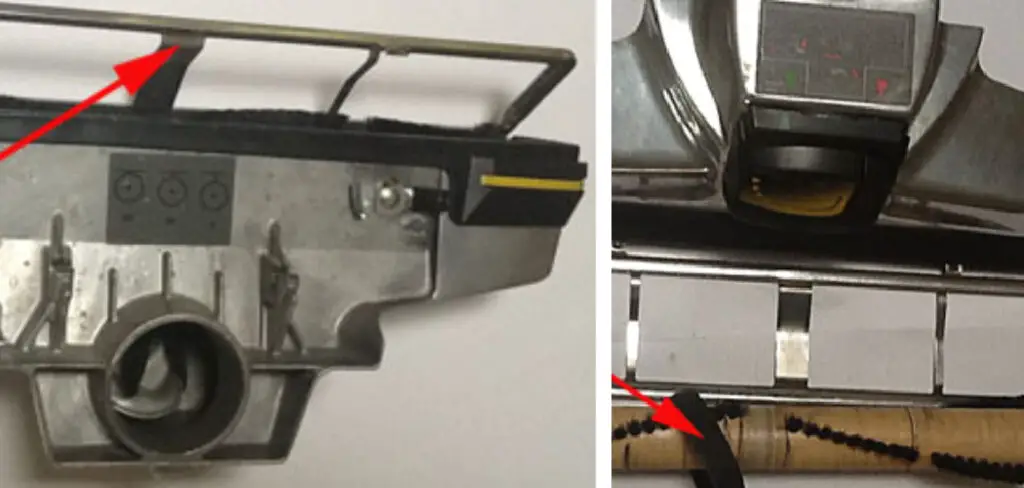
Step 1: Locate the Belt.
Before you start, make sure the power to your vacuum cleaner is turned off. Then, locate the belt on your model – typically it will be located near the bottom of the machine.
Tracking down the belt on your vacuum cleaner can seem like an intimidating task, but it’s quite straightforward. With the power turned off for all models, start by taking a look around the bottom of your vacuum cleaner chassis – that’s typically where you’ll find the belt.
Once you spot the belt, keep in mind its attachment points so that when you reattach the belt during assembly it goes back in correctly. It may seem daunting at first, but with a little patience and precaution, your belt should be installed in no time!
Step 2: Unscrew the Access Cover.
Use your screwdriver or nut driver to remove the screws that hold in the access cover on the underside of your vacuum cleaner. Then, remove the cover and set it aside.
Before getting started with your vacuum cleaner repair, the first step is to unscrew the access cover. This cover can be found underneath the vacuum cleaner and is held in place by several screws.
Using either a screwdriver or a nut driver, you can easily remove these screws for quick and easy access. Once all of the screws have been taken out, carefully set aside the access cover and you’ll be able to continue with your repair.
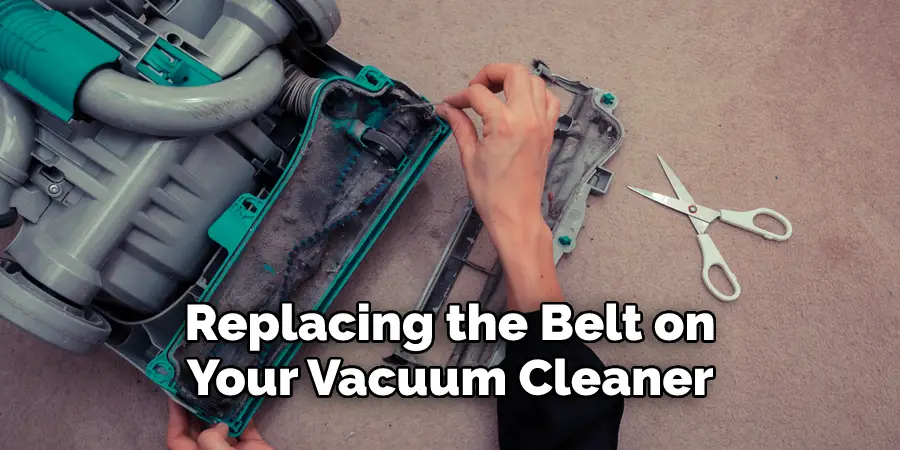
Step 3: Remove Old Belt & Install New Belt.
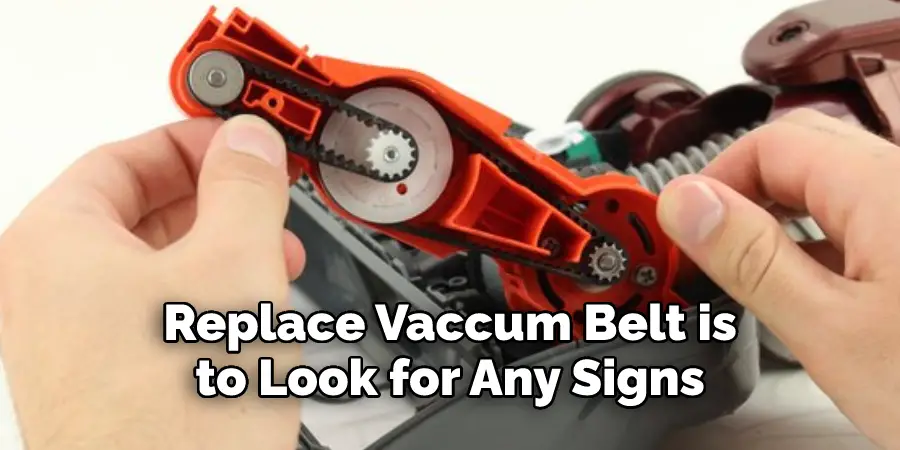
Once you can see inside the vacuum cleaner, you can remove the old belt. You may find it helpful to use a vacuum brush attachment to help with this step. Then, take your new belt and install it following the instructions that came with it, or look for diagrams in the user manual of your model.
Removing the old belt and installing a new one is not rocket science. To start, pop open your vacuum cleaner so you can see inside – this way, you’ll have easy access to the old belt that needs replacing. If it’s stuck on fast, then you may find it helpful to use a vacuum brush attachment to get it off properly. Once that’s sorted, take your new belt and install it with care.
The instructions should be included in your purchase, but if not, diagrams of the assembly process are usually listed in the user manual for your specific model. With a few simple steps, you should have a functioning vacuum cleaner again in no time!
Step 4: Test Your Vacuum Cleaner.
Finally, put everything back together and turn on your vacuum cleaner. Test it out to make sure the new belt is installed properly and working correctly.
After replacing the belt on your vacuum cleaner, it is important to test it out to make sure that the job was done correctly. Reassemble all of the components and then plug in the machine. Vacuum over a few different surfaces and check to see if it produces adequate suction power.
That’s all there is to it! Replacing a Kirby vacuum belt doesn’t take much time or effort, and you’ll be glad you did when your carpets look like new again. How often you should replace your belt depends on how often you use the vacuum cleaner and what type of surface you’re cleaning. Be sure to check out the user manual for more information on when to replace it. Happy vacuuming!
Tips on Replacing Kirby Vacuum Belt
1. Unplug the vacuum cleaner before beginning any repair work.
2. Remove the bottom plate of the vacuum cleaner by unscrewing the screws that hold it in place.
3. Locate the belt that needs to be replaced and remove it from the pulleys.
4. Install the new belt onto the pulleys, making sure that it is routed correctly.
5. Replace the bottom plate and screw it into place.
6. Plug in the vacuum cleaner and turn it on to test the new belt.
7. If the new belt is not working properly, check to make sure that it is installed correctly and that all of the pulleys are turning freely.
8. If the problem persists, consult a Kirby service center for assistance.
9. Be sure to keep spare belts on hand so that you can quickly replace a broken one when necessary.
10. Regularly inspect your Kirby vacuum cleaner for signs of wear and tear, and replace any parts that are worn out or broken.
How Do I Know When It’s Time to Replace My Kirby Vacuum Cleaner Belt?
Knowing when it’s time to replace your Kirby vacuum cleaner belt is an important part of keeping your vacuum in proper working order. If you notice that the performance of your vacuum has been compromised and the suction isn’t what it should be, this could be a sign that it’s time for a new belt.
Another way to tell if you need to replace your belt is to look for any signs of wear or fraying on the old one. Finally, if you answered yes to any of the above questions, you may want to consider changing out your Kirby belt – it usually only takes a few minutes and will help keep your vacuum running like brand new.
How Can I Tell if the New Belt is Installed Correctly?
If you have recently changed or adjusted the belt on a machine, appliance, or another item, it is important to ensure that it has been installed correctly. It can be difficult to tell for certain whether the belt is securely seated in its groove. One way to test this is by turning the pulley that operates the belt.
This should create tension in the system and cause the belt to tighten between two of its supporting pulleys. If there is no tension in the belt, it indicates that it is not correctly positioned and may need to be adjusted further. Additionally, if debris begins accumulating around or underneath the belt, this may also indicate improper installation due to misalignment. To ensure a secure fit for the new belt, double-check that all pulleys are lined up properly before tightening or securing them into place.
Frequently Asked Questions
How Often Should I Check for Signs of Wear and Tear on My Kirby Vacuum Cleaner?
Regularly checking for signs of wear and tear is an important part of keeping your Kirby vacuum cleaner in top condition. It should be done every time you clean – before, during, and after using it – to make sure all the components are functioning properly. You should also take apart the interior filter system at least once a month and replace any worn-out parts (like filters or bags).
Keep an eye out for fraying cords, worn-out wheels, or loose connections that could potentially cause an issue down the road. By routinely inspecting your vacuum cleaner, you can stay on top of any potential issues and keep your Kirby working like new.
How Do You Remove the Bottom Plate From a Kirby Vacuum Cleaner?
Removing the bottom plate from a Kirby vacuum cleaner is not a difficult task, and can usually be accomplished in minutes. The first step is to make sure that the vacuum cleaner has been unplugged. Then look for any screws or clips along the outside edge of the base plate of your Kirby – these may need to be unscrewed, although some models rely solely on snaps.
Once all fasteners are loosened, carefully lift the base plate off of the machine. Be careful to keep track of small parts that might become lost while removing the plate, such as screws or filter tubes. After removing the plate, you will have access to the inside components and can do basic maintenance or repairs as needed.
How Can I Ensure That My New Belt is Routed Correctly in the Pulleys?
Ensuring that a new belt is correctly routed in pulleys is an important step toward making the most of its longevity and performance. One of the simplest ways to begin this process is to check your owner’s manual for visual diagrams showing how the belt should be routed.
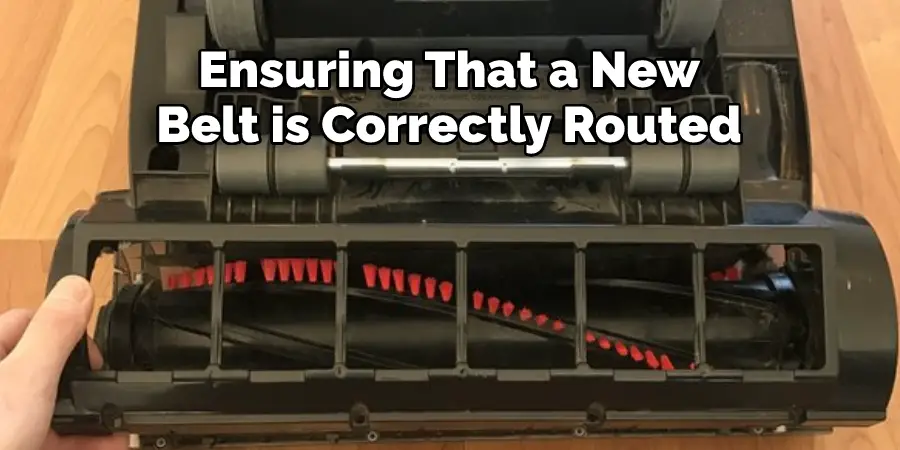
This will provide you with a detailed depiction of how the belt should be connected between any combination of pulleys. Additionally, if you are unfamiliar or uncomfortable with the project, it might be wise to consult an experienced technician for assistance.
With their help, you can confidently ensure that your new belt is properly routed and can feel at ease knowing it will last much longer and perform better than if it had been installed incorrectly.
Conclusion
Although it may seem like a daunting and complicated task, replacing your Kirby vacuum belt is quite easy to do. You should carefully determine how to replace kirby vacuum belt.
By following the steps outlined in this blog post, you’ll have your Kirby vacuum up and running in no time. So don’t wait any longer, get out there and replace that belt!
Rick is a handyman who grew up helping his dad with his business. He learned a lot from him about how to fix things, and also about how to work hard and take care of business. These days, Rick is still into fixing things- only now, he’s doing it for a living.
Rick is always looking for new ways to help people grow and develop. That’s why he started contributing to this blog: to share all his experience and knowledge so that he can help people who are interested in DIY repair.