
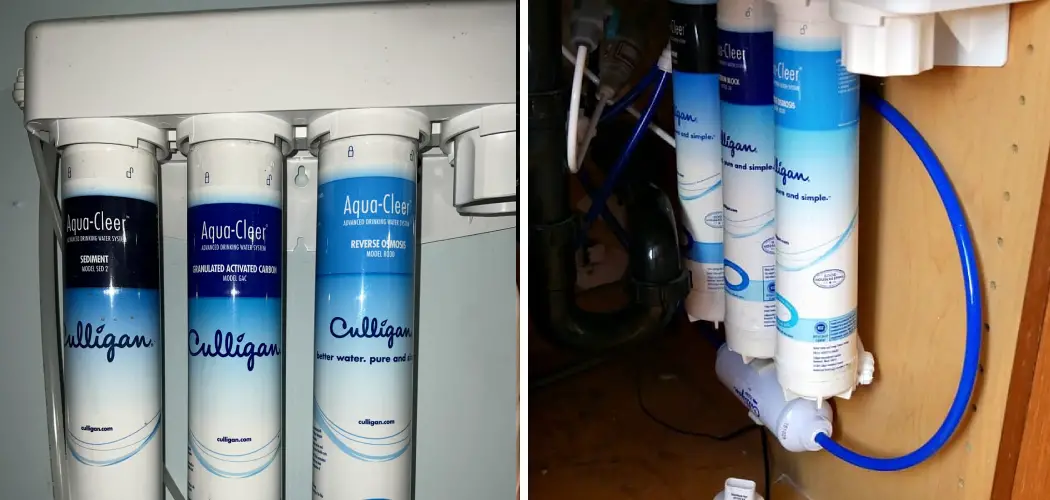
Are you looking for an easy way to replace your Culligan reverse osmosis filters? Are you wanting the cleanest, clearest water from this element of your home’s plumbing system? With the right know-how and a few basic tools, replacing a Culligan reverse osmosis filter is easier than it looks – no matter how daunting it may seem at first. Here, we’ll walk through all the steps needed to get your new filter installed safely and correctly. We’ll discuss everything from choosing the correct filter size to properly caring for your equipment moving forward.

In this blog post, we will provide step-by-step instructions on how to replace culligan reverse osmosis filters with ease. Not only will this save time and effort but also give you peace of mind knowing that all aspects of the system are working efficiently. So let’s get started – read on and find out exactly what needs to be done for a smooth replacement process! Read on as we equip you with all the information necessary to take charge of replacing a Culligan reverse osmosis filter in your household today!
Why May You Want to Replace Culligan Reverse Osmosis Filters?
1 . To Keep Your Water Safe and Clean
Culligan reverse osmosis filters are designed to remove impurities from your water supply, keeping it free of hazardous chemicals, bacteria, and other contaminants. Over time, however, the filters can become clogged, reducing their effectiveness and necessitating replacement. Regularly replacing your filters with new ones will ensure that you continue to have safe, clean drinking water.
2 . To Ensure Peak Performance
Without regularly replacing the filters in your Culligan reverse osmosis system, performance can suffer. Clogged filters can reduce the flow rate of your water and increase pressure inside the tank, leading to a decrease in water quality and taste. Replacing your filters every 6-12 months will ensure that your system continues to work at peak efficiency.
3 . To Maintain Manufacturer’s Warranty
Most Culligan reverse osmosis systems come with a manufacturer’s warranty, usually for 1 year from the date of purchase. In order to keep this warranty in effect, it’s important to regularly replace filters according to the manufacturer’s recommended schedule. Not following this schedule can void the warranty, leaving you responsible for any repairs or maintenance.
How to Replace Culligan Reverse Osmosis Filters in 5 Easy Steps
Step 1: Gather All The Tools
The very first step is to gather the necessary tools and supplies. You will need a filter wrench or adjustable pliers, replacement filters, a bucket, and water shut-off valve or tubing cutters (if needed).
Step 2: Shut Off The Water Supply
Before you begin replacing the filters, be sure to locate the main water shutoff valve and turn it off. This will prevent a flood of water from spilling out as you change the filters.
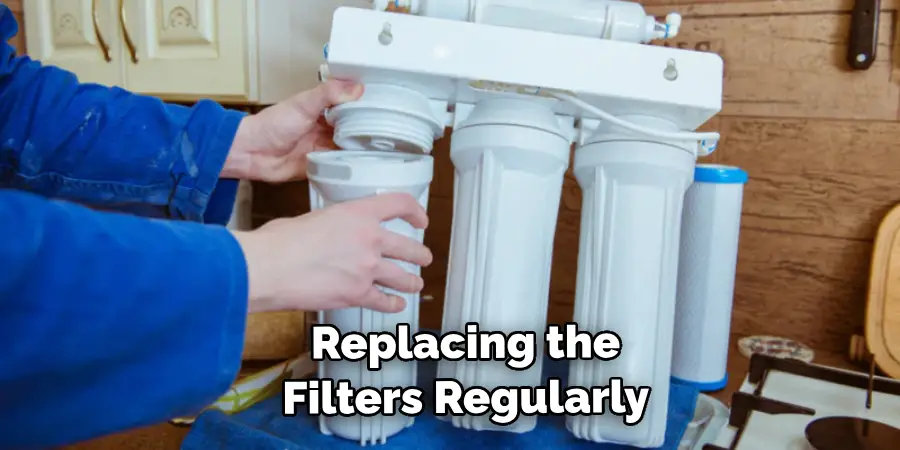
Step 3: Remove The Old Filters
Using your filter wrench or pliers, loosen and remove the old filters from their housings. Place the old filters in a bucket to catch any water that may be left inside them. Also you have to take out the old filter housings.
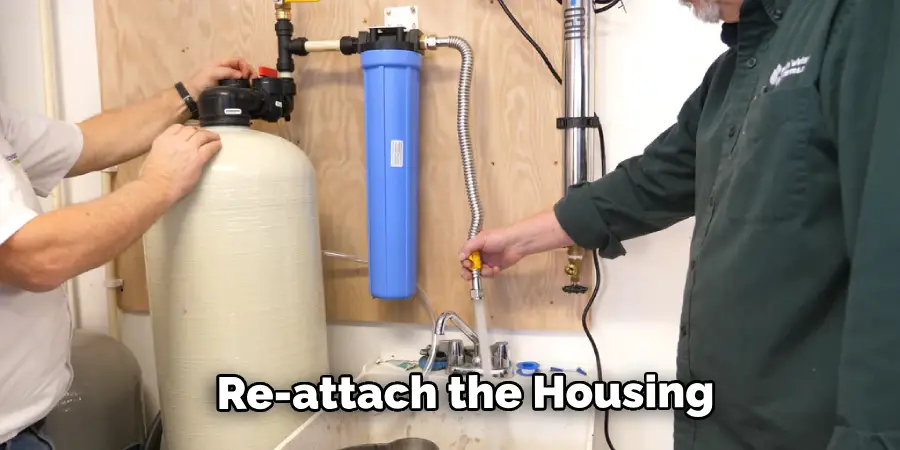
Step 4: Install The New Filters
Take your new filters and carefully insert them into their housings, making sure that they are firmly locked in place. Once the filters are securely in place, you can re-attach the housing to the main water supply line.
Step 5: Turn The Water Back On
Once you’ve completed steps 1-4, all that’s left to do is turn the water back on. Make sure to check for any leaks or drips around the filter housings before turning the main water supply valve back on.
Some Extra Tips to Replace Culligan Reverse Osmosis Filters
1 . Double-check Your Connection
Before you start to replace Culligan Reverse Osmosis Filters, it is important to double-check that all the connections are tight and secure. This will ensure a better flow of water through the filters and reduce the chances of any malfunctioning or damage.
2 . Replace One Filter at a Time
To make sure that you don’t make any mistakes while replacing the filters, it is better to replace one filter at a time. This will also allow you to keep track of each filter’s performance and results over time.
3 . Use the Right Tools
Using the right tools for your Culligan Reverse Osmosis Filter replacement is very important. Make sure that you have all the necessary tools such as a wrench, pliers and screwdrivers to get the job done correctly.

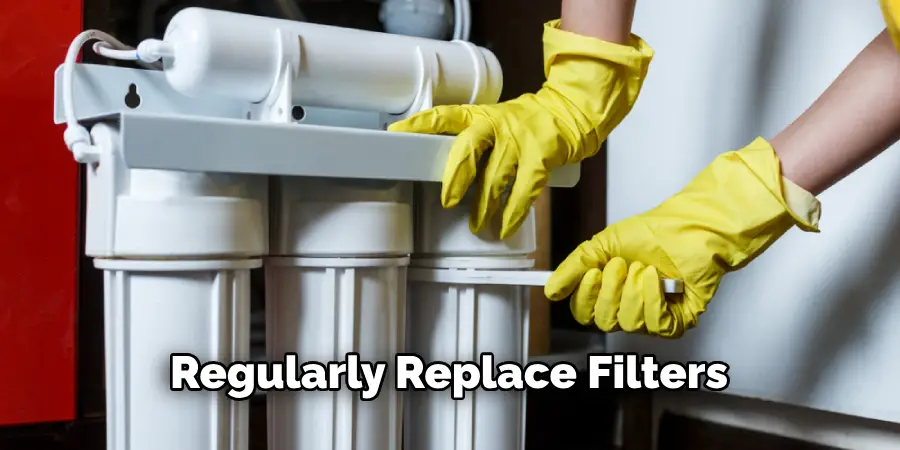
4 . Replace Your Filters Regularly
It is important to remember that Culligan Reverse Osmosis Filters need to be replaced regularly. Depending on your water quality, you may need to replace them every 3-4 months or even more regularly. This will ensure that you are getting the most out of your system and keeping your drinking water clean.
5 . Replace Sediment Pre-filters First
It is always best to start with replacing any sediment pre-filters that you may have before moving on to the other filters in your system. This will help protect your other filters from any dirt and debris before they are replaced.
6 . Change the Direction of the Filters
When replacing Culligan Reverse Osmosis Filters, it is important to remember to reverse the direction of each filter. This will help keep the flow of water going in the right direction and avoid any blockage or reduced efficiency.
7 . Test the Water Quality
Once you have replaced all your Culligan Reverse Osmosis Filters, it is important to test the water quality before using it. This will ensure that anything harmful has been removed and that your drinking water is safe for consumption.
By following these steps, you can easily replace your Culligan Reverse Osmosis Filters and ensure that your water is always safe and clean for drinking. Don’t forget to check the filters regularly to make sure that they are in good working condition!
Frequently Asked Question
What Precautions Should I Take When Replacing My Culligan Reverse Osmosis Filters?
The most important thing to remember when replacing your Culligan reverse osmosis filters is to make sure that you turn off the main water supply before attempting any repairs. This will keep you from getting sprayed with a lot of cold water and protect the integrity of the filter system. Additionally, it is important to use the appropriate filter for your specific system, as different systems require different types of filters.
How Often Should I Replace My Culligan Reverse Osmosis Filters?
The frequency with which you should replace your Culligan reverse osmosis filters depends on how often you use your system and the amount of sediment in your water supply. Generally speaking, it is recommended that you replace your filters every 6 to 12 months. If the water pressure in your system begins to drop, this could be a sign that the filters need replacing.
Does Culligan Provide Replacement Filters for My Reverse Osmosis System?
Yes, Culligan provides replacement filters for all their reverse osmosis systems. The filters are designed to be compatible with your specific system, ensuring that you get the most out of your reverse osmosis system and keep it running smoothly. It is important to purchase replacement filters from a reliable source, so make sure to shop with Culligan directly or an authorized retailer for guaranteed compatibility.
What Are the Benefits of Maintaining My Culligan Reverse Osmosis System?
Maintaining your reverse osmosis system is important for ensuring that you get the most out of it. By regularly replacing the filters, you can ensure that your water supply remains free of contaminants and sediment. This helps keep your water safe to drink and use in other applications, such as cooking or cleaning. Additionally, replacing the filters regularly helps to prevent clogging and reduced water pressure in your system.
What Are the Common Problems With a Culligan Reverse Osmosis System?
The most common problem with a Culligan reverse osmosis system is an accumulation of sediment or debris in the filter. This can cause blockages and reduce water pressure, and can also lead to the system becoming less efficient. Additionally, if filters are not changed regularly, bacteria can build up and cause foul odors or tastes in the water. Regular maintenance and filter replacements can help prevent these problems from occurring.
Conclusion
Replacing Culligan reverse osmosis filters is something that can be done quickly and easily with a little knowledge and materials. The entire process should take no longer than 30 minutes and will give you peace of mind knowing that your water supply is now clean and pure. Plus, it’s much more cost-effective than purchasing a brand-new system!
Now you know how to replace culligan reverse osmosis filters! Make sure to read up on your Culligan replacement filter’s specific instructions in order to ensure a proper swap-out. The water testing results afterward are sure to definitely make the effort worthwhile. As always, make sure to contact your certified Culligan technician for any further assistance or advice. Lastly, remember that replacing your reverse osmosis filters regularly is key to a healthy home!
About
Angela is the chief editor of Indoorense. She began her career as an interior designer before applying her strategic and creative passion to lifestyle and home.
She has close to 15 years of experience in creative writing and online content strategy for housekeeping and cleaning,home decorations as well as other efforts.
She loves her job and has the privilege of working with an extraordinary team. She lives with her husband, two sons, and daughter in Petersburg. When she’s not busy working she spent time with her family.