
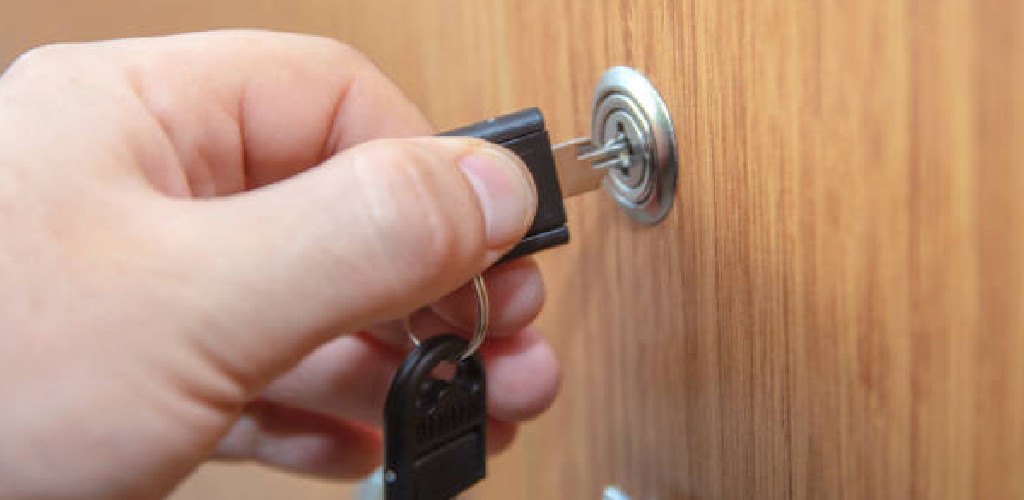
There may come a time when you need to remove the lock cylinder from your desk drawer. Perhaps you have lost your key, or maybe you want to change the locks. Whatever the reason, there are a few simple steps that you can take to remove the lock cylinder without causing any damage. This article will discuss how to remove lock cylinder from desk drawer.

Many older desk drawers have a small lock cylinder attached to the desk’s drawer. The lock cylinder may be outside the drawer or inside the drawer. These locks were likely used to protect money and valuables from prying eyes.
Required Tools and Materials:
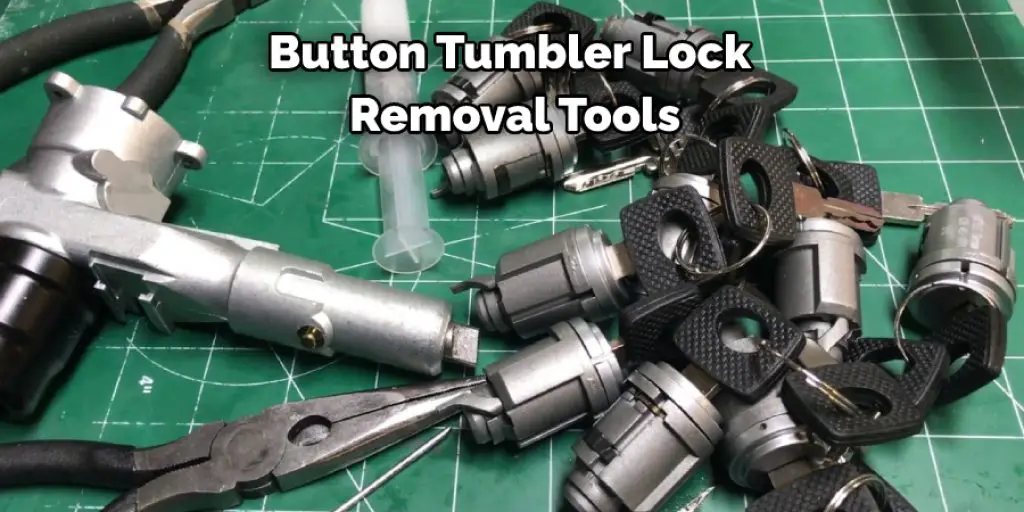
- Button/Pin tumbler lock
- Button tumbler lock removal tools
- An empty paper towel roll or another tube
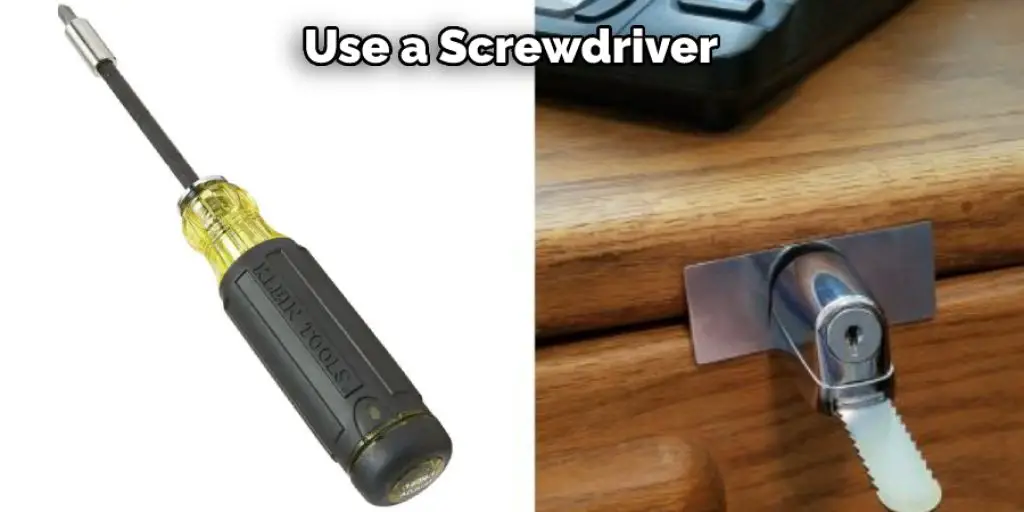
- A screwdriver with a T6 Torx head bit
- One rubber band
- A set of pliers
A Stepwise Guide on How to Remove Lock Cylinder From Desk Drawer
Step 1: Determine How the Lock Works
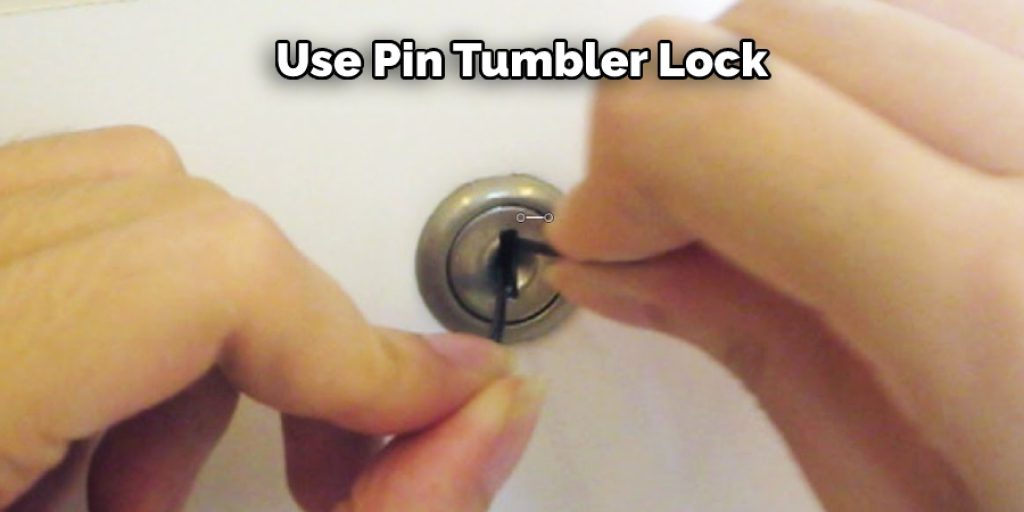
The first thing you will have to do is determine how your desk drawer lock works. You will need to know whether it’s a pin tumbler or a button tumbler lock. Pin tumbler locks are detected by two small holes drilled into the metal of the lock cylinder, whereas button tumblers have a round bump on their side. Also, if any other buttons or pins are in place, it might be challenging to open the lock, especially if they block access to the screws that hold the lock together.
Step 2: Open Up Your Desk Drawer And Examine How The Lock Is Built Into It
Now that you know what kind of lock your desk drawer has, start opening it up. How you do this may vary depending on the type of lock, so it might be challenging to open your drawer if screws are holding it together. Please note how the lock is attached to the inside of your desk drawer and what parts come into contact with each other (the front housing lock cylinder towards the back, metal rods that attach them, etc.
Step 3: Determine Which Parts You Will Have To Remove
Based on what you saw after opening up your desk drawer, there are only a few parts that you will have to remove. The screws that secure these parts together are usually hidden under plastic caps, which you can pop off with your fingers or pliers.
However, when removing these parts, be careful not to lose any of them, especially if they are small pieces like pins and springs. Instead, use tweezers to hold onto them so they won’t get lost. Also, remember how they were arranged inside the lock, so you’ll know where each part goes when assembling it again later on.
Step 4: Loosen the Screws
The next thing you will need to do is remove any screws in place. They will most likely be located on the back of the lock cylinder underneath where it was drilled into place. If there are any other pins or buttons, they should be removed at this point, too, with a small screwdriver. Be careful not to damage the metal around where the pin/button heads are through trying to extract them; otherwise, new holes will have to be drilled, compromising your lock’s security further down the line.
Step 5: Look for Numbers on Back of Lock Cylinder
After all of your pins and buttons have been removed, hold your lock up to look directly at its back. You should be able to see a series of numbers and letters which will look something like this:
3 –> 5 –> 8–> 1 –> 4
If there are only two rows of numbers, you need to find a lock pick with a T6 Torx head bit that matches up with them and insert it into your lock cylinder. If there are three different rows, you might need to drill out the lock cylinder or buy another one altogether.
Step 6: Remove The Lock Cylinder From the Desk Drawer
Once you have all of the necessary parts, it’s time to remove the lock cylinder from your desk drawer. You need an empty paper towel roll or another tube and a rubber band to do this.
First, take one end of your rubber band and put it into one end of the paper towel roll/tube, then stretch it out so that it can go in and out through the other side without breaking easily. Then fix both ends onto either side of one part of your button tumbler lock (choose any part you like) where pins are inserted, for example.
Finally, pull both ends simultaneously towards opposite directions until they snap apart, allowing that part to slide out of place. Once you’ve done this for all parts, the lock cylinder should now be separated from the rest of its contents inside your desk drawer.
Step 7: Open Up The Lock And Remove The Locking Mechanism
Take your screwdriver with the T6 Torx head bit and insert it into either of the side holes of the lock cylinder. Make sure you choose one hole where pins are not inserted since this will affect how the locking mechanism is removed successfully.
Now turn clockwise slowly while carefully holding onto either end, starting with whichever you prefer so long as there’s no pin stuck in them. Once all of the pins have been pushed up together, they should now be able to slide out of place easily, so note which ones they were stuck in for reference when reassembling things later on. Finally, don’t forget to put those extracted pins back inside their corresponding parts in the lock cylinder.
Now that you’ve successfully removed the locking mechanism, you can separate it from the rest of the parts in your desk drawer lock cylinder by using tweezers or pliers. It’s usually stuck to one part, but sometimes it may be difficult to remove, so make sure to pull hard if this is the case. Just keep in mind where each part was positioned when taking it out because reassembling them, later on will not be easy if they are mixed up.
Step 8: Open The Desk Drawer With Your Lock Cylinder
Now that your old desk drawer lock has been taken apart and no longer functions, all that’s left is to insert your paper towel tube into either of the two holes and pull your new lock cylinder out from its packaging.
Now position some paper towels around the rubber band to cushion it as you push it back into place against those pins holding it in place before. Make sure that this part of your desk drawer lock is facing the right way and inserted, especially if some screws are blocking its path, like in my case.
Also, make sure that you position all the other parts on top of each other inside one end of your paper towel roll/tube first, then push them back into place with a screwdriver (or anything else) afterward.
Your desk drawer is ready to be locked with its new lock once again! Ensure that you don’t turn the key too hard in either direction when locking or unlocking; otherwise, it might crack. There’s no need to worry if this happens because you can use a pair of pliers to bend back into place gently. These steps will help in how to remove lock cylinder from desk drawer.
You Can Check It Out to Fit Two Monitors on a Small Desk
Additional Tips:
- When removing the cylinder from a broken key, make sure you insert the new one and try it several times to make sure it works.
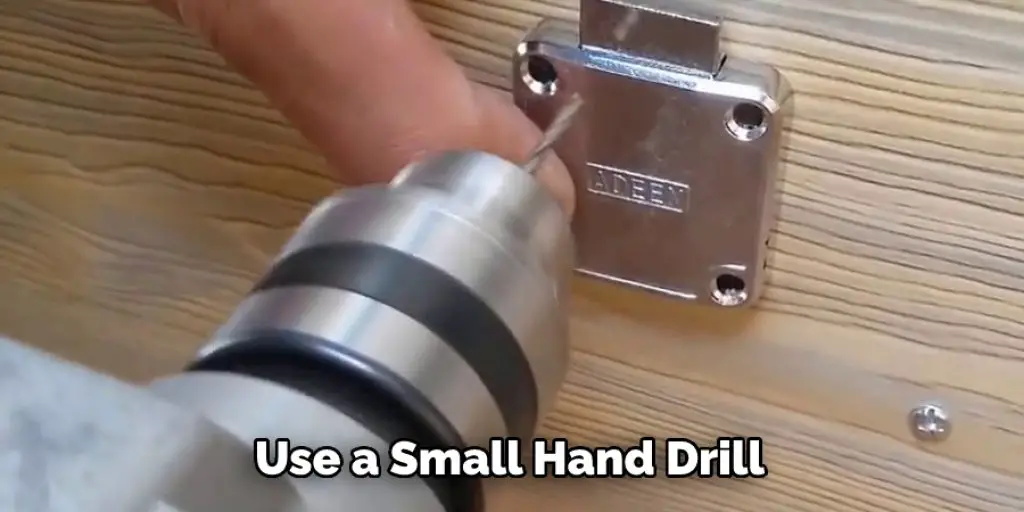
- Unplug your desk lamp when working with the drawer lock. If you have access to a power drill, use that instead of an electric screwdriver for added control.
- Cylinders are inexpensive, so buy several just in case you mess up this project or lose one while taking them apart. You can store these parts in separate plastic bags to avoid remixing them if you don’t have old locks lying around anymore, not to worry! Locks are relatively inexpensive, so purchase five different types before starting this project if need be.
- Though most locks come out without too much effort, some can be stubborn and take up to 30 minutes of prying.
- If the screwdriver is challenging to move through your lock cylinder, add more liquid (oil or WD-40) to it before applying more pressure on the tool.
- Make sure you have a screwdriver with a good handle, so your hand doesn’t cramp up when removing stubborn locks.
- If your lock cylinder still won’t budge, try filing down the tip’s size with sandpaper before using more force to pry it open.
- A magnet can be used in place of a screwdriver, though it’s usually only effective on smaller locks since larger cylinders are thicker.
You can check it out to Cut a Lock Off of A Storage Unit
Conclusion
We hope you have learned how to remove lock cylinder from desk drawer. Now that you have learned how to remove the lock cylinder from your desk drawer, you can feel safe and secure knowing that you can access your belongings when you need them. Remember to always keep a spare key in a safe place in an emergency. Have fun using your new skills!
Michael has always been interested in security and safety. When he was younger, he loved reading books about espionage and crime. This led him to develop a fascination with surveillance systems and home security systems.
He has 8 years of expertise installing, fixing camera problems and door locks. He also gained knowledge by helping homeowners to stay safe and secure in their homes.
Over the years, Michael has gained a great deal of experience in this field. He is responsible for the content development on this blog.