
As a homeowner, you’re likely to face various home repairs and security concerns over the years. If you’re lucky, they’ll be easy fixes that you can complete yourself. But what do you do if you need to remove a Schlage deadbolt lock cylinder? This is a job that’s best left to the professionals, but in case of an emergency or if you want to know how to remove a schlage deadbolt lock cylinder, we’ve put together this guide for you. Keep reading to learn more.
Why Remove a Schlage Deadbolt Lock Cylinder?
There are a few reasons you might need to remove a Schlage deadbolt lock cylinder. If the lock is damaged and needs to be replaced, or if you want to upgrade to a new model, you’ll need to remove the old cylinder first. In some cases, you may also need to remove the cylinder to change the lockset’s combination.
Regardless of the reason, removing a Schlage deadbolt lock cylinder is a straightforward process that anyone can do with the right tools and instructions.
What You’ll Need
Before You Get Started, You’ll Need to Gather a Few Supplies. For This Project, You’ll Need:
- A screwdriver
- A hammer
- A chisel
- A hacksaw
- WD-40 or another lubricant
Once you have everything you need, you’re ready to get started. Read on for the step-by-step instructions.
How to Remove a Schlage Deadbolt Lock Cylinder Step by Step Guide
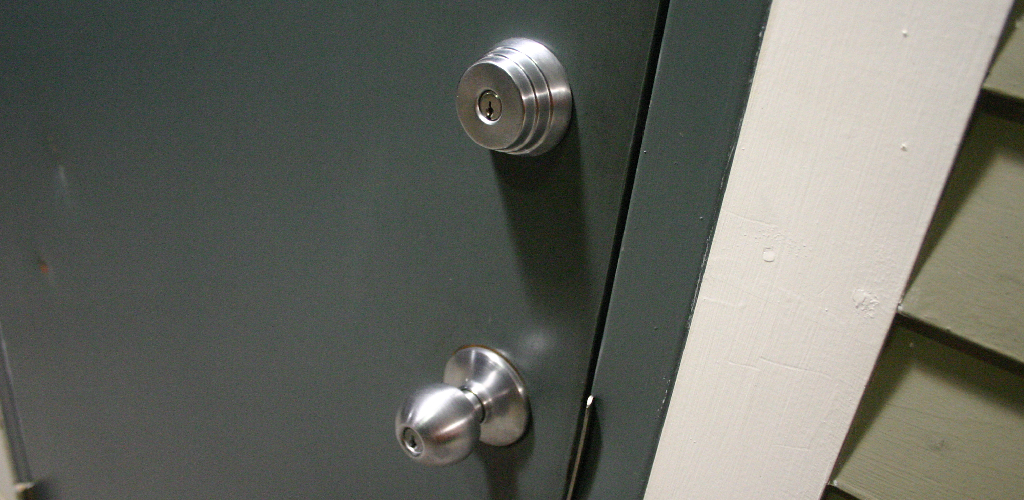
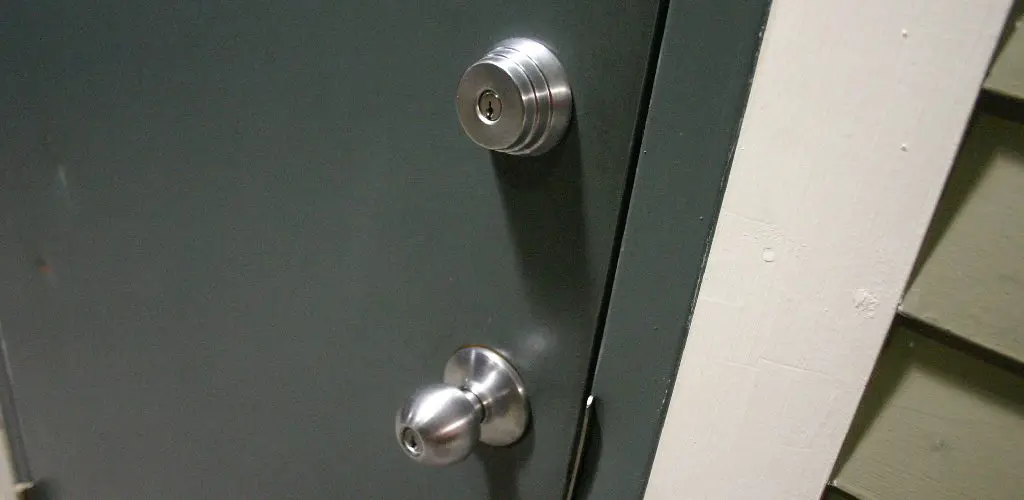
Step 1: Remove the Exterior Knob from The Door
To remove the exterior knob, start unscrewing the two screws that hold it in place. Then, use a flathead screwdriver to pry off the decorative plate. Next, grab the knob and pull it straight off the spindle.
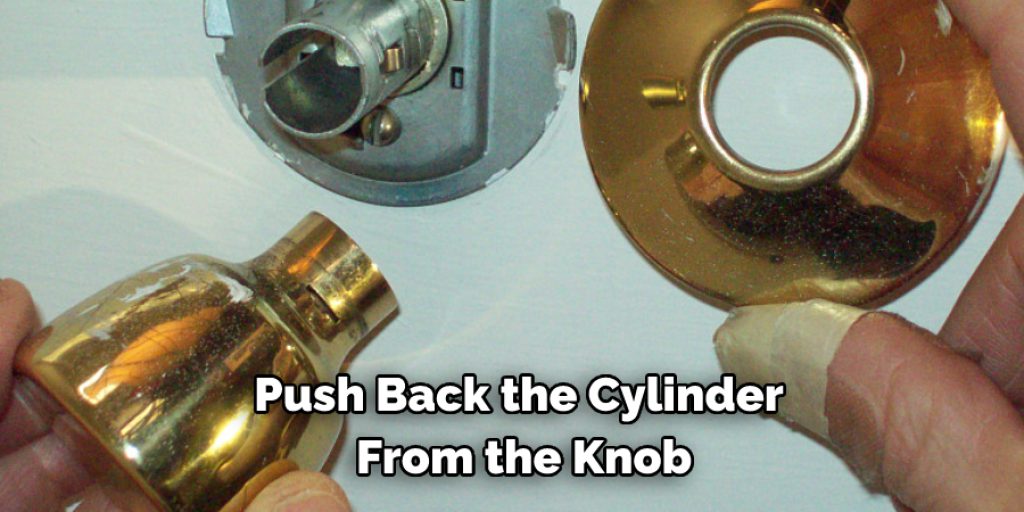
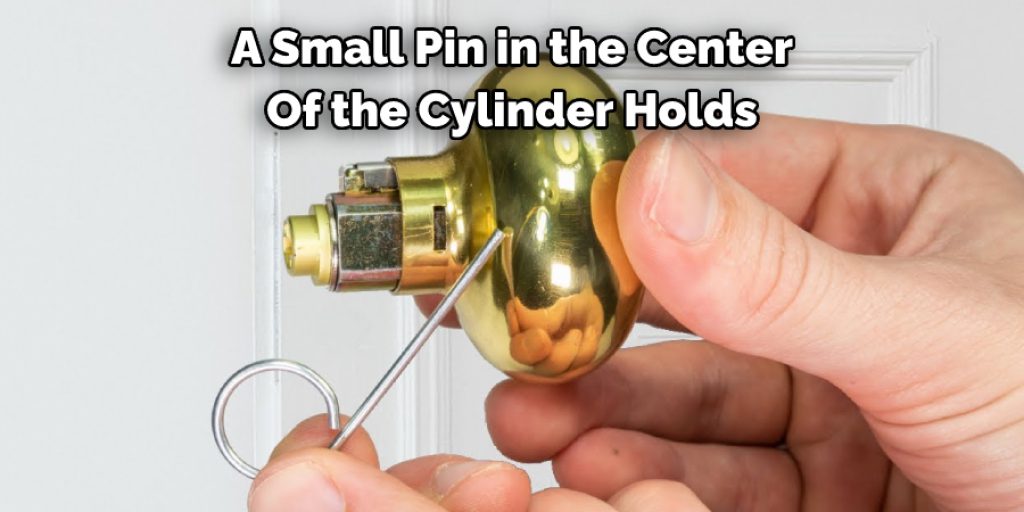
Step 2: Push Back the Cylinder from The Knob
You will need to push it back from the knob to remove the cylinder. A small pin in the center of the cylinder holds it in place. Use a screwdriver or other object to push this pin back and release the cylinder. Once the cylinder is released, you can pull it out of the housing. Be careful not to lose the small retaining clip attached to the back of the cylinder. This clip helps to keep the cylinder in place and needs to be reattached when you replace the new one.
Step 3: Remove the Cylinder from The Knob
A small screw located on the underside of the knob holds the cylinder in place. Use a Phillips head screwdriver to remove it. Once the screw is removed, pull the knob off of the door. The cylinder will now be accessible and can be removed by pulling it straight out. Be careful not to lose any of the screws or pins that hold the cylinder in place.
Step 4: Remove the Cylinder from The Plate
The keyhole on the deadbolt is where the cylinder is inserted. Insert a key into the hole and turn it counterclockwise to remove it. Once it’s loose, pull it out of the hole. If stuck, use a hammer and chisel to pry it out. Be careful not to damage the cylinder or the hole.
If the cylinder is damaged, you’ll need to replace it. To do this, unscrew the screws that hold the plate in place and remove it. Then, unscrew the screws that hold the cylinder and remove it. Finally, replace it with a new cylinder and reassemble the lock.
Step 5: Separate the Two Parts of The Cylinder and Put Them Aside
With the key inserted into the cylinder, turn it to the left. This will loosen the cam on the doorknob. Once it is loose, take the key out and remove the knob by pulling it towards you. Now that the knob is off, you can see two parts of the cylinder – the housing and the plug. To remove the cylinder, unscrew the retaining screws on the housing and pull it away from the plug. The plug can now be removed from the door.
If you are replacing your cylinder, make sure to get one that is the same size as the old one. You will also need to make a new key to match the new cylinder.
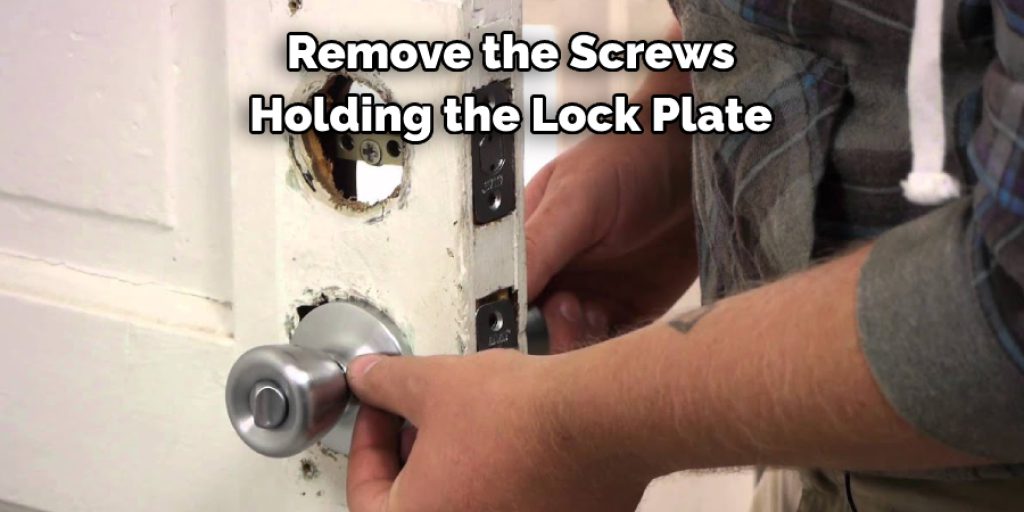
Step 6: Remove the Screws Holding the Lock Plate
The next thing you need to do is remove the screws holding the lock plate in place. These screws will be located on the inside of the door. Once you have removed these screws, you can pull the lock plate off the door.
Step 7: Remove the Strike Plate(if Required)
To remove the strike plate, use a putty knife or similar flat-bladed tool to pry off the cover. This will expose two screws that hold the strike plate in place. Remove these screws and set them aside. With the screws removed, the strike plate can now be pulled away from the doorjamb.
Step 8: Insert the New Cylinder
With the old cylinder removed and the strike plate off (if necessary), it’s time to insert the new cylinder. Start by inserting the key into the new cylinder. This will ensure that the pins are properly aligned. Once the key is in place, insert the cylinder into the hole in the door.
Step 9: Replace the Strike Plate (if Required)
If you removed the strike plate in Step 7, now is the time to put it back in place. Start by aligning the holes in the strike plate with the holes in the doorjamb. Once the holes are aligned, insert the screws you removed in Step 7 and tighten them down.
That’s it! You’ve successfully removed the Schlage deadbolt lock cylinder. Keep reading for more information about how to remove a schlage deadbolt lock cylinder.
How to Re-key a Door Lock
1. Re-keying a Door
When you move into a new residence, it is always good to re-key the locks. This will ensure that previous owners or anyone with a key to your home cannot get in. It is also good to re-key your locks if you lose your keys. Re-keying is not as difficult as possible and can be done in a few simple steps.
2. Remove the Knob
To remove the knob, first, locate the set screw on the underside of the knob. Next, use a flathead screwdriver or Allen wrench to remove the set screw and pull the knob off the spindle. With the knob removed, you should now be able to see the inside of the cylinder.
3. Remove the Cylinder
Now that the retaining screws are removed, the cylinder can be removed. Grab it by the body and pull it straight out. If it’s stubborn, wiggle it a bit until it comes loose. Be careful not to lose the spring and ball bearings inside.
4. Remove the Retainer Ring
Remove the retainer ring by unscrewing it with a flathead screwdriver. The retainer ring is located under the collar of the lock cylinder. Using a pair of needle-nose pliers, remove the retainer ring holding the cylinder in place. This ring is located at the base of the cylinder.
5. Remove the Cylinder Plug from the cylinder
Using a small screwdriver, remove the cylinder plug from the cylinder. The cylinder plug is a small, round piece of metal that covers the end of the cylinder.
6. Insert the Pins and Reassemble the Lock
Once the new pins are in place, you can reassemble the lock. Start by putting the plug back into the cylinder and screwing it in place. Next, put the retention ring or retaining clip back into place. Make sure that it is seated correctly so that the cylinder will not come out when the key is turned. Finally, screw the faceplate back into place and test the lock to ensure it is working correctly.
Follow these steps if you need to remove a Schlage deadbolt lock cylinder. You can easily replace the cylinder and get your lock working again with a few simple tools. If you want to know more about how to remove a schlage deadbolt lock cylinder, keep reading.
Frequently Asked Question
How Much Will It Cost Me to Have a Schlage Cylinder Replacement?
If you wonder how much it will cost you to have a Schlage cylinder replacement, the answer depends on the model of Schlage lock that you have and the locksmith who is doing the work. Generally, however, you can expect to pay between $50 and $100 for this service.
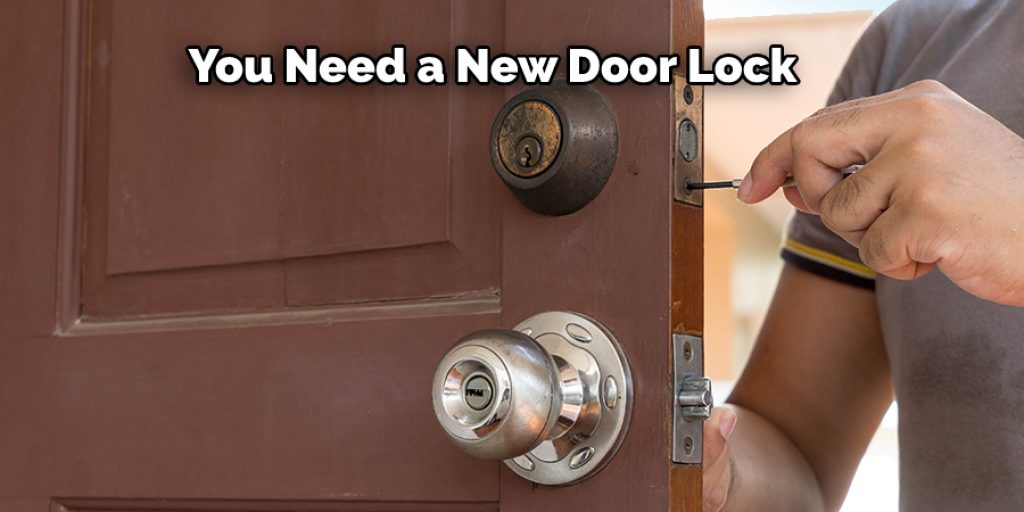
Why You Need a New Door Lock?
When you have a deadbolt on your door, it’s important to ensure the lock cylinder is in good condition. If the lock cylinder is not in good condition, then it can be difficult or impossible to open the door. In some cases, the key may not work at all. If you are having trouble opening your door or the key isn’t working, you may need to replace the lock cylinder.
What About Lockpicking and Lock Bumping?
There are a few different methods of removing a Schlage deadbolt lock cylinder. One is by picking the lock with a specialized tool, and the other is by bumping the lock with a soft object.
Can a Deadbolt Door Be Kicked In?
A deadbolt door cannot be kicked in. A deadbolt door is more secure than a regular door because it has a bolt that goes into the doorframe and prevents the door from being opened if someone tries to kick it in.
Conclusion
So there you have it. Now that you know how to remove a Schlage deadbolt lock cylinder, you should be able to get the job done without any trouble. Just make sure that you have all the necessary tools and take your time with the process. If any steps are still unclear or you run into any problems, feel free to leave a comment below, and we’ll do our best to help out. Thanks for reading!
You can check it out to pick a camper lock with a bobby pin
Michael has always been interested in security and safety. When he was younger, he loved reading books about espionage and crime. This led him to develop a fascination with surveillance systems and home security systems.
He has 8 years of expertise installing, fixing camera problems and door locks. He also gained knowledge by helping homeowners to stay safe and secure in their homes.
Over the years, Michael has gained a great deal of experience in this field. He is responsible for the content development on this blog.