
Adding color to your wood-burning projects can be a fun way to customize your work and add some personal flair. There are several different ways to do this, each with its advantages and disadvantages. In this post, we’ll discuss how to add color to wood burning and give you some tips on getting the best results. Let’s get started!
What Causes Wood to Burn?
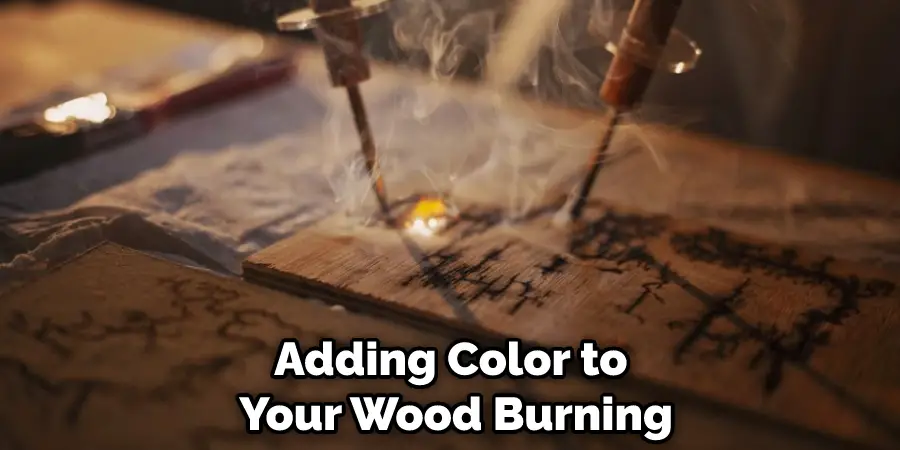
Before we understand how to add color to wood burning, let’s first understand what causes wood to burn. Wood is composed of cellulose, a long chain of sugar molecules. When wood is heated, the cellulose breaks down and releases energy from heat and light. This process is called combustion, which gives wood its unique burning characteristics.
Another important component of wood is lignin, a complex polymer that helps to give wood its strength and rigidity. If you’ve ever seen a piece of wood that has been burned, you may notice that the lignin tends to blacken and char.
Additionally, wood also contains other materials like water, minerals, and resins. These materials can affect how wood burns, but they don’t play a significant role in the combustion process. Finally, the type of wood can also affect how it burns. Hardwoods, like oak and maple, tend to burn slowly and steadily, while softwoods, like pine and cedar, can burn quickly and fiercely.
Why Should You Add Color to Wood Burning?
Now that we understand what causes wood to burn let’s talk about why you might want to add color to your wood-burning projects. There are a few reasons you might want to do this:
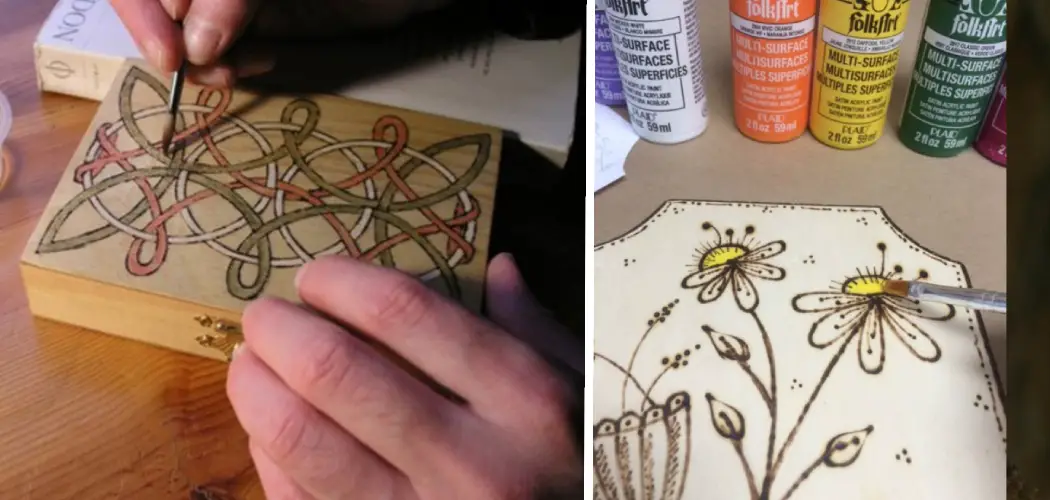
1. To Add Personalization:
Personalization is a great way to make your projects more meaningful and special. Adding color to your wood-burning projects can help you make them your own. You can use color to add your initials, a design, or any other custom touch that will make your project unique.
2. To Create Contrast:
Contrast can be a powerful design tool, and adding color to your wood burning can help you create contrast and visual interest in your work. For example, if you’re working with a piece of wood that is already very dark, you can use light-colored wood burning to create contrast. Conversely, if you’re working with a piece of wood that is very light, you can use dark-colored wood burning to create contrast.
3. To Add Realism:
If you’re trying to create a realistic wood-burning project, adding color can help you achieve that goal. For example, if you’re burning a picture of a tree onto a piece of wood, adding some color can help make the tree look more realistic. Likewise, if you’re creating a landscape scene, adding color to the sky and horizon can help create a realistic effect.
4. To Add Dimension:
Adding color to your wood burning can also help add dimension and depth to your work. This is especially effective if you’re using multiple colors to create a gradient effect. If you want your work to really pop, adding color can help you achieve that goal.
5. To Highlight Details:
Adding color to your wood burning can also help highlight details that might otherwise be missed. This is especially effective if you’re using multiple colors to create a contrast effect. By adding color, you can help make sure that every detail in your work is visible and stands out.
6. To Add Interest:
Adding color to your wood burning can also help add visual interest to your work. If you’re working with a piece of wood that is very plain, adding color can help make it more interesting. Conversely, if you’re working with a piece of wood that is very ornate, adding color can help make it more interesting.
7. To Add Fun:
Lastly, adding color to your wood burning can also be a great way to add some fun to your work. If you’re bored with plain wood burning, adding color can help spice things up. And if you’re looking for a challenge, trying to burn complex designs or patterns with multiple colors can be a great way to test your skills.
Step by Step How to Add Color to Wood Burning
1. Gather Your Materials
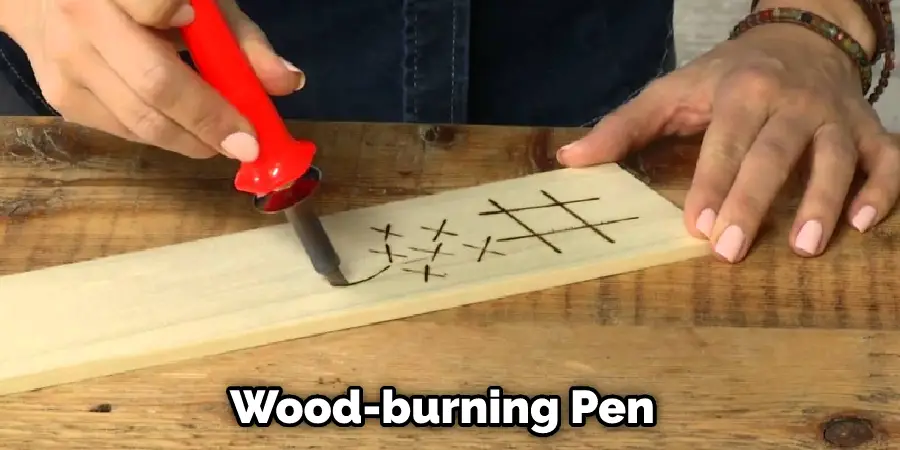
The first step is to gather your materials. You’ll need a piece of wood, some wood-burning tools, and some colored pencils. If you’re working with a large piece of wood, you may also want to consider using a wood-burning pen. Gather all of your materials before you begin so you’re prepared.
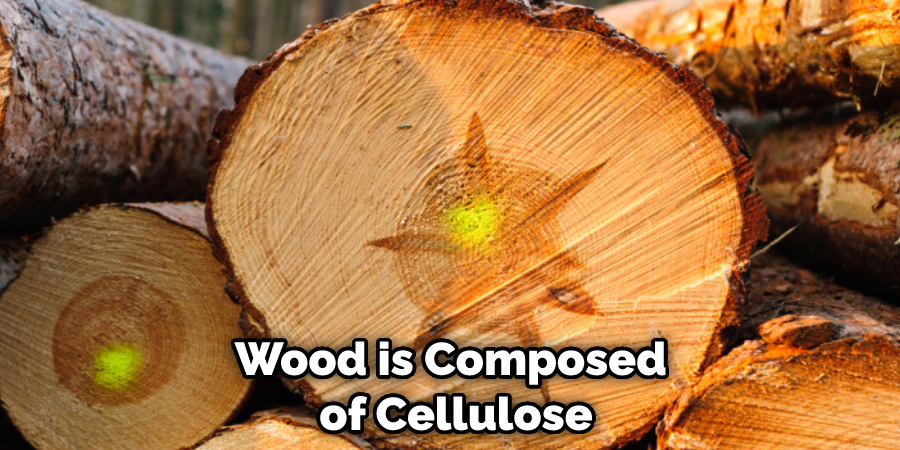
2. Choose Your Colored Pencils
Next, you’ll need to choose your colored pencils. You can use any colors you like, but choosing a few light colors and a few dark colors is a good idea. This will help you create contrast in your work. If you’re not sure what colors to use, start with a basic set of 12 colored pencils. Avoid using more than 12 colors, as this can be overwhelming.
3. Prep Your Wood
Once you have your materials gathered, it’s time to prep your wood. Start by sanding your piece of wood down with fine-grit sandpaper. This will help the pencils glide smoothly over the wood and give you a nice, even surface to work with. Once your wood is sanded, wipe it down with a damp cloth to remove any dust. If you’re using a wood-burning pen, it’s also a good idea to prep the tip of the pen by burning off any residue.
4. Sketch Out Your Design
Now it’s time to sketch out your design. This can be anything you like, from a simple picture to a complex pattern. If you’re not sure what to draw, try looking for inspiration online or in magazines. Avoid tracing your design onto the wood, as this can be difficult to erase. Once you have a sketch that you’re happy with, it’s time to start adding color.
5. Color in Your Design
The next step is to start coloring your design. This is where the colored pencils come in. Start by choosing one of your light colors and coloring in a small section of your design. Then, switch to a dark color and color in another section. Continue alternating between light and dark colors until your design is complete. If you’re using a wood-burning pen, first insert your colored pencils into the pen. Then, start coloring in your design, using light strokes to avoid burning too deep into the wood. If you’re using regular colored pencils, color in your design as you would with any other drawing. Avoid coloring too heavily, as this can make your design difficult to see.
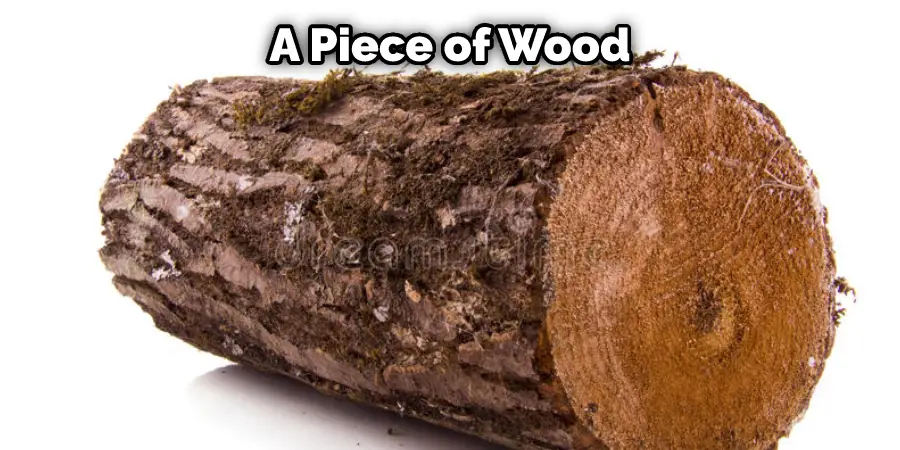
6. Burn Your Design Into the Wood
Once you’ve finished coloring in your design, it’s time to start burning. If you’re using a wood-burning pen, slowly glide the pen over your design, following the lines of your sketch. If you’re using regular colored pencils, hold the pencils close to the wood and lightly burn over the design with a steady hand. Avoid burning too deeply, as this can damage the wood.
7. Let the Wood Cool
Once you’ve finished burning your design, let the wood cool. This will help the color set in and prevent smudging. First, set the wood aside and let it cool completely. Once it’s cool, you can use a soft cloth to buff away any excess pencil lead.
8. Apply a Clear Finish
You can apply a clear finish to your wood-burning project if you want. This will help protect the wood and keep the color from fading. First, sand your project lightly with a fine-grit sandpaper. Then, apply a thin layer of clear finish with a soft cloth. Allow the finish to dry completely before handling the wood. Applying a clear finish to the pen’s tip is also a good idea if you’re using a wood-burning pen. This will help prevent the pen from rusting.
9. Enjoy Your New Wood-Burned Artwork!
You’ve now created a beautiful piece of wood-burned artwork! Hang your artwork on the wall or give it to a friend. Enjoy your new creation, and be proud of your work. Try experimenting with different colors and techniques to create different effects.
Tips and Warnings on How to Add Color to Wood Burning
Tips:
- Make sure your wood-burning tool is clean before you start. Any dirt or residue will show up in the final product.
- Experiment on a piece of scrap wood before you commit to adding color to your project. This will help you get a feel for how the color will turn out and what techniques work best.
- Use a light touch when adding color. Of course, you can always add more, but it’s difficult to remove excess once it’s been applied.
- Be sure to protect your work surface from any stray pieces of color.
- When using multiple colors, apply the lightest shade first and then build up to the darker hues.
- Warnings:
- Do not add color to wood that will be used for food preparation or eating surfaces.
- Be sure to follow all manufacturer’s instructions when using any wood-burning tool.
- Use caution when working with hot tools and chemicals. Wear protective gear if necessary.
- Do not leave your project unattended while the wood-burning tool is still hot.
Conclusion
So there you have it! Now you know how to add color to wood burning. With a little practice, you’ll be able to create beautiful, one-of-a-kind pieces of art. So get out there and start experimenting! We hope this guide has been helpful. Thanks for reading!
You Can Chack it Out to Hide Fireplace Vents