
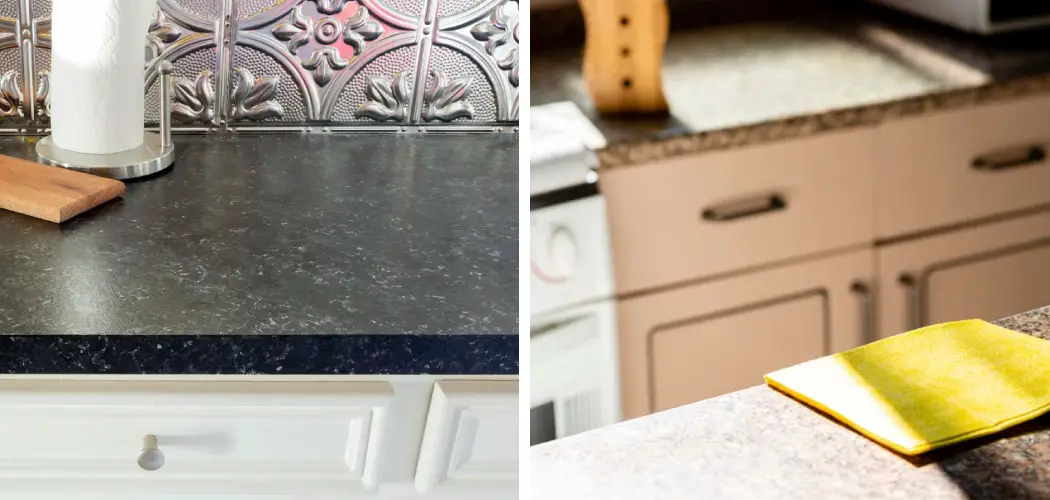
When you’re looking to freshen up an old countertop, painting it can often be a great way to go. Not only can it give your countertop a new lease of life and boost its visual impact in the kitchen, but it’s also usually much more cost-effective than buying and replacing it with a whole new countertop.

However, when you decide to repaint your countertop, one thing you don’t want is for the paint to start coming off in chips or flakes – that’s why before you begin the project, learn how to properly remove the existing paint from your countertop should be step number one! Read on for some essential steps on how to remove countertop paint needed to thoroughly rid your kitchen workspace of any tired old paint.
Is Removing Countertop Paint Difficult?
Removing countertop paint isn’t technically difficult, although it does depend on how much of the existing paint is still adhering to the surface. The more firmly attached to your countertop, the paint is, the more intense and time-consuming your removal process will be. Generally, you should expect removing countertop paint to involve some laborious scrubbing and a few harsh chemicals, so be prepared to put in the elbow grease!
Things to Consider Before Starting
Before you jump straight into removing your countertop paint, there are a few considerations to take into account first. Firstly, what type of paint was used on the countertop? If it’s oil-based or enamel-based paint, then treating it with a chemical stripper will be the most effective method – whereas if you have latex-based paint, then sanding it off is the best approach.
Secondly, make sure you use protective gear when removing countertop paint – this means ensuring your hands and face are protected with gloves, goggles, and a respirator if need be. Painting involves strong fumes so it’s essential to take the necessary precautions before starting.
What You Will Need
- Paint scraper/spatula
- Concrete sealer or remover
- Sandpaper (medium and fine grade)
- Protective gloves and eyewear
- Rubbing alcohol
- Abrasive cleaner or degreaser
- Vacuum cleaner and dust masks (optional)
10 Steps on How to Remove Countertop Paint
Now that you know the basics of removing countertop paint, it’s time to get started! Here are 10 steps that will help you successfully remove any existing paint on your kitchen or bathroom counter:
Step 1: Scraping
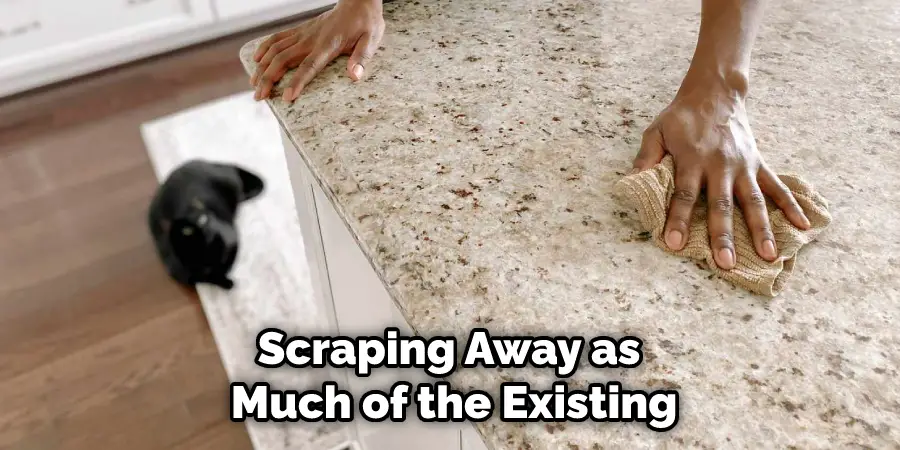
Start by scraping away as much of the existing paint as you can with a spatula or paint scraper. Be careful to only scrape in one direction and be gentle to avoid damaging the countertop material.
Step 2: Sealer or Remover
If there is still paint left on the countertop, apply a concrete sealer or remover to soften the paint and make it easier to remove. Let this sit for several minutes before moving on to the next step. The sealer or remover should be specifically designed for use on concrete surfaces.
Step 3: Sanding
Once the sealer or remover has been applied, start sanding the paint off with medium-grade sandpaper. Move your hand in a circular motion to ensure all areas of the countertop have been adequately smoothed down. Once done, use fine-grade sandpaper to further smooth the surface.
Step 4: Vacuuming
After you have finished sanding, use a vacuum cleaner to remove any dust and debris from the countertop. This is especially important if you don’t want to risk breathing in paint particles when using rubbing alcohol later on.
Step 5: Abrasive Cleaner
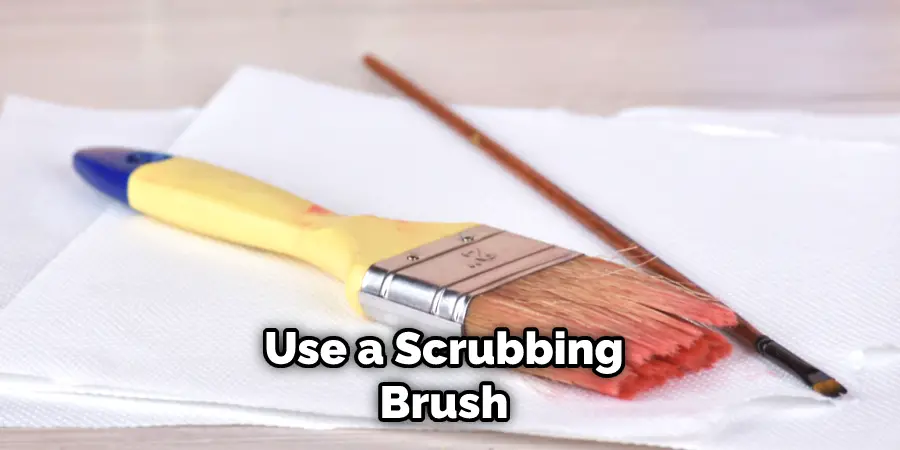
Apply an abrasive cleaner or degreaser to the surface of the countertop and use a scrubbing brush (or something similar) to remove any remaining paint. This should help to loosen up any stubborn areas where paint may still be sticking.
Step 6: Rubbing Alcohol
Once you have finished using the abrasive cleaner, let it sit for around 10 minutes before wiping down the countertop with rubbing alcohol. This should help to further dissolve any remaining paint and get your countertop back to its original state.
Step 7: Wipe Down
Once you have finished using the rubbing alcohol, wipe down the surface of the countertop with a damp cloth. This will help to remove any remaining traces of paint and clean up the area before you can fully enjoy your newly refreshed countertop.
Step 8: Re-Seal
You should also apply a fresh coat of sealer to ensure the surface is well-protected against future staining or damage. Re-sealing your countertop will also help to maintain its original shine and keep it looking as good as new for longer.
Step 9: Clean Up
Once you have finished re-sealing the countertop, make sure to clean up any mess that you may have made in the process. This includes wiping down the tools and materials used, vacuuming the area, and properly disposing of any debris or paint residue.
Step 10: Enjoy!
Finally, sit back and enjoy your newly refreshed countertop! You can now safely use it in your kitchen without worrying about any old paint ruining its appearance.

Remember to always take safety precautions when removing countertop paint, as it can involve strong fumes and hazardous materials. Wearing protective gloves and eyewear is recommended to ensure your safety while working on the project. Following these 10 steps should help you successfully remove any existing paint from your countertop so that you can enjoy a clean and beautiful surface for years to come.
8 Safety Precautions to Follow
- Always wear protective gear, such as goggles, gloves, and a face mask, when handling chemicals. Protective wear will help protect you from any hazardous materials that may be present in the countertop paint.
- Ensure that the area where you are working is well-ventilated and free of ignition sources such as open flames, sparks, or cigarettes. Poor ventilation can be extremely dangerous when working with chemicals.
- Check the label of the paint you are removing to make sure that it is non-flammable and safe for use in the area you are working in. Keep the paint away from sources of heat and flame.
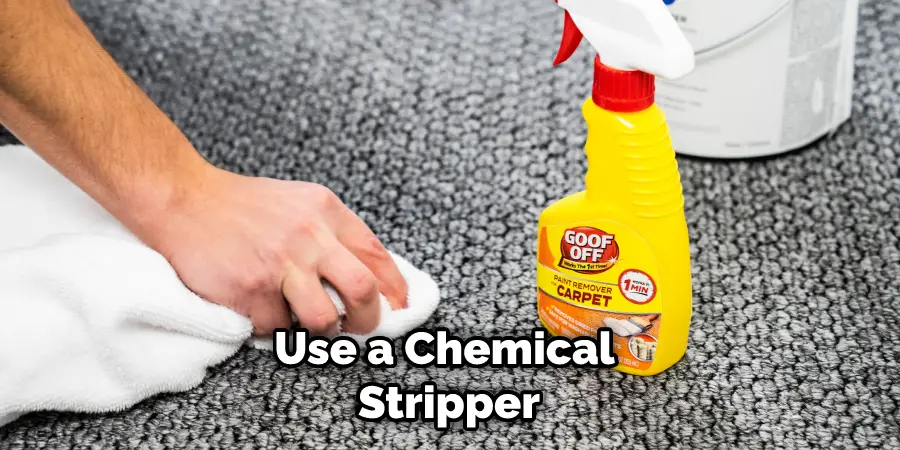
- Use a chemical stripper or paint remover to remove the countertop paint. Follow all instructions on the product label before use, and make sure you understand any warning signs printed on the packaging.
- Apply the chemical stripper evenly over the surface of the paint with a brush and allow it to sit for the suggested amount of time according to the instructions on the product label.
- Once the paint has become soft, remove it from the surface with a scraper or putty knife. Be careful not to leave any residue behind, as this could cause future damage.
- After you have removed all the paint, rinse the area with warm water and mild detergent. Rinse until all soap residue has been removed.
- Once you have finished cleaning the surface, allow it to dry completely before applying any new paint or coating. Make sure that no chemical residue is left behind before applying a new coat of paint.
Always wipe away any excess paint or stripper before you start. Following these steps can help ensure that your countertop remains safe and looks great for years to come. How to remove countertop paint safely is an important step in keeping your counters looking beautiful.
Frequently Asked Questions
How Long Will It Take to Finish the Project?
It typically takes one to two days to completely remove countertop paint from a surface. However, the exact time needed will depend on the size of the area that needs to be painted and if any additional detailing is required. It depends on the skill of the painter as well. An experienced painter should be able to complete the project much faster than a novice.
Additionally, some types of paint may require additional time to remove due to their characteristics, such as stickiness or viscosity.
Do I Need Special Tools or Supplies?
Yes, you will need specific tools and materials in order to remove countertop paint. Depending on the type of paint you are dealing with, you may require a specific kind of paint stripper or chemical solvent. Additionally, you will need scrubbing tools such as steel wool, sandpaper, or a wire brush to remove stubborn paint. Lastly, protective gear like gloves and goggles should be worn when dealing with harsh chemicals.
What Kind of Paint Should I Use?
When painting countertops, it’s best to use latex-based acrylic paint. This type of paint is durable and easy to clean up after the project is completed. Additionally, it will provide an attractive finish that is resistant to scratches and wear. For an even more resilient finish, you can also opt for oil-based paint. However, this type of paint is prone to yellowing and will require regular maintenance.
Conclusion
Removing countertop paint is not a super simple task, but with the proper time and dedication, removing old countertop paint can be a relatively straightforward process. Given the right materials, tools, and instructions on how to remove countertop paint you should have no problem removing that outdated countertop paint in your kitchen, bathroom, or wherever else you might find it.
With the right guidance and effort, your kitchen or bathroom can look more up-to-date without having to spend hundreds of dollars on new countertops! So break out the gloves, goggles, and respirator mask, and get some sandpaper and denatured alcohol ready – it’s time to start removing that unappealing countertop paint from your home!
About
Angela is the chief editor of Indoorense. She began her career as an interior designer before applying her strategic and creative passion to lifestyle and home.
She has close to 15 years of experience in creative writing and online content strategy for housekeeping and cleaning,home decorations as well as other efforts.
She loves her job and has the privilege of working with an extraordinary team. She lives with her husband, two sons, and daughter in Petersburg. When she’s not busy working she spent time with her family.