

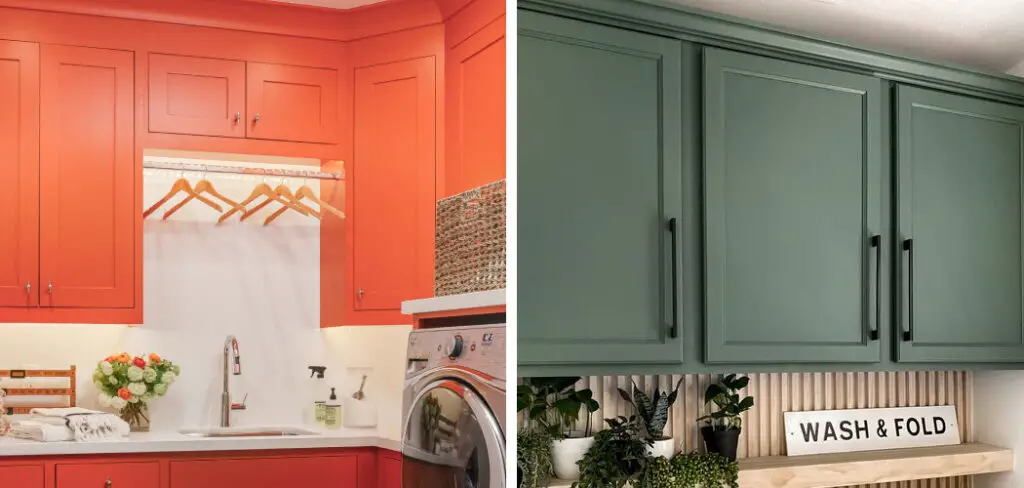
Do you have old cabinets in your laundry room that need some attention? If so, it may be time to give them a fresh coat of paint. Painting cabinets might seem like an intimidating task, but with the right tools and step-by-step instructions on how to paint laundry room cabinets, anyone can transform their dingy or dated laundry room cabinets into custom showpieces.
In this blog post, we’ll walk you through how to properly prepare and paint your cabinets for both decorative purposes as well as for increased functionality – plus tips on how to finish off the look with additional touches such as new hardware or using the painted surfaces to cover wallpaper or brighten up other items around the house!
Keep reading if you’re ready to create beautiful customized results without spending a lot of money.
What Will You Need?
Before you start painting your cabinets, it’s important that you have all the necessary tools and supplies on hand. You will need:
- Paint – either an oil or latex-based paint in a variety of colors
- Sandpaper
- Paint primer
- Paint brushes and rollers for larger surfaces
- Masking tape
- Drop cloths to cover the floor and surrounding areas
Once you’ve gathered all your supplies, it’s time to start prepping your cabinets.
10 Easy Steps on How to Paint Laundry Room Cabinets
Step 1. Remove Doors and Hardware
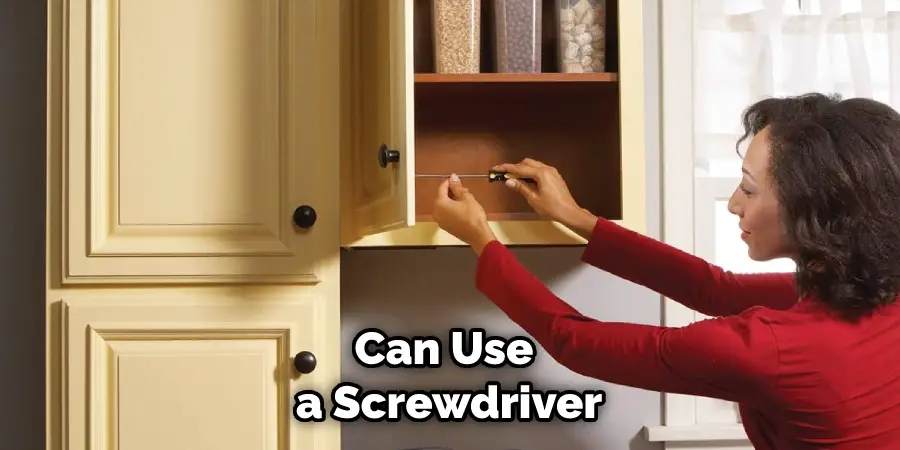
Start by removing all the doors and hardware from your cabinets. You can use a screwdriver to remove the hinges, screws, and knobs. Take extra care with any delicate hardware, such as ceramic knobs or handles. It will be easier to paint them separately and then reattach them after finishing the painting process.
Step 2. Clean the Cabinets
Once all the doors and hardware have been removed, clean the cabinets with an appropriate cleaner such as TSP (trisodium phosphate) or a mild degreaser. This will remove any dirt and grime so the paint can adhere properly to the surface. Make sure you let them dry completely before moving on to the next step.
Step 3. Sand Smoothly
Using sandpaper, lightly sand down your cabinets until they are smooth and free from imperfections. This will help create a nice finish for your new paint job. You can use a sanding block for larger surfaces and fine-grit sandpaper for smaller areas.
Step 4. Apply Primer
Once the cabinets are clean and sanded, it’s time to apply a primer. This will help the paint adhere more easily and evenly to the surface of your cabinets. Ensure you let the primer dry completely before moving on to the next step.
Step 5. Paint with Brushes & Rollers
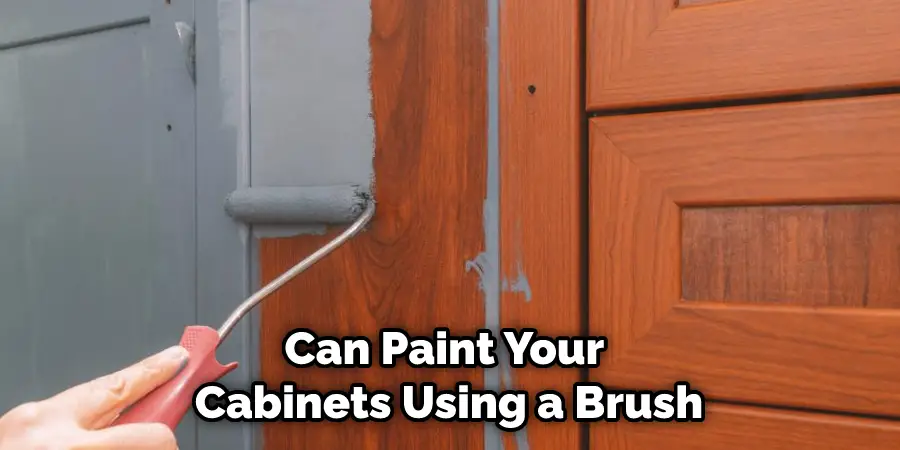
Once the primer is dry, you can paint your cabinets using a brush or roller. Start with the doors and drawers first before moving on to the main body of the cabinet. Use long, even strokes for best results.
Step 6. Let the Paint Dry Completely
Let your cabinets dry completely before replacing any hardware or doors. You can also use a hairdryer to speed up the drying process, just make sure it’s on the lowest setting. Don’t rush this step, as you want to ensure the paint is fully set before handling your cabinets.
Step 7. Reattach Doors and Hardware
You can reattach the doors and hardware after your paint job is finished. Take extra care with any delicate items, and make sure everything is securely fastened. Another tip is to line up the door frames with a level or ruler before reattaching them.
Step 8. Add Finishing Touches
If you’d like to add some extra detail or character to your cabinets, now is the time! You can paint on decorative patterns with a brush or use wall decals as an easy way to liven up old cabinets. Moreover, you can also replace the old hardware with new pieces if desired.
Step 9. Clean Up
Once your cabinets are installed, clean up any paint spills or splatters from the surrounding area and floors. You can use a damp cloth or sponge to get rid of any traces. There’s nothing worse than ruining the look of your freshly painted cabinets with paint stains!
Step 10. Enjoy Your New Look!
Now that you’ve finished painting your cabinets, it’s time to sit back and enjoy the fruits of your labor! Your cabinets will be a beautiful addition to your laundry room and an easy way to add more style and function to the space. Remember to take some time to admire all the hard work you’ve put in and how amazing your cabinets look!

We hope this blog post has given you useful tips for painting laundry room cabinets. With these simple steps, you’ll be able to create stunning showpieces that will last for years. Have fun and get creative!
5 Additional Tips and Tricks
- Clean the cabinets thoroughly before painting. This will remove any dirt and grime that could affect how your paint adheres to the surface.
- Choose the right type of primer for your project. Oil-based primers work best with oil-based paints, and latex primers work best with latex paints.
- Use sandpaper to lightly scuff up surfaces before painting them to help ensure a good bond between the paint and the surface.
- Apply two coats of paint, allowing adequate time for each coat to dry before applying another one over top of it.
- Seal painted surfaces with a clear sealer or varnish when finished to protect them from moisture and wear damage over time. This will help maintain the appearance of your cabinets for years to come.
With these tips and tricks in mind, you should now be ready to tackle how to paint laundry room cabinets like a pro.
5 Things You Should Avoid When Painting Laundry Room Cabinets
When it comes to painting laundry room cabinets, there are some things you should avoid in order to get the best results. Here are five of them:
- Unprepared Surfaces: Before painting, ensure your cabinets and surfaces have been properly prepped. Remove any existing paint or varnish with a scraper and sandpaper, then wipe down the area with a damp cloth to remove dust particles. Applying paint over an unclean surface will result in uneven coverage and peeling later on.
- Skipping Primer: Always use a quality primer before applying the top coat of paint to your laundry room cabinets. It’s essential for providing a smoother surface and better coverage. It also helps prevent chipping and fading over time.
- Not Using High-Quality Paint: When painting laundry room cabinets, you want to use the best quality paint possible. Cheap paints will chip off easily and won’t last as long as more expensive ones. Look for products that are specifically designed for cabinets and other surfaces in wet areas like your laundry room.
- Painting Without Testing: Before painting all of your cabinets, do a test run on an inconspicuous area first. This way, you can check whether the color looks good or if there are any problems with how the paint covers the surface before you commit to doing the entire job.
- Not Protecting the Finished Product: After all your hard work, you don’t want to have it ruined by water damage or scratches. Make sure to apply a protective sealant over the paint once it has dried completely. This will help keep it looking like new for years to come.

Following these tips on painting laundry room cabinets will help ensure your job looks professional and lasts for years.
5 Painting Theme Ideas for Your Laundry Room Cabinets
Now that you know paint laundry room cabinets, why not take it up a notch and add some creative flair to your project? Here are five theme ideas you can use to make painting your cabinets even more fun:
- Monochromatic: Use a single color to paint all the cabinets, but layer different shades and textures to give them dimension.
- Color Splash: Choose a bright, contrasting color to paint the cabinets and then use a neutral shade for the rest of the room.
- Ombre: Create a gradient effect by painting the cabinets from light to dark or from dark to light.
- Patterned: Use stencils and tape to create patterns on the cabinets, such as chevrons, diamonds, stripes, or polka dots.
- Natural Elements: Incorporate organic elements into your design with painted leaves, flowers, trees, or branches.
With these ideas in mind, you can be sure that the end result will be stunning!
Conclusion
Congratulations! You made it, you finished painting your laundry room cabinets. That’s a huge accomplishment that shouldn’t go unnoticed.
Hopefully, this tutorial on how to paint laundry room cabinets helped you through the process, and you found it straightforward and simple. You should be proud of the hard work you put in, especially when it comes to the prep work and sanding, which have the most dramatic impact on the finished look of the cabinets.
By taking time with this project, you did something special for both yourself and your home, creating a wonderful and inviting atmosphere for whatever activities lay ahead. Now that the job is done kick up your feet and pat yourself on the back – you deserve it!
About
Angela is the chief editor of Indoorense. She began her career as an interior designer before applying her strategic and creative passion to lifestyle and home.
She has close to 15 years of experience in creative writing and online content strategy for housekeeping and cleaning,home decorations as well as other efforts.
She loves her job and has the privilege of working with an extraordinary team. She lives with her husband, two sons, and daughter in Petersburg. When she’s not busy working she spent time with her family.