
Are you interested in learning how to paint a pool table? Whether you’re giving your game room an upgrade or restoring a vintage piece, painting a pool table is easy with the right supplies and methods. With some simple preparation and know-how, you can transform even the plainest billiard table into something special that adds style to your home.
In this blog post, we’ll walk through the steps for painting and refinishing any pool table. We’ll cover everything from prepping the surface to selecting appropriate materials to get your DIY project off on the right foot. Keep reading for helpful tips on transforming that boring old cue holder into a work of art!
Is Painting Pool Table a Good Idea?
Painting a pool table is an economical and creative way to give your game room a unique look. You can even use the same techniques for refinishing vintage tables or giving them a modern touch. Painting a pool table also helps to keep it looking good for years, as scratches and dings can be easily covered up with new layers of paint.
Just make sure to use the right type of paint and primer, as using the wrong kind can damage your pool table’s felt or other materials. It is also important to use a brush that won’t scratch the surface and a few drop cloths to catch any drips.
Things to Consider Before Starting
Before you start painting your pool table, make sure you have all the supplies ready and that you know what kind of paint to use.

It’s also a good idea to do some research on the type of table you will be working with. Different materials can require different approaches when it comes to sanding, priming, and painting.
Finally, make sure you have a well-ventilated area to work in. Painting with oil-based paints can release harmful fumes into the air, and you don’t want to breathe them in.
Needed Tools and Supplies
Before you start your project, make sure you have the following materials:
- Drop cloths or tarps to cover the area around the pool table
- Sandpaper (fine and medium)
- Primer
- Paint (oil-based is best for pool tables)
- Brushes
- Paint tray
- Masking tape
10 Steps on How to Paint a Pool Table
Step 1: Prepare the Area
Before you start painting, cover the surrounding area with drop cloths or tarps to keep paint from splashing on furniture, carpets, and walls. If you don’t have any drop cloths, newspapers will also do the job.
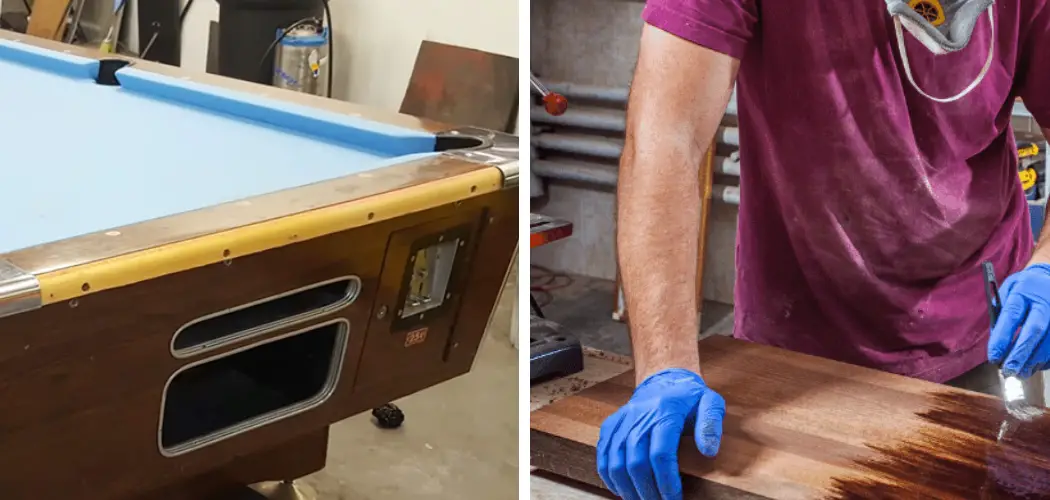
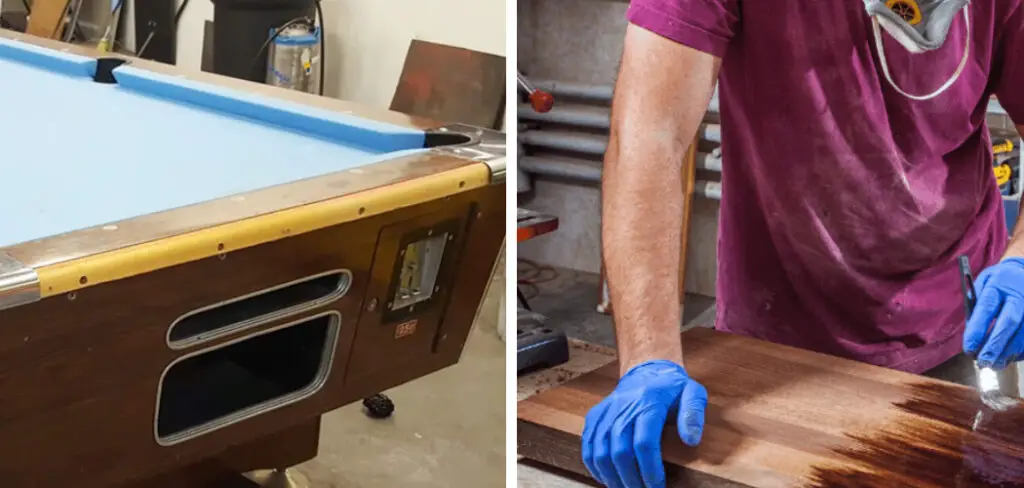
Step 2: Clean and Sand the Surface
Using a damp cloth, wipe down the surface of the pool table to get rid of any dust or debris. Then, use fine sandpaper to lightly sand all surfaces. This step helps prepare the surface for painting, as it removes any imperfections and provides a better surface for the primer and paints to stick.
Step 3: Prime the Table
Once you’re done sanding, use a brush or roller to apply a coat of primer. Make sure all surfaces are evenly covered and that there are no drips or runs. Allow the primer to dry before moving on to the next step.
Step 4: Paint the Table
Once the primer is dry, use a brush or roller to apply two or three coats of oil-based paint, allowing each coat to dry completely before applying the next one. If you’re using multiple colors, make sure you apply them in the right order.
Step 5: Apply a Clear Topcoat
Once all coats of paint have been applied, apply a clear topcoat to protect the paint and keep it looking great for years. Topcoats will also help the colors stay bright and vibrant.
Step 6: Let Everything Dry
Allow the topcoat to dry completely before touching the pool table. This could take anywhere from a few hours to a couple of days, depending on the type of paint you used and how thickly you applied it.
Step 7: Remove the Drop Cloths and Tape
Once the paint is completely dry, remove the drop cloths and tape. If you’re happy with the results, you can reassemble the table and start playing. The drop cloths and tape will serve as a reminder of the work you put into painting your pool table.
Step 8: Clean Up
Once everything is reassembled, it’s time to clean up. Make sure to dispose of the drop cloths and other materials properly and wash any brushes or rollers you used. Cleaning up now will save you time and hassle in the future.
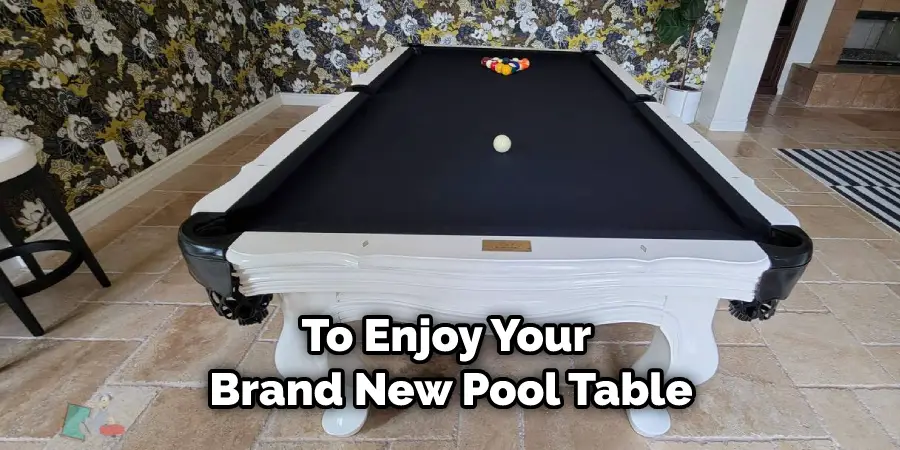
Step 9: Enjoy Your Newly Painted Pool Table
Once everything is put back together, it’s time to enjoy your brand-new pool table! Don’t forget to take a few photos before you start playing – this way, you can show off your work to friends and family.
Step 10: Take Care of Your Pool Table
To keep your pool table looking great, take some time to clean it regularly and make sure the surface is free of dirt and dust. Doing this will help protect the paint job and ensure that your table looks fantastic for years to come.
With the right materials and a bit of patience, you can easily paint your own pool table. Just remember to take all the necessary safety precautions and use the correct supplies for the best results.
8 Tips on How to Take Care of the Painted Pool Table
- Keep the painted pool table surface free of dust and dirt. This will keep the paint looking fresh and also reduce future wear and tear. The pool surface should be vacuumed or wiped off with a soft cloth.
- Avoid dragging sticks and other objects across the surface of the pool table. This can cause scratching on the painted surface, leading to premature wear and tear. Sticks should be placed in an upright position on the table to avoid damage.
- When playing, use only cloth-covered pool balls. Plastic or rubber-covered balls can cause scratches and marks on the painted surface of a table.
- Avoid resting objects such as books, magazines, and cards directly onto the surface of the table. These items could cause damage to the delicately painted surface, as well as leave behind residue and dirt.
- Perform regular coatings of wax or sealant on the painted surface of a pool table. This will help protect the paint from scratches and abrasions due to everyday play.
- Clean any spills quickly with a soft cloth or sponge. This will help avoid staining the painted surface and reduce the chances of any dirt or debris becoming lodged in the paint.
- Regularly inspect and repair any damage on the pool table’s painted surface. This will help prolong the life expectancy of the paint, as well as improve its overall appearance.
- Avoid sanding or applying abrasive cleaners to the painted surface of a pool table. These can cause damage and prematurely wear away at the paint, leading to a need for repainting in the future.
Following these tips will help keep a painted pool table looking great and extend its life expectancy. With regular maintenance, your table should maintain its quality and appearance despite endless hours of play. Enjoy your newly painted pool table!
Frequently Asked Questions
How Long Will It Take to Finish the Project?
It will depend on how much prep work is needed before the painting begins. If there isn’t any prep work necessary, then it should take you approximately 3-4 hours to complete the project. It also depends on how much time you take to complete each of the steps in painting a pool table. Your skills and experience can also affect the time it takes to complete the project.
Do I Need to Prime the Pool Table Before Painting?
Yes, priming the pool table before painting will help ensure that the paint adheres well and lasts longer. Be sure to use a primer designed for use on wood surfaces in order to get the best results. The prime will also help to seal in any stains and imperfections, giving you a smooth, even finish when painting the pool table.
Can I Use Spray Paint on My Pool Table?
Yes, you can use spray paint for your pool table if you choose. However, it is important to remember that spray paint isn’t as durable as regular brush-on paint. It will also not give you the same even finish as brushing on the paint with a roller. If you do decide to use spray paint, make sure to use several light coats in order to avoid any pool table damage due to over spraying.
Conclusion
This how to paint a pool table guide on painting a pool table should have prepared you to give it a go yourself! Why not get creative and come up with your own design? Remember to properly sand, clean, and prime beforehand, as it will ensure that the end product lasts much longer.
Always take safety precautions when working with paints and chemicals, and don’t forget to wear a mask and gloves. Finally, be sure to follow any specific instructions given for the paint that you are working with so that you can be sure of the best possible outcome. Have fun painting your pool table – make sure you share the result with us so we can see how great it looks!
About
Angela is the chief editor of Indoorense. She began her career as an interior designer before applying her strategic and creative passion to lifestyle and home.
She has close to 15 years of experience in creative writing and online content strategy for housekeeping and cleaning,home decorations as well as other efforts.
She loves her job and has the privilege of working with an extraordinary team. She lives with her husband, two sons, and daughter in Petersburg. When she’s not busy working she spent time with her family.