
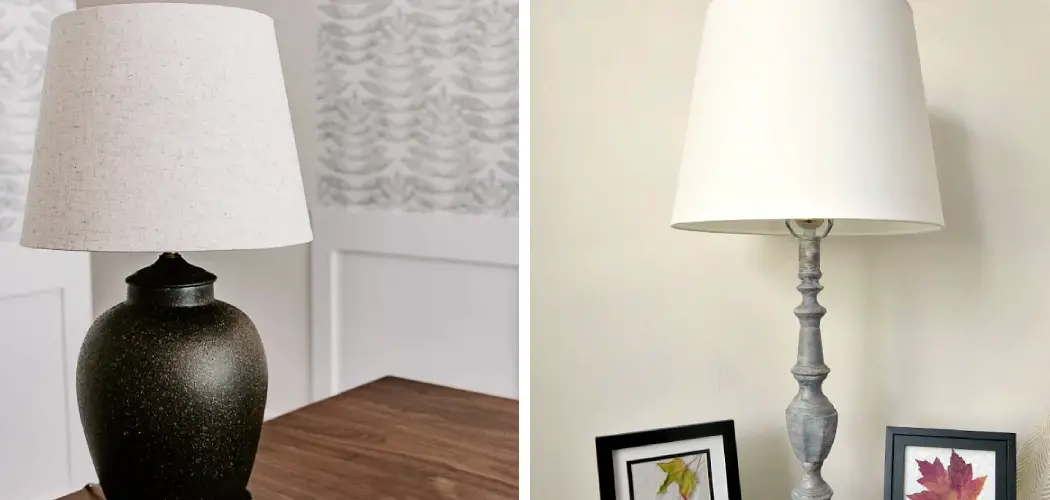
Are you thinking of adding a touch of personality to your home decor? Painting a lamp base is the perfect way to add a personal flair, whether for an existing lamp or one you want to make yourself. If this idea has piqued your interest, look no further!

Painting your lamp base with some simple supplies and patience can be an incredibly rewarding project that won’t break the bank.
In this blog post, we will explore different techniques and tips on how to expertly paint both new and used lamp bases so you can create an eye catching decorative piece that adds the perfect finishing touch to whichever room you choose. So gather up some supplies and read on for all things related how to paint a lamp base!
What Will You Need?
To paint a lamp base, you’ll need the following supplies:
- Lamp base, new or used
- Primer
- Paint – either spray paint or latex paint
- Sandpaper (220 grit)
- Masking tape/painter’s tape
- Drop cloth or plastic sheeting
- Paintbrush, sponge applicator, or foam roller for applying paint
- Stencils and/or painter’s tape for creating shapes and motifs
- Sponge or rag for cleaning
Now that you have all the supplies let’s move on to how to paint a lamp base!
10 Easy Steps on How to Paint a Lamp Base
Step 1. Clean the Lamp Base:
Start by cleaning the lamp base. A damp cloth with some mild soap should do the trick. Wipe away any dirt or debris and ensure the surface is completely dry before continuing to step 2.
Step 2. Prime the Lamp Base:
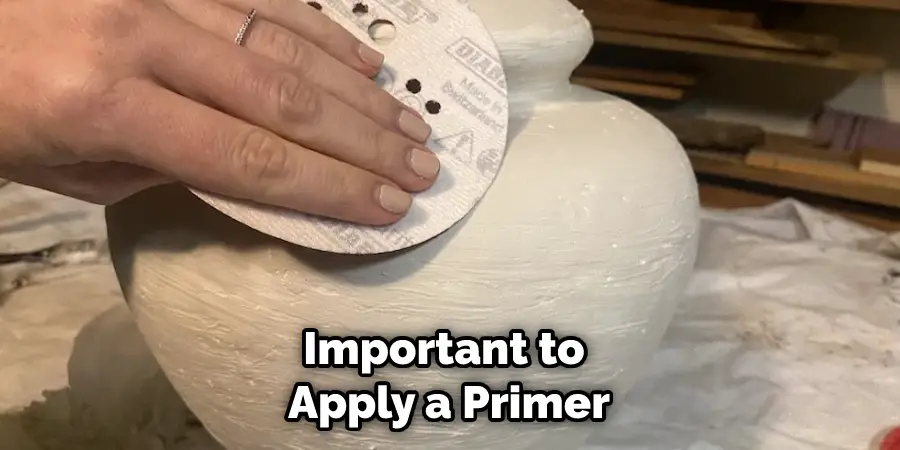
Before you can paint your lamp base, it’s important to apply a primer. This will help the paint adhere better and last longer. Use a brush or roller to apply the primer and let it dry completely before continuing.
Step 3. Sand the Surface:
Using 220-grit sandpaper, lightly sand the entire surface of the lamp base. This will help create a smooth finish that is easier to work with when painting. Wipe away any dust particles left behind using a damp cloth or rag and move on to step 4.
Step 4. Mask Off Areas Not Being Painted:
If you wish to keep part of your lamp untouched by paint, use masking tape or painter’s tape to cover up those areas. Take your time and make sure you get as close to the edges as possible so that no paint gets through. Don’t forget to cover any electrical components.
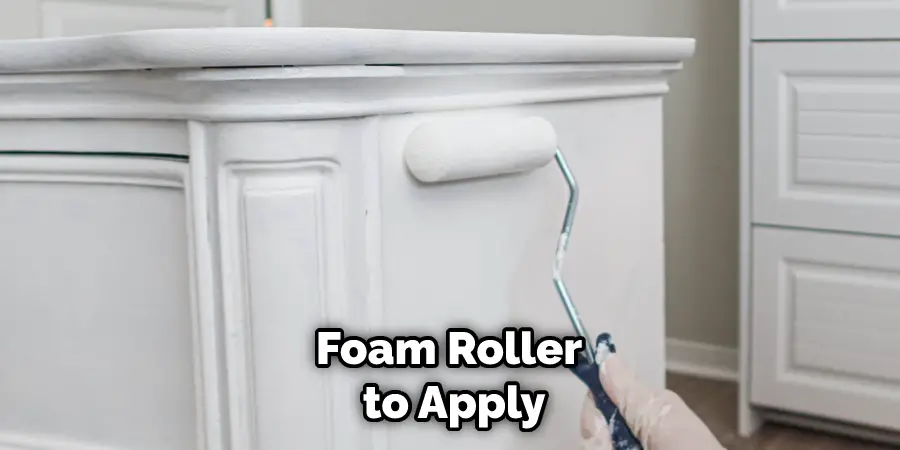
Step 5. Start Painting:
Now it’s time to start painting! Use a brush, sponge applicator, or foam roller to apply the paint. Make sure you go slowly and evenly for the best results. Let each coat of paint dry before applying another one.
Step 6. Apply Stencils/Motifs:
If you wish to add a bit more character to your lamp base, use stencils or painter’s tape to create shapes and motifs on the surface of the lamp. It will add an interesting visual element to the overall look. Also,, remember that if you use painter’s tape, it will need to be removed once the paint is fully dry. Otherwise, it may pull the paint off with it.
Step 7. Add a Clear Protective Coat:
Once you’re satisfied with how your lamp looks, add a clear protective coat to seal in the paint job. This will ensure that your lamp base lasts longer and maintains its color over time. You can buy clear protective coatings at most hardware stores. Additionally, you can also use a spray sealant for added protection.
Step 8. Reassemble Lamp Base/Plug In:
Once the lamp is completely dry, reassemble it if needed (depending on how you took it apart) and plug it back in! Make sure everything is secure and in working order before you turn on the power. If using an existing lamp base, make sure all the electrical components are working properly.
Step 9. Enjoy Your Finished Product:
Now it’s time to sit back and enjoy how your paint a lamp base project turned out! You can place this stylish piece of decor anywhere in your home and proudly show off how you gave an old lamp a new life. Remember, if you ever want to change the lamp up again in the future, it’s easy enough to paint over the existing surface.
Step 10. Clean Up:
Once you’re done, clean up all your supplies so they are ready for next time! Wipe away any excess paint from tools and surfaces with a damp cloth or rag, store away any unused paint cans, and put away the sandpaper. Don’t forget also to remove any residue left behind from the masking tape or painter’s tape.

By following these steps, you should now have a beautiful lamp base that looks like new. With a few supplies, patience, and practice, you can easily give an old lamp the boost it needs to look brand new. So get out there and start painting!
5 Additional Tips and Tricks
- Start by sanding the lamp base to provide a smooth surface for the paint to adhere.
- Choose quality primers and paints that are designed for use on metals.
- Apply several thin coats of paint, allowing each one to dry before adding a new coat.
- If using spray paint, always work in an area with good ventilation and test the product on an inconspicuous area first to check how it looks and how well it is adhering to the surface.
- To achieve professional results, finish with a glossy sealer or topcoat for extra protection against wear and tear.
These tips will help you create a beautiful lamp base that will last for years to come! With some patience and careful preparation, painting your own lamp base can be an easy and rewarding DIY project that adds style to any room in your home.
5 Things You Should Avoid
- Don’t use spray paint for the lamp base. Spraying paint can create an uneven surface, which may look sloppy when the lamp is assembled.
- Avoid painting directly on top of any existing finish. It’s best to either strip off the existing finish or sand down any glossy surfaces before beginning to paint.
- Never leave clumps of wet paint on the surface of your lamp base – this can cause drips and runs that will ruin your project!
- Don’t forget to clean off excess dust, dirt, or debris before you start painting – these can interfere with how well your paint adheres to the surface.
- Never skip priming or prepping the area beforehand – this will ensure that your new paint job looks professional and flawless when finished.
Following these tips will help you achieve a beautiful, smooth finish on your lamp base!
5 Different Painting Theme Ideas
- Classic Look: Create a timeless look by painting your lamp with neutral colors. Choose shades of white, beige, or light gray for a stylish and traditional appearance.
- Bright & Bold: For those who want to make a statement, paint your lamp base with bright and bold hues such as red, orange, yellow, or blue. This look will surely add an eye-catching pop of color to any room!
- Vintage Feel: If you’re looking for something with character and charm, try adding some vintage details to the lamp base. Try using metallic paints or a distressed paint job for a weathered feel that reflects the classic style from years ago.
- Rustic Elegance: Give your lamp base a rustic look by using earthy tones such as brown, green, or tan. Add some wood trim accents to give the piece an extra touch of country charm.
- Modern Flair: Incorporate modern elements into your design by painting the lamp with sleek and sophisticated colors like black, silver, or gray. For an added touch, add geometric patterns or use high gloss paints for a glossy finish that looks ultra-modern and chic!
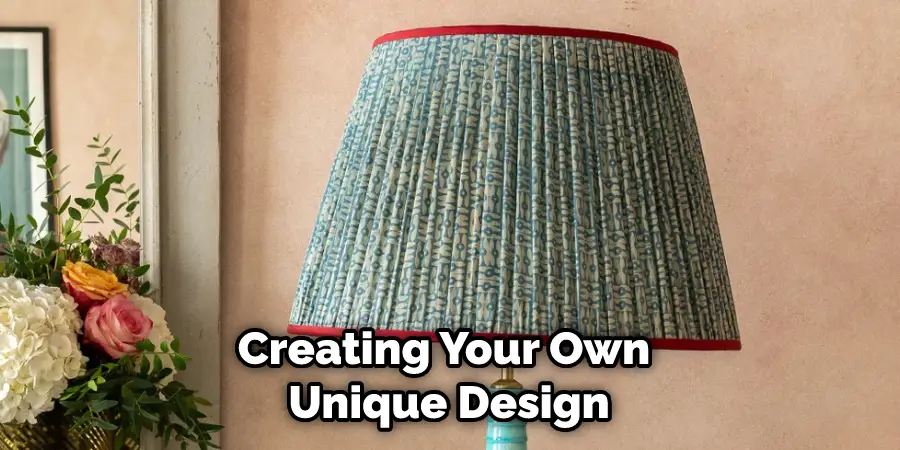
Painting a lamp base is a great way to customize any room in your home with color and style. Get creative and think outside the box when creating your own unique design!
Conclusion
Learning how to paint a lamp base is relatively easy when you have the right supplies and the correct instructions. If you’ve never tried this before, don’t worry! Just take it slow and remember to take all of the necessary safety steps, such as providing plenty of ventilation or wearing protective gloves or clothing.
The time and patience you invest in perfecting your lamp painting technique will be well worth it once it starts shining brightly from atop your favorite table. You can turn any outdated or generic-looking lamp into a beautiful work of art that matches your home decor. Don’t be afraid to make mistakes – we all do at some point! –
Just keep practicing until you’re satisfied with the result, and enjoy the feeling of accomplishment that comes after creating something unique and customized with your own two hands.
About
Angela is the chief editor of Indoorense. She began her career as an interior designer before applying her strategic and creative passion to lifestyle and home.
She has close to 15 years of experience in creative writing and online content strategy for housekeeping and cleaning,home decorations as well as other efforts.
She loves her job and has the privilege of working with an extraordinary team. She lives with her husband, two sons, and daughter in Petersburg. When she’s not busy working she spent time with her family.