
Paint can be a great way to transform an item from ordinary to extraordinary. Have you ever thought of bringing style and color into your child’s dollhouse? Did you ever dream of having your own dollhouse that reflected your personal style? Do you want a unique, custom-made gift for someone special in your life? You can help make their dreams come true with the right supplies, tools, and techniques.
Painting a dollhouse is an easy and creative way to make something beautiful. With the right supplies and step-by-step instructions, anyone can learn how to paint their own miniature house in no time at all. In this blog post, we’ll explore all the tips and tricks on how to paint a dollhouse necessary for painting a successful dollhouse project from start to finish. So grab some paints, gather up your crafting supplies, and let’s get started!
Things to Consider Before Starting
Before you get started on painting your dollhouse, there are some key things to consider. First, decide what type of dollhouse you’re going to paint. Different types of dollhouses may require different supplies and techniques for painting. Consider the size of the project and think about areas that need special attention, such as wallpapers or intricate details.
The next thing to consider is the type of paint you want to use for your dollhouse. There are many options, but water-based paints are best. Most stores sell miniature paint that is specifically made for dollhouses and other miniature projects. Choose a few colors that will make up the base of your design and create a cohesive look for your dollhouse.
Finally, make sure you have all of the tools and supplies necessary to finish the job. This includes sandpaper, brushes, sponges, a spray bottle filled with water, and painter’s tape. You may also need a ladder or stepladder if your project is tall enough that it needs extra height.
These tips will help you get started on your dollhouse painting project and ensure that it looks its best when finished. Now, let’s get into the details of how to paint a dollhouse like a pro!
Needed Tools and Supplies
- Sandpaper
- Paint brushes
- Miniature paint
- Water spray bottle
- Painter’s tape
- Ladder or stepladder (optional)
10 Tips on How to Paint a Dollhouse
1. Sand the Surface
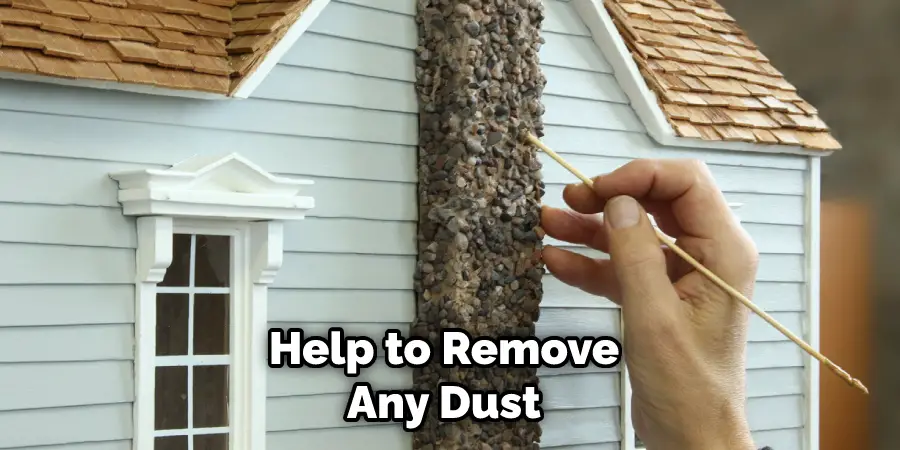
Start by sanding the entire surface of the dollhouse to remove any existing paint. This will ensure that the new coat of paint will stick properly and look uniform when finished. Sanding will also help to remove any dust or dirt that might be present.
2. Tape off Areas You Don’t Want Painted
Use painter’s tape to cover any areas you don’t want to be painted, such as windows and door frames. This will keep the paint from accidentally getting on these surfaces and ruining the look of your dollhouse.
3. Prime the Dollhouse
Priming the dollhouse is an important step to ensure that the paint adheres properly and lasts a long time. Use a primer specifically formulated for miniature projects, such as miniatures or dollhouses, and apply it with a brush in thin coats. Allow each coat of primer to dry completely before applying the next.
4. Choose Your Paint Colors
Once the primer is dry, it’s time to choose your paint colors. Consider going with a light shade of one color for most surfaces and using different shades of that same color to create accents. This will help to create a cohesive look while still adding interest to your dollhouse.
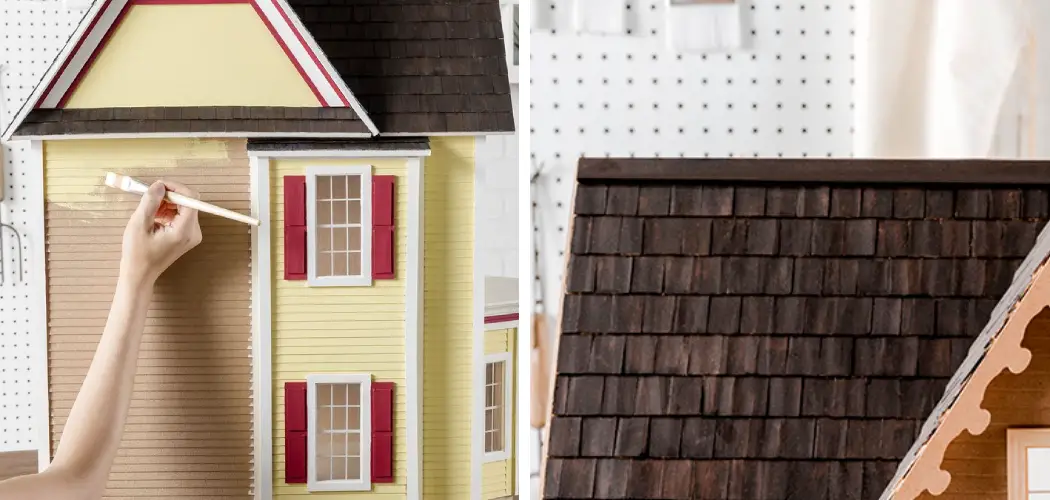
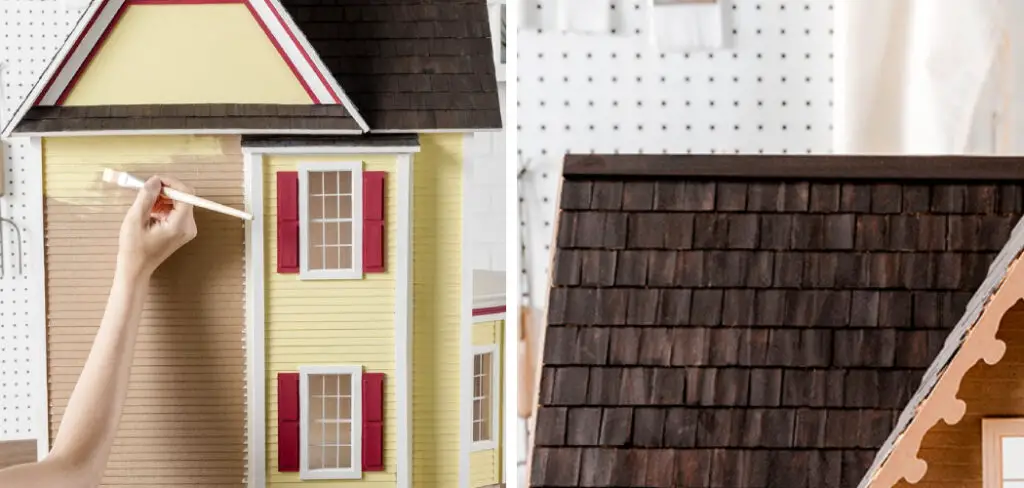
5. Paint the Dollhouse

Now that you have your paint colors selected, it’s time to start painting! Begin by applying a thin coat of paint in small sections at a time. Use a brush for tight corners and sponges for larger surfaces. Allow each coat to dry completely before adding the next.
6. Use a Water Spray Bottle
Using a spray bottle filled with water is an easy way to create various textures and patterns in your dollhouse. Simply spritz the paint lightly with the water while it’s still wet, then use a brush or sponge to blend it in. This will give your dollhouse a unique and interesting look.
7. Add Finishing Touches
Once the paint is dry, you can add finishing touches such as wallpapers or trim details to give your dollhouse character. You can also use different shades of paint to make accents and create depth.
8. Seal the Dollhouse with Varnish
Once you’re done with the painting and finishing touches, it’s time to seal your dollhouse. Use a clear varnish or sealer specifically formulated for miniatures and apply it in thin coats with a brush. Allow each coat to dry completely before applying the next.
9. Let It Dry Completely
Once you’re done with the painting and sealing, it’s important to let your dollhouse dry completely. This could take several days, so be sure to give it plenty of time before handling it. It will also be a good idea to store the dollhouse in a cool, dry place.
10. Enjoy Your Dollhouse!
After all this hard work, you finally get to enjoy your dollhouse! You can proudly display it in your home or give it as a gift to someone special. Either way, you can feel confident knowing that your work was well done and looks great.

Now that you know how to paint a dollhouse like a pro, go ahead and get started on your own project.
8 Maintenance Tips
- Use two coats of paint to ensure even coverage and an attractive finish. Double coats also help protect the dollhouse from wear and tear. It will also help to make sure that any areas that need touching up in the future will be easier to do.
- Use high-quality latex paint with a flat finish for a smooth, professional look. Avoid oil-based paints as they tend to be yellow over time and can be difficult to clean or remove should you decide to repaint your dollhouse.
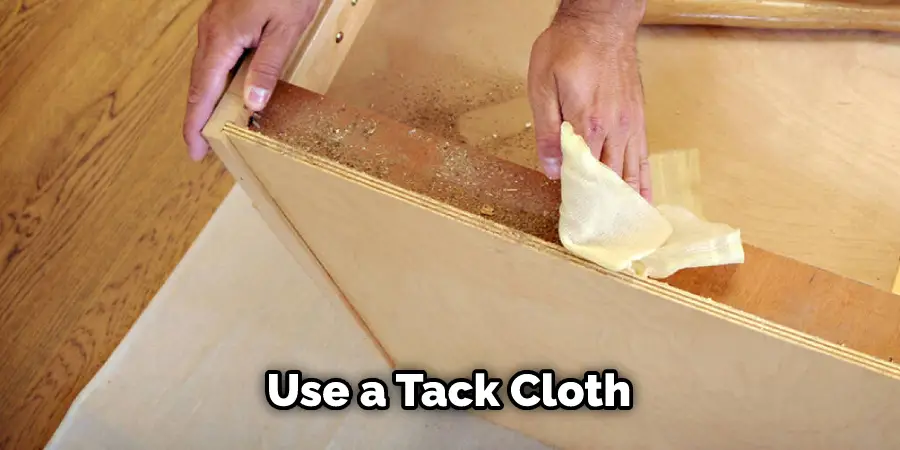
- Always start with a clean surface before you begin painting to ensure the most even coverage. Wipe down the surfaces with mild soap and water, and then use a tack cloth to remove any dust or debris.
- Use light sandpaper to lightly sand any glossy surfaces and remove imperfections before applying paint. It will also help the paint adhere better and give more even coverage.
- If you’re painting a wood dollhouse, seal the surface with a primer to protect against moisture damage and ensure an even coat of paint.
- Let each coat of paint dry completely before applying a second coat to avoid bubbles or drips in the finish. If you have to touch up any areas, make sure you wait at least 24 hours for the paint to fully cure before doing so.
- To help keep your dollhouse looking its best, periodically wipe it down with a damp cloth and use furniture polish to keep surfaces dust-free.
- When repainting your dollhouse, be sure to take extra precautions, such as using drop cloths and painter’s tape to protect any areas that you don’t want painted. This will help ensure a neat finish and make the job easier.
By following these tips, you can make sure that your dollhouse will remain in great condition for years to come! With a little bit of care and attention, it will look as good as new every time you repaint it.
Frequently Asked Questions
How Long Will It Take to Complete the Task?
It depends on how many areas you’re painting, the size of the dollhouse, and your skill level. As a general guideline, it should take around 8-10 hours to complete the task. It won’t take as long for touch-ups. The painting process itself will take around 3-4 hours.
What Type of Paint Should I Use?
For a dollhouse, you should use high-quality latex paint with a flat finish. Oil-based paints are not recommended as they can be difficult to clean or remove if you decide to repaint them in the future. Additionally, make sure to use a primer on wood surfaces to protect against moisture damage.
Do I Need to Sand the Dollhouse Before Painting?
Lightly sanding any glossy surfaces and removing imperfections will help the paint adhere better and give even coverage. This step is not necessary for all dollhouses, but if you’re going for a more professional finish, it is recommended.
Conclusion
Painting a dollhouse is an involved and rewarding process. Each step requires patience and precision. You first have to gather the necessary materials, then prepare the surface, mix the paint according to your desired colors, and lastly apply multiple coats of paint onto the dollhouse until you achieve uniform color coverage.
In addition to painting the dollhouse, there are a number of decorative accessories you can attach, such as tiny furniture pieces, to make it even more appealing. Once finished, your handmade masterpiece will be ready for display or play!
If you’re looking for something unique that you can do with your spare time, consider giving yourself an art project and learn how to paint a dollhouse today! With some basic guidance and a little bit of creativity, you’ll be able to create a colorful miniature masterpiece in no time!
About
Angela is the chief editor of Indoorense. She began her career as an interior designer before applying her strategic and creative passion to lifestyle and home.
She has close to 15 years of experience in creative writing and online content strategy for housekeeping and cleaning,home decorations as well as other efforts.
She loves her job and has the privilege of working with an extraordinary team. She lives with her husband, two sons, and daughter in Petersburg. When she’s not busy working she spent time with her family.