

Candles are a popular decoration for many occasions, from Christmas to weddings. It can be fun to dress up the candles with frosting to make them look even more festive. This blog post will teach you how to make candle wax look like frosting. It is easy and inexpensive, adding a touch of elegance to any event. Keep reading for instructions on how to create this beautiful decoration.

What Causes Candle Wax to Frost?
Before we start, let’s briefly discuss what causes candle wax to frost. When you light a candle, the flame’s heat melts the wax near the wick. This liquid wax is then drawn up the wick, where it vaporizes and starts to cool. As the wax vapor cools, it condenses and forms tiny droplets of liquid wax. These droplets are then drawn back down into the liquid wax pool, where they repeat the cycle.
Another cause of frosting can be if your candle is not burning properly.
If the flame is too small, it will not produce enough heat to vaporize the liquid wax. This can cause the wax to build up on the wick and start to frost. Additionally, if there is not enough oxygen reaching the flame, it can also cause the wax to frost. Improper wicking can also cause frosting, as it can impede the flow of liquid wax up the wick.
The other main cause of frosting is simply using a lower-quality wax. Lower-quality waxes are more likely to frost, as they also do not vaporize. Lastly, some scented oils can cause frosting.

Why Should You Make Candle Wax Look Like Frosting?
Frosting can give candles a beautiful, elegant look. It is perfect for special occasions, such as weddings or Christmas parties. Frosting can also be used to create a more romantic atmosphere. It can also help hide any imperfections in the wax, such as cracks or discoloration. Another reason to frost your candles is that they can make them last longer.
Frosting helps to insulate the candle, preventing the heat from escaping. This can help your candle burn more slowly and evenly. Finally, frosting can also help to make your candle smell stronger. The scent will be trapped in the wax, making it more concentrated.
Step by Step How to Make Candle Wax Look Like Frosting:
1. Gather Supplies
The first step is to gather all of the supplies you will need. You will need a candle, a lighter, and a bowl. You will also need a spoon or a chopstick. Gather these items and have them within reach. If you use a scented candle, you may also want to have a small water bowl nearby. Use a clear bowl so you can see the wax as it melts.
2. Choose the Right Wax
The next step is to choose the right wax for your project. If you want to make a large candle, you will need to use a more substantial wax. Paraffin wax is a good option for large candles. If you are making a small candle, you may want to use soy wax. Soy wax is also a good choice if you are concerned about the environment. Avoid using beeswax, as it is more difficult to work with.

3. Melt the Wax
The next step is to melt the wax. You can do this in several ways. One option is to use a double boiler. First, fill the bottom of the double boiler with water and heat it over medium heat. Then, place the wax on top of the double boiler and wait for it to melt. Another option is to melt the wax in the microwave.
Place the wax in a microwave-safe bowl and heat it in 30-second increments. If you do not have a double boiler, you can create one by placing a glass bowl on top of a pot of boiling water. Put the wax in the bowl and stir it until it is melted.
4. Pour the Wax
Once the wax is melted, you must pour it into the candle holder. If you are using a glass candle holder, be sure to use a funnel. First, place the funnel on top of the glass candle holder. Then, slowly pour the wax into the holder. Be careful not to pour too quickly, as the wax may spill. You can also pour the wax into a silicon mold. If you are using a silicon mold, you do not need a funnel. Pour the wax into the mold and wait for it to harden.
5. Wait for the Wax to Harden
Once you have poured the wax into the candle holder or mold, you must wait for it to harden. This will take several hours. If you are in a hurry, you can place the candle in the refrigerator or freezer. This will speed up the process. Avoid moving the candle while it is hardening, as this can cause the wax to crack.
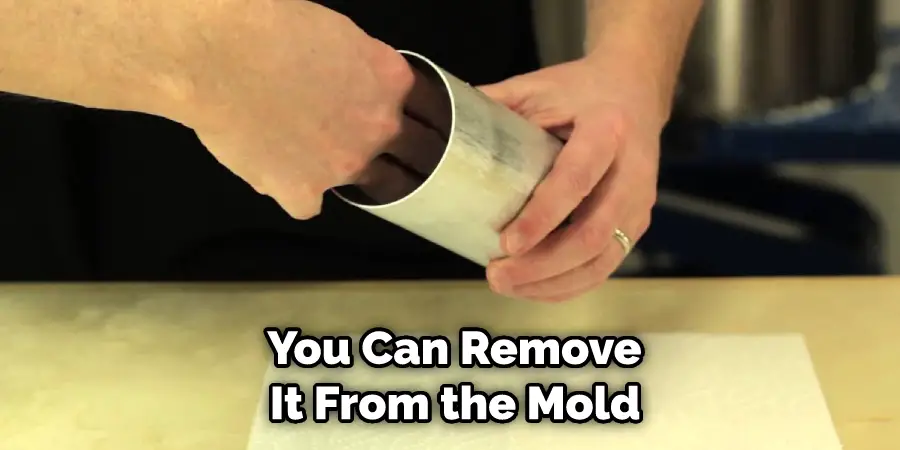
6. Remove the Wax
Once the wax has hardened, you can remove it from the mold. If you are using a silicon mold, first place the mold in the freezer for about 15 minutes. Then, push the wax out of the mold. If you are using a glass candle holder, turn the holder upside down and tap it gently on a table. The wax should fall out. Avoid dropping the wax, as this can cause it to crack.
7. Place the Frosting on the Candles
Now that you have removed the wax from the mold, it is time to place the frosting on the candles. This can be done in several ways. One option is to use a piping bag. First, fill the piping bag with the frosting. Then, cut a small hole in the corner of the bag and pipe the frosting onto the candle. Another option is to use a spatula. First, spread the frosting onto the candle. Then, use the spatula to create swirls or other designs. Avoid using too much frosting, as this can make the candle difficult to light.
8. Smooth Out the Frosting
Once you have applied the frosting to the candle, you must smooth it out. This can be done with a spatula or your fingers. First, go around the candle’s edge to ensure that the frosting is even. Then, work your way down the candle, smoothing out the frosting as you go. Be sure to pay close attention to the candle’s surface, as any bumps or unevenness will be visible once the wax dries.
9. Allow the Frosting to Set
After you have smoothed out the frosting, you must allow it to set. This will take several hours. If you are in a hurry, you can place the candle in the refrigerator or freezer. This will speed up the process. Once the frosting has set, the candle is ready to be used.
10. Decorate the Candles
The last step is to decorate the candles. This can be done in several ways. One option is to use a stencil. First, place the stencil on the candle. Then, use a knife or other sharp object to trace the stencil onto the wax. Another option is to use a stamp. First, dip the stamp in ink. Then, press it onto the candle. You can also decorate the candles with glitter or other materials. Add the materials to the wax while it is still wet. Allow the candle to dry completely before using it.

Tips and Warnings on How to Make Candle Wax Look Like Frosting
Tips:
- Be sure to add enough wax to level with the top of the wick.
- Use a chopstick or skewer to swirl the wax around the wick before it sets slightly.
- If you want a two-tone effect, let the first layer of wax cool completely before adding the second layer of a different color.
- Never touch a burning candle or move.
- If you want a more opaque frosting, use a white crayon to color the inside of the mold before adding the wax.
Warnings:
- Be careful not to overfill the mold, or the wax will overflow when you pour it in.
- Don’t use a metal can as a mold, as the wax can get hot enough to melt it.
- Don’t put the candle in the refrigerator or freezer to speed up the cooling process, as this can cause the wax to crack.
- Don’t light the candle until the wax is completely cooled, or it may melt.
- Don’t touch the wax until it is completely cooled, or you may burn yourself.
Conclusion
So there you have it, a simple guide on how to make candle wax look like frosting. With these tips, you’ll be able to create beautiful candles that look like they’re covered in frosting. So get out there and start decorating! If you have any questions or tips, be sure to leave them in the comments below.