
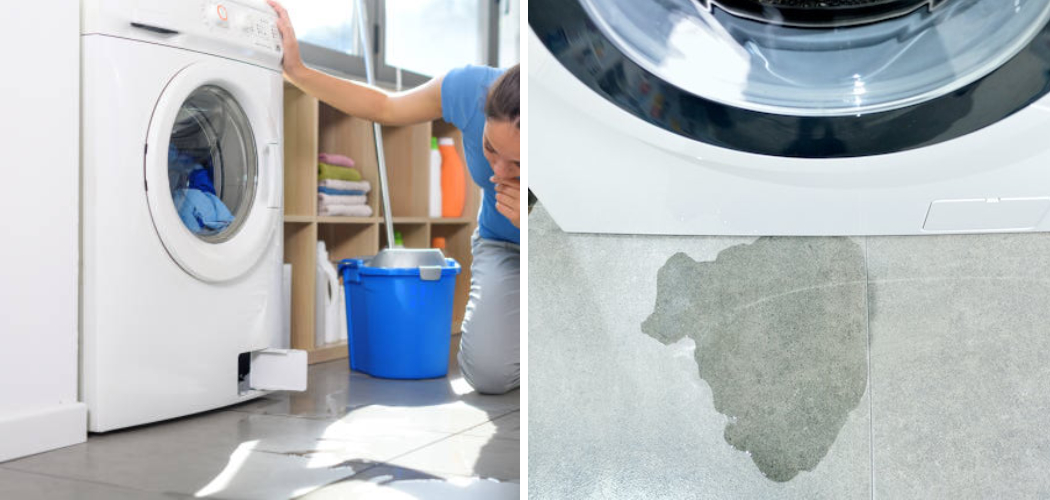
If you have a tumble dryer leaking water, fixing the issue is important before it causes further damage or poses a potential safety hazard. Leaking water from your tumble dryer may be caused by several issues, such as a broken seal, cracked hoses, or a blocked drain hose. Fortunately, you can often fix these problems yourself without having

It is important to know how to fix a leaking tumble dryer because it can be dangerous. Leaking water could cause electrical shock and damage your appliances, so you should immediately take the necessary steps. In this blog post, You will learn how to fix tumble dryer leaking water.
Importance of Fixing Tumble Dryer Leaking Water
- Reduce the risk of electrical shock: The most important reason for fixing a leaking tumble dryer is to reduce the risk of electric shock and other hazards caused by water leakage.
- Ensure safety: A properly functioning dryer ensures its safe operation, giving you peace of mind knowing that it won’t cause any harm to your family or your home.
- Extend the life of your dryer: Fixing a leaking tumble dryer can help extend its useful life by ensuring that it is working properly and not causing damage due to water leakage.
- Prevent costly repairs: A leaking dryer requires extensive repairs, which could be expensive if you do not fix it right away.
- Save electricity: A functioning dryer is more efficient than one leaking, so you can save electricity and money by keeping it running properly.
- Avoid damage caused by water: Water can cause extensive damage to your home if it leaks from the dryer, so fixing any leaks immediately is essential in avoiding costly repairs.
- Keep your clothes dry: A leaking tumble dryer can leave wet spots on your laundry, so fixing it will ensure your clothing is dried properly.
Now that you know how to fix a tumble dryer leaking water, let’s look at some steps you should take.
Tips for Preventing Tumble Dryer Leaks
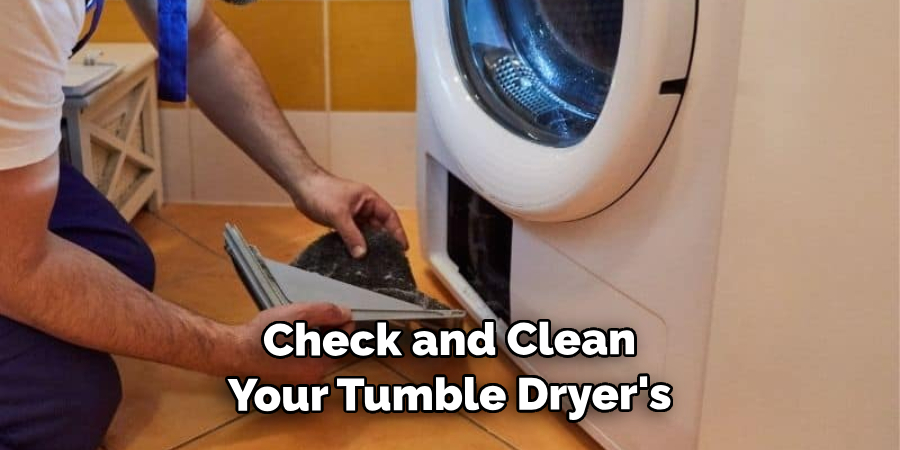
- Inspect the dryer’s lint trap regularly and remove any build-up of lint.
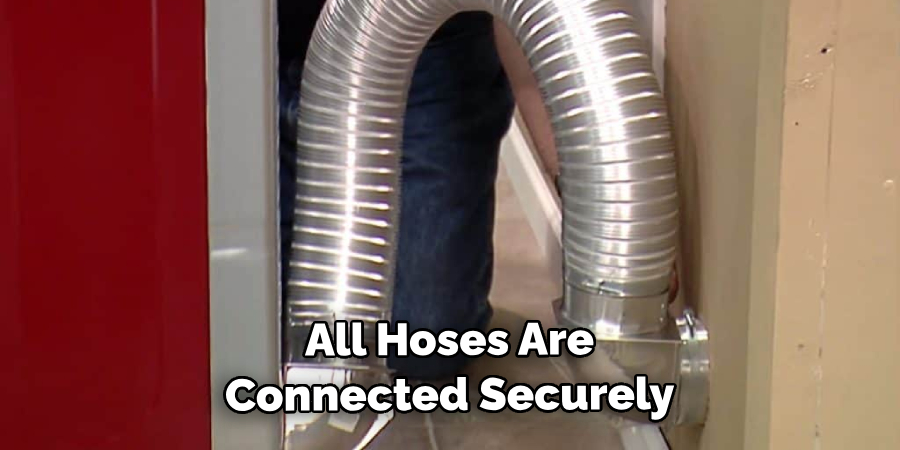
- Make sure that all hoses are connected securely and not loose or disconnected.
- Clean the condenser regularly, particularly the area around the fan blades.
- Inspect your dryer’s fan to ensure it works properly and is not clogged with lint or debris.
- Check the dryer’s doors, seals, and hinges for any signs of wear or damage.
- Ensure your dryer is level – use a spirit level for accuracy.
- Check the drainage hose for blockages if you notice any water pooling around your dryer. Clean out any debris to ensure water can flow freely.
By maintaining and regularly inspecting your tumble dryer, you can reduce the risk of it leaking and help keep it running smoothly for longer. This will ensure that your laundry gets dried properly – while keeping your utility bills in check.
Step-by-Step Processes for How to Fix Tumble Dryer Leaking Water
Step 1: Inspect
Examine the outside of your tumble dryer for any visible signs of damage, such as leaking water or loose screws. If there are any visible damages, you should address them first before continuing with the repair process.
Step 2: Check hoses and connections
Ensure all hoses and connections between your dryer and other components (such as the water supply valve) are firmly in place. If any of them have come loose or disconnected, it could cause your leaking issue. Check and clean your tumble dryer’s lint filter to ensure no blockage might be causing a build-up of moisture. This should be done regularly, even if your dryer is not leaking.
Step 3: Check for clogged vents
Check the venting hose and its connections to ensure no clogs are causing water to build up and leak out of the tumble dryer. If you find any blockages, carefully remove them with a brush or vacuum cleaner.
Ensure all your dryer’s internal parts are securely in place and not loose or damaged. This includes the drum, gasket, drive belt, motor, and thermostat. If any of these appear broken or coming apart, they may need to be repaired or replaced.
Step 4: Check the drain pan
Check the drain pan for any signs of damage or debris that may have caused a buildup of water inside it. If anything is blocking the flow of water from draining out properly, it could be causing your dryer to leak. Check the door seal and ensure it is properly seated and not broken or damaged. If it’s worn out, you may need to replace it.
Step 5: Inspect the heating element
Inspect the heating element for any signs of damage or malfunctioning. If it appears to be faulty, then this could be causing your dryer to be leaking water. Replace any worn or faulty parts with new ones, then reassemble the dryer. This should help to reduce or eliminate any leakage caused by broken or damaged components.
Step 6: Test it out
Once everything has been reassembled, turn your tumble dryer on and ensure it works properly. If the leak has been successfully stopped, you can rest assured that your repair job succeeded.
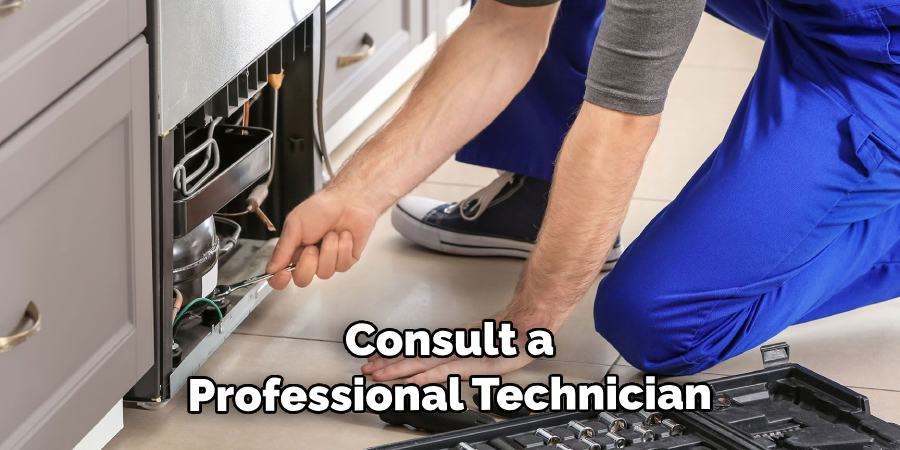
We hope this guide helps you to fix any leaking issues with your tumble dryer. Remember always to use caution when servicing any electrical appliance; if in doubt, consult a professional technician for help.
What Are the Possible Causes of a Tumble Dryer Leaking Water?
There are several reasons why your tumble dryer may be leaking water. It could be due to a damaged seal, worn-out parts, or a clogged drainage pipe. The first step is to identify the root cause of the problem before you can begin to fix it.
Damaged Seal: A damaged seal is the most common cause of a leaking dryer. The seals around the drum and door of the dryer can become worn out over time, allowing water to escape from the appliance.
Worn-Out Parts: Another possible cause is that some parts in your tumble dryer may be worn out and need replacing. This could include bearings, drive belts, or other small components. Inspecting each part thoroughly and replacing any that show signs of wear is important.
Is It Possible to Fix the Leak Without Replacing the Entire Dryer or the Broken Part?
The good news is that, in many cases, you can fix the leak without replacing either the dryer or any of its parts. The most common cause of water leaking from a tumble dryer is a blocked hose, which can easily be cleared with a brush or vacuum cleaner. Another possible culprit could be loose fittings or connections, which can usually be tightened with a wrench. For more serious leaks, such as those caused by worn or broken parts, you may need to order replacement parts specific to your make and model of dryer.
It is also important to remember that even if the cause of the leak isn’t apparent at first glance, it could still be related to one of the many complex components of your dryer. Suppose you need more confidence to diagnose and fix the problem. In that case, it is best to call a professional repair technician who can properly inspect and repair your appliance.
Is It Necessary to Hire Any Professional?
Sometimes, you can repair any leaking issues with your tumble dryer. However, consider hiring a professional technician if the leak’s cause is more complex or hard to diagnose. Professional technicians have years of experience and knowledge in repairing different types of appliances and are typically better equipped to diagnose and fix complex problems.
While hiring one may cost a bit of money, you can rest assured knowing that your dryer will be in good hands and the repair will be done right the first time. In addition, professional technicians can identify potential problems with your appliance before they become more serious and expensive.
How Much Will It Cost?
The cost of repairing a tumble dryer leaking water will depend on the severity of the issue and the type of repair required. If you can identify and fix the problem yourself, it should only require some basic tools or parts you can purchase from your local hardware store. However, more complex repairs may require specialized parts or services that could cost more.
It is also important to consider the cost of hiring a professional technician, as they can typically diagnose and repair complex issues much faster than an amateur DIYer. In addition, they can identify potential problems with your tumble dryer before they become more serious and expensive to fix. The average cost of having a professional repair your tumble dryer can range from $50 to $200, depending on the issue.
Maintenance for Tumble Dryers
It is important to regularly maintain and check your tumble dryer for any signs of damage or leaking. Check the outside of the dryer for any dirt, dust, or debris that may be blocking the airflow. Clean these areas carefully with a microfibre cloth or vacuum cleaner. Ensure all the internal parts are securely in place and replace worn-out or damaged components as soon as possible.

You should also inspect the ventilation hose regularly for any signs of blockages or damage. If anything is blocking the airflow, it can cause your dryer to overheat and start leaking water. Clean the vent hose with a vacuum cleaner and ensure all connections are secure. Additionally, emptying the lint tray every few cycles is a good idea to ensure your dryer runs efficiently.
Conclusion
In conclusion, regularly checking and servicing your tumble dryer is important to ensure it runs effectively and doesn’t leak water. If you have a problem with your tumble dryer leaking, the most likely causes could be blocked hosepipes, faulty seals, or worn-out components.
To solve this, try clearing any hose blockages, replacing faulty seals, and replacing worn-out components. Following the steps outlined in this article, you can successfully fix your tumble dryer leaking water issue. This article has been beneficial for learning how to fix tumble dryer leaking water. Make Sure the preventive measures are followed chronologically.
Rick is a handyman who grew up helping his dad with his business. He learned a lot from him about how to fix things, and also about how to work hard and take care of business. These days, Rick is still into fixing things- only now, he’s doing it for a living.
Rick is always looking for new ways to help people grow and develop. That’s why he started contributing to this blog: to share all his experience and knowledge so that he can help people who are interested in DIY repair.