
Learning to cut wall paneling is important in achieving a professionally finished look for your home. Wall paneling can be used to add texture and style to walls, as well as provide extra insulation and soundproofing. Knowing how to properly measure, mark, and cut the panels allows you to create a beautiful finish that fits perfectly into the space. With just a few simple tools and instructions, anyone can learn to cut wall paneling and create the perfect look for their home.
Cutting wall paneling offers a range of advantages for both homeowners and contractors alike. Wall paneling can be cut to fit any room size and shape, allowing you to customize the look and feel of your space. Additionally, cutting wall paneling is relatively easy and requires minimal tools, making it an accessible DIY project that doesn’t require outside help. You can achieve professional-looking results with minimal effort with a few basic cutting tools. In this blog post, You will learn in detail how to cut wall panelling.
Tools You Will Need
- A Circular Saw
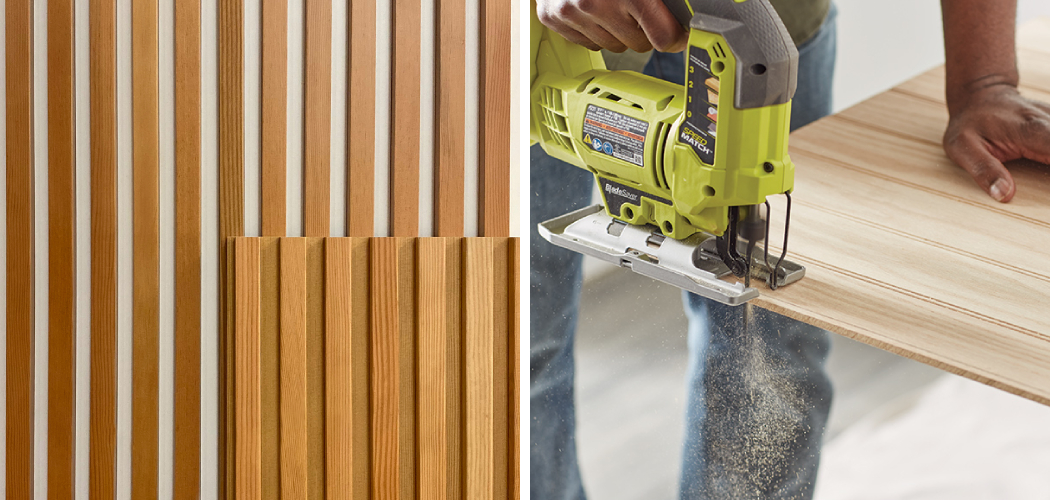
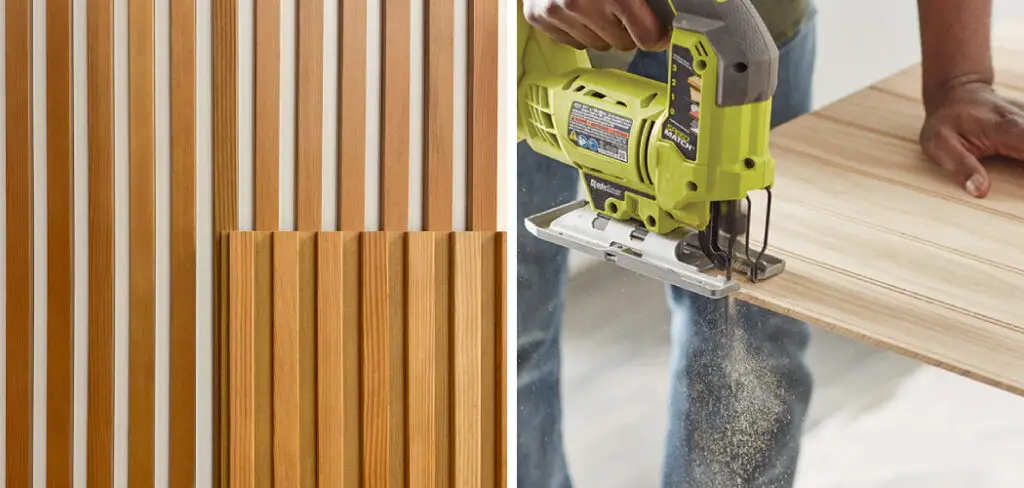
- A Jigsaw
- A Table Saw
- A Power Mitre Saw
- Goggles and Gloves for Safety
- Pencils and Tape Measure for Measuring
- Chalkline for Marking Cut Lines
- Plywood to Fit Around Corners
- Sandpaper to Smooth the Edges
- Utility Knife for Trimming Corners.
Step by Step Processes for How to Cut Wall Panelling
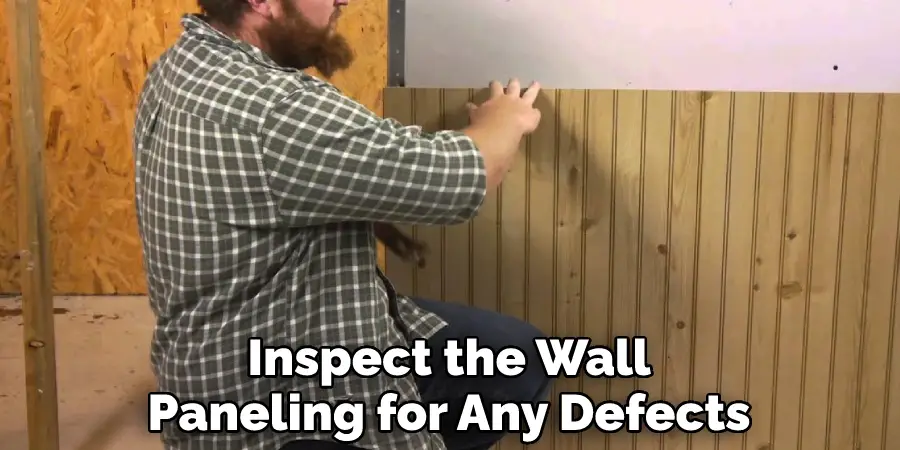
Step 1: Inspect the Wall Paneling
Before you start cutting, it is essential to inspect the wall paneling for any defects or areas of damage. Make sure that all pieces are securely fitted and aligned correctly.
Step 2: Prepare the Work Area
Clear away any furniture or items around the area where you’ll be cutting the wall paneling. Have a dust sheet handy to cover the floor and any furniture that can’t be moved. Use a tape measure to mark where you need to make the cut. Make sure your measurements are accurate, and double-check them before cutting.
Step 3: Gather Your Tools
You’ll need a saw such as a jigsaw or reciprocal saw. If you’re using a jigsaw, make sure to switch on the dust extraction facility and set up your vacuum cleaner nearby to help with any mess.
Step 4: Set Up Safety Equipment
Wear safety glasses and hearing protection when cutting wall paneling. Ensure that children, pets, and other family members are kept away from the work area. Using your chosen saw, slowly and carefully cut along the marked line. Don’t rush this process; take time to get a clean finish.
Step 5: Clean Up Any Mess
Make sure you clear up any mess or sawdust created by the cutting process. Once you’ve finished your cut, test the fit of the wall paneling against its intended surface. If necessary, make any adjustments needed to ensure it fits properly.
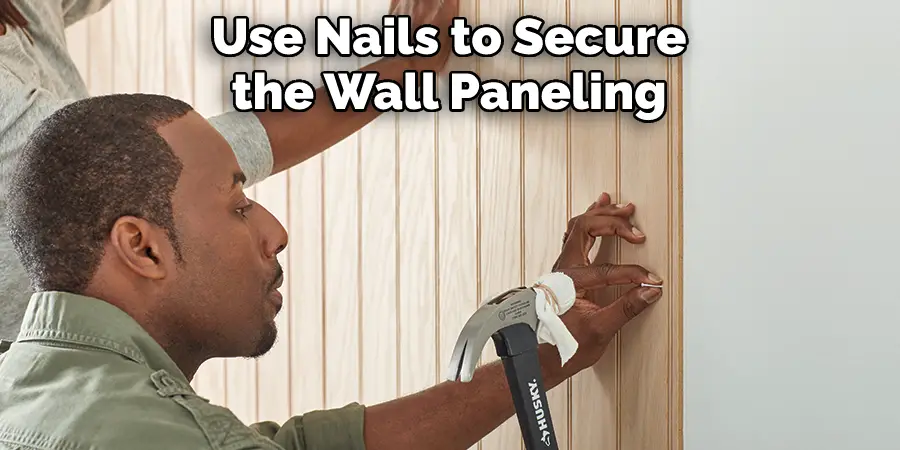
Step 6: Secure The Wall Paneling
Use nails or screws to secure the wall paneling to its intended surface firmly. Stand back and admire your handy work! You’ve successfully cut wall paneling, producing a clean finish with professional results.
Tips for How to Cut Wall Panelling
- Wear safety glasses, gloves, and a dust mask when cutting wall paneling – to help protect your eyes, hands, and lungs from dust or splinters.
- Make sure that the area is well-ventilated – this will help reduce the number of dust particles in the air and make it easier to breathe.
- Mark the paneling carefully – use a pencil or marker to draw a line where you want to cut.
- Secure the wall paneling firmly in place before cutting – this will help reduce any potential for injury if the paneling shifts during cutting.
- Use an appropriate saw blade for the wall paneling material – it’s important to use the right blade for the material being cut to avoid damaging or splitting the wall paneling.
- Cut slowly – take your time and ensure you’re cutting along the marked line for an accurate result.
- Clean up any splinters or dust created during cutting – this will help reduce potential injury and also keep the area tidy.
- Dispose of sawdust and off-cuts properly – ensure that any waste is disposed of safely and away from children or pets.
Following these tips will help ensure a safe, successful experience when cutting wall paneling. Always remember to wear appropriate safety gear, mark your cuts accurately, and take your time for the best results.
How Can You Achieve Maximum Accuracy When Cutting Curved or Angled Shapes With Wall Panelling?
When cutting curved or angled shapes with wall paneling, it is important to achieve maximum accuracy. The most common way to do this is by using a jigsaw. This power saw has a narrow blade that can be maneuvered around corners and curves, allowing you to make precise cuts in the material. Be sure to use a blade specifically designed for use with wall paneling so that it will cut easily and accurately through the material.
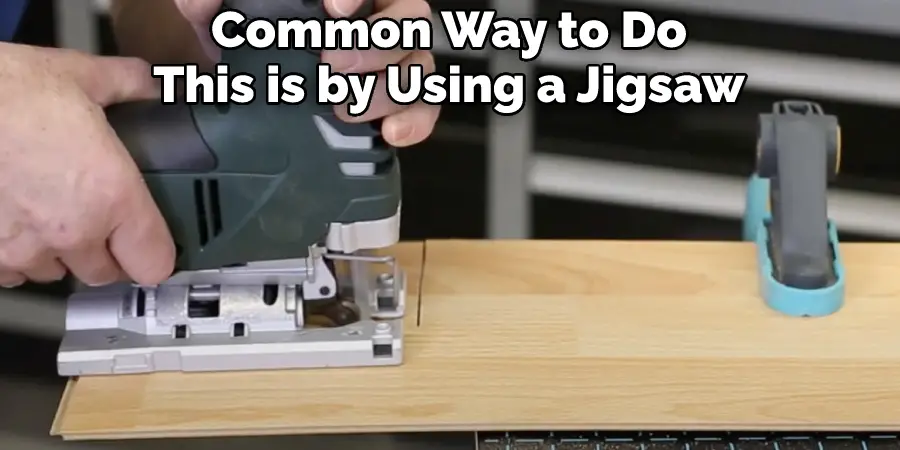
Before using a jigsaw, measure the area you need to cut carefully. Mark the lines on the paneling with a pencil or marker, then draw a cutting line around the outside edge of where you want to cut. This will ensure that your cuts are accurate and that you do not cut away too much of the paneling.
How Do You Repair Wall Panelling if It Gets Damaged While Cutting It?
- If the wall paneling has been damaged while cutting it, first assess the damage and determine its severity.
- If the damage is minor, use fine-grit sandpaper to lightly sand down the area to smooth it out.
- If necessary, you may also need to fill in any gouges or holes with wood putty or spackle.
- Once the area has been sanded and filled, it may be necessary to paint or repaint the damaged area to match the existing finish of the wall paneling.
- You may need to replace the panel if the damage is more extensive.
- To do this, measure the damaged panel and use a jigsaw to cut out a replacement piece from another wall paneling sheet.
- Place the new panel in place and secure it using wood screws or nails.
- Finally, finish up by painting or staining the new section to match the existing wall paneling.
How Do You Know What Type and Size of Wall Panelling to Buy for a Certain Space?
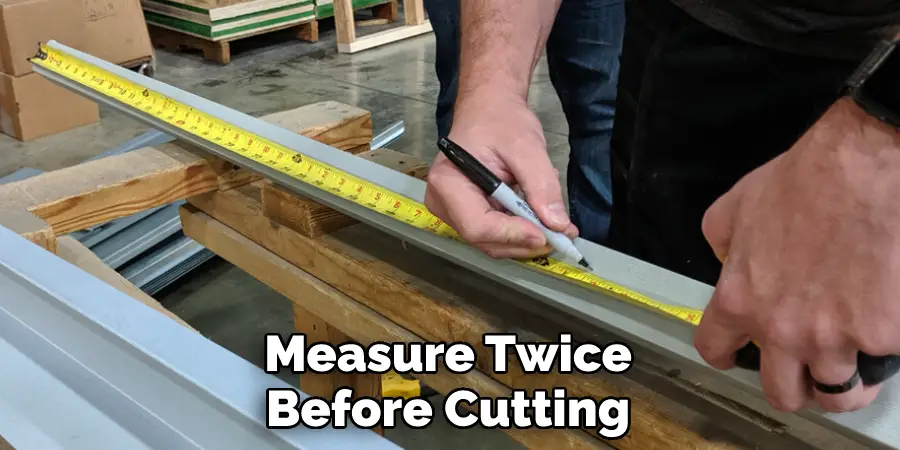
To determine the type and size of wall paneling to buy for a space, you will need to measure the area where it is going. Measure both the width and height of the space, taking into account any door or window frames that may affect your measurements. Once you have measured, add 2-3 inches extra to each measurement to ensure a snug fit. When purchasing wall paneling, you may find that it comes in standard sizes and types, such as 4×8 foot sheets or 2×4 studs. Determine the type of paneling that is best suited to your needs and buy accordingly.
Once the right type and size of wall paneling are purchased, you can begin the process of cutting it to fit your space. It is important to make sure that you measure twice before cutting as. Otherwise, you could end up with pieces that are too small or not in the right shape. If you are not confident in cutting the wall paneling yourself, it is advisable to enlist the help of a professional. They can accurately measure and cut the paneling for you and ensure that it fits perfectly into your desired space.
Conclusion
In conclusion, cutting wall paneling is not as difficult as it may seem. With the right tools, some patience, and a few basic steps, you can easily cut your own wall paneling for DIY projects or home improvements. Start by measuring and marking the exact location of each cut. Then make sure to use proper safety protection such as eyewear and gloves when using saws and other cutting tools. Lastly, follow instructions to ensure the best results. By following these steps, you can easily cut wall paneling with success. I hope reading this post has helped you learn how to cut wall panelling. Make sure the safety precautions are carried out in the order listed.