
Have you ever seen someone cross stitch on a piece of clothing and thought to yourself, “I could never do that”? Well, today, I am here to show you how easy it is! You can add some personality to your wardrobe with cross stitching with just a few simple steps.
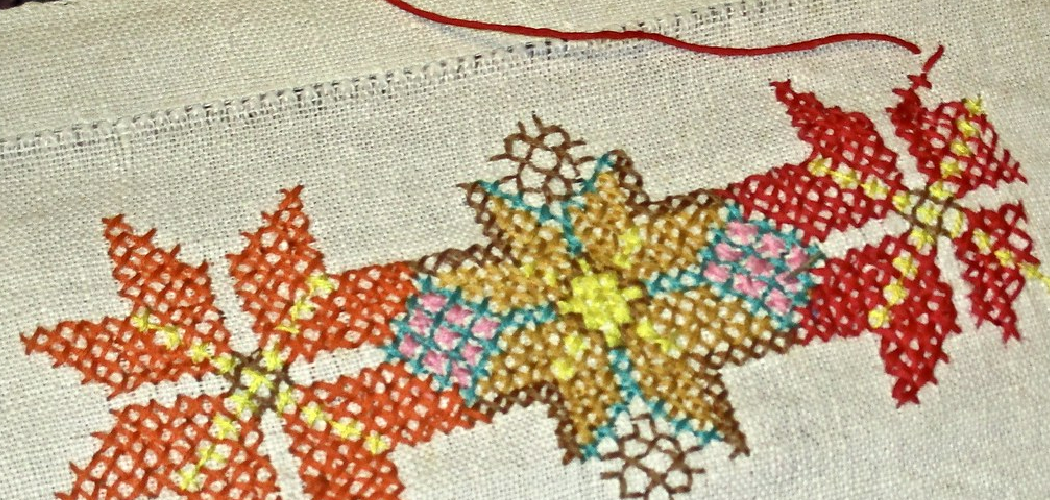
Cross stitching is a great way to add some personality and custom flair to your clothes. It’s also a great way to show off your skills! Cross stitching is the way to go if you’re looking for a fun, unique way to personalize your clothing! Cross stitching is a type of embroidery that uses X-shaped stitches to create images or designs. It’s a great way to show off your creative side and add some personality to your outfits.
This article will teach you how to cross stitch on clothes. Let’s get started!

What Will You Need?
To get started, you’ll need the following materials:
- Embroidery floss in a variety of colors
- A piece of fabric or clothing to cross stitch on
- Scissors
- A needle with an eye large enough for your embroidery floss
- An iron and ironing board
With these basic materials in hand, you are ready to start cross stitching on your clothes.
10 Easy Steps on How to Cross Stitch on Clothes
Step 1. Prepare Your Fabric or Clothing:
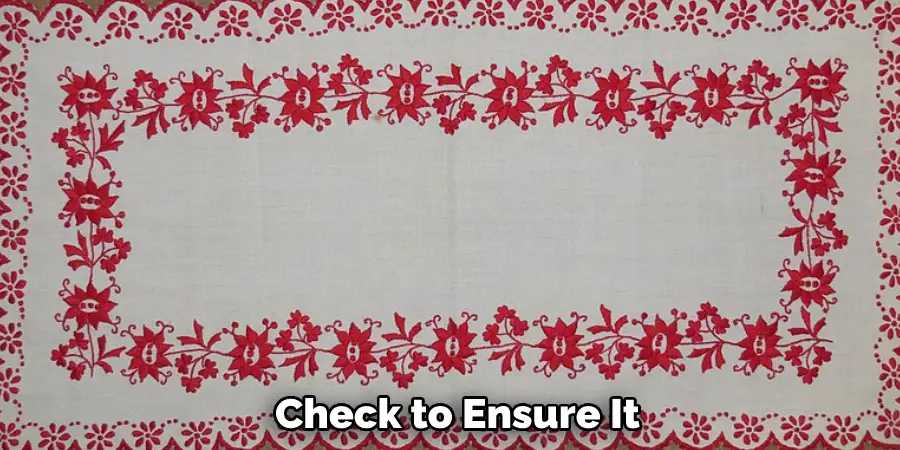
Start by laying out your fabric or clothing on a flat surface and smoothing it out so that there are no wrinkles. If you are working with a piece of clothing, check to ensure it is washable before you begin cross stitching. Because you will be ironing the fabric or clothing where you will be cross stitching later, ensure that the piece is large enough to accommodate your stitches.
Step 2. Select Your Design and Material:
Next, select your design. You can choose a simple image or pattern or create your own custom design. Regarding the type of material, you will be using for your cross stitching, many options are available, such as thread, ribbon, buttons, beads, and more. The best material for cross stitching will depend on the look you are trying to achieve and how sturdy you want your finished product to be.
Step 3. Begin Stitching:
Once you have chosen your materials and design for cross stitching on clothes, begin stitching by inserting your needle through the fabric at one corner of your selected area. Follow the outline of the image or pattern that you’ve chosen until all of the desired areas are covered in stitches. Make sure to keep your stitches tight and even ensure the design looks neat and clean.
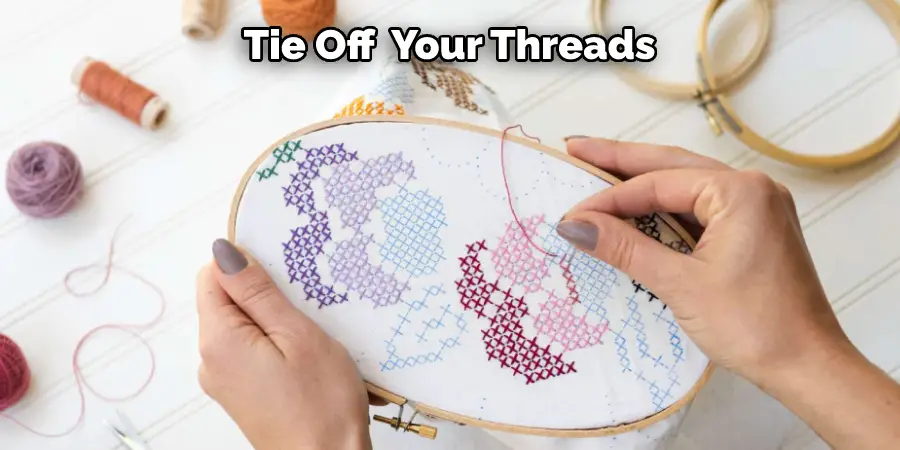
Step 4. Tie Off Your Threads:
Once you have finished sewing all of your desired areas, you will need to tie off your threads. To do this, simply create a small knot at the end of each thread and trim any excess material. Another option is to cut your thread too long, stitch it back into the surface of your design, and then trim again.
Step 5. Iron Your Fabric or Clothing:
To seal in your stitches for longer-lasting results and a cleaner look, be sure to iron your fabric or clothing once you are finished stitching. Place an ironing cloth between your fabric or clothing and the iron before applying heat to avoid damaging your stitches. It’s best to iron at a low temperature and avoid moving the iron over your stitches too quickly.
Step 6. Enjoy Your Custom Creation:
Now that you have successfully cross stitched on clothes take some time to admire your beautiful creation! You can wear this item with pride. Knowing that it is one-of-a-kind, thanks to your unique stitching skills.
Step 7. Try Different Designs and Materials:
One of the best parts about cross stitching on clothes is that there are endless possibilities for designs and materials. To keep things interesting, try experimenting with different materials or create your own unique patterns to add to your wardrobe. Remember that you can also share your creations with friends and family or even sell them for a profit.
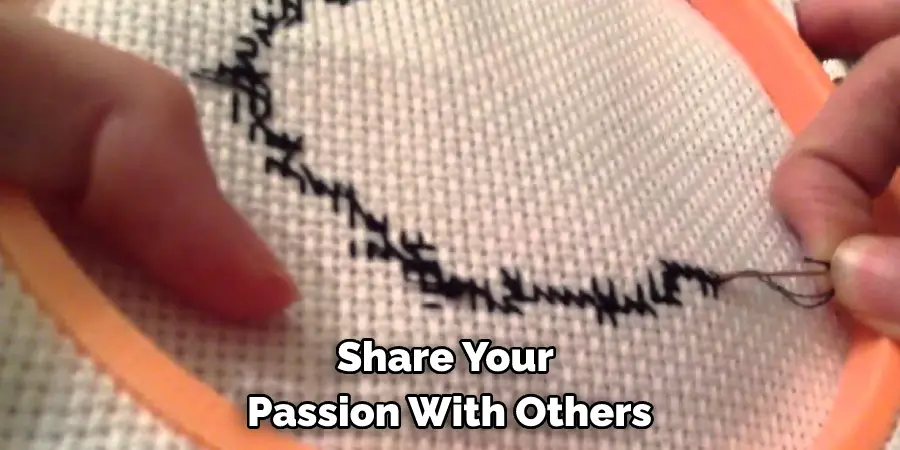
Step 8. Share Your Passion With Others:
If you love cross stitching, why not share your passion with others? You can host cross stitch workshops or parties to help inspire others to explore this fun craft. Moreover, you can also keep an eye out for existing cross stitch communities and clubs in your area, which may be a great way to connect with fellow stitchers.
Step 9. Join Cross Stitching Communities:
If you want to stay up-to-date on all things related to cross stitching, look for online forums or communities where you can connect with other enthusiasts and find new ideas and inspiration. This can be a great way to learn new techniques, get feedback on your work, or simply share your passion with others. Whether you prefer online or in-person communities, many great options are available.
Step 10. Continue Learning and Practicing:
Finally, to keep improving your cross stitching skills, make sure that you continue learning and practicing regularly. Whether you take online tutorials or find how-to videos on YouTube, plenty of resources are available to help you grow as a cross stitcher. Happy stitching!
Whether you’re looking to add a quick DIY touch to an outfit or want to try your hand at some serious embroidery, cross stitching on clothes is a fun and creative way to make your style stand out. So what are you waiting for? Get started today and start adding some personality to your wardrobe!
You Can Check It Out To Get Pomegranate Juice Out of Clothes
5 Additional Tips and Tricks
- Start by choosing a pattern that you like and that is suitable for your project, whether it’s a small patch on a pair of jeans or an entire piece of fabric.
- Next, decide how big you want your stitching to be and how much detail you want to include. This will help you choose the right fabric and thread for your project.
- When choosing a needle, opt for one slightly thicker than the thread you plan to use but not too thick so that it won’t pass through your fabric.
- Once you have your stitches in place, secure them well by tying off your thread and sewing a few extra stitches over each one. This will prevent any loose ends from coming undone.
- Finally, take care of your stitched project by washing it on a delicate cycle or by hand-washing it as needed. This will help keep the colors looking vibrant and prevent any unraveling or other issues down the road.
Whether you’re an experienced cross stitcher looking for some new tips and tricks or a beginner just getting started with this fun craft, these simple steps can help you achieve great results on your next project.
5 Different Design Ideas
- Small crosses are an easy and versatile option that can be stitched on any garment.
- Geometric patterns are another great way to add flair and style to your clothes, such as chevron stripes or a repeated diamond motif.
- A monogram is a classic design choice that can be customized with your initials or those of a loved one.
- Any pattern involving flowers or other natural elements can be perfect for adding some personal style to a dress, tank top, or pair of jeans.
- For a more intricate look, consider creating an elaborate scene such as an animal portrait or city skyline for a unique piece of clothing that makes you stand out from the crowd.
Whether you’re looking for quick and simple projects or more complex designs, there are endless possibilities for cross stitching on clothes.
5 Precautions You Can Take While Stitching
- Always use sharp, high-quality needles to prevent tearing or other damage to your fabric.
- When selecting threads, opt for colorfast ones that won’t bleed onto your clothing.
- To avoid snagging or catching your stitches on other items in the washing machine or dryer, wash your new garment by hand or on a delicate cycle first until you’re sure everything has been secured well.
- For extra security and durability, consider using fray check or another type of sealant over the final stitches of your project to prevent them from unraveling over time.
- As you work on larger projects, ensure that you have plenty of room and proper lighting so that you don’t strain your eyes or accidentally damage your stitches.
Whether you’re enjoying a relaxing evening at home or working on a project in a crowded coffee shop, always take the necessary steps to protect your work and keep yourself safe.
Conclusion
As you can see, it’s not hard to add a little extra personality to your clothes with some simple cross stitching. Give it a try the next time you’re looking for a unique way to show off your style. You might be surprised at how addictive this craft can be!
Now that you know how to cross stitch on clothes, there are endless possibilities for personalization. You can add a special touch to plain garments or make one-of-a-kind pieces as gifts. With a little bit of practice, you’ll be able to create beautiful clothing that shows off your personality and style.
Hopefully, these tips and tricks will help you get started with cross-stitching on clothes. Have fun exploring this craft, and don’t be afraid to experiment with different colors, patterns, and designs!
So what are you waiting for? Grab some fabric and start stitching!
You Can Check It Out To Wash Shein Clothes